
A couple of years ago, I came across a great batch of cork bark elms at Lone Pine Gardens. It had been a while since I’d owned one, so I picked out my favorite and brought it home.
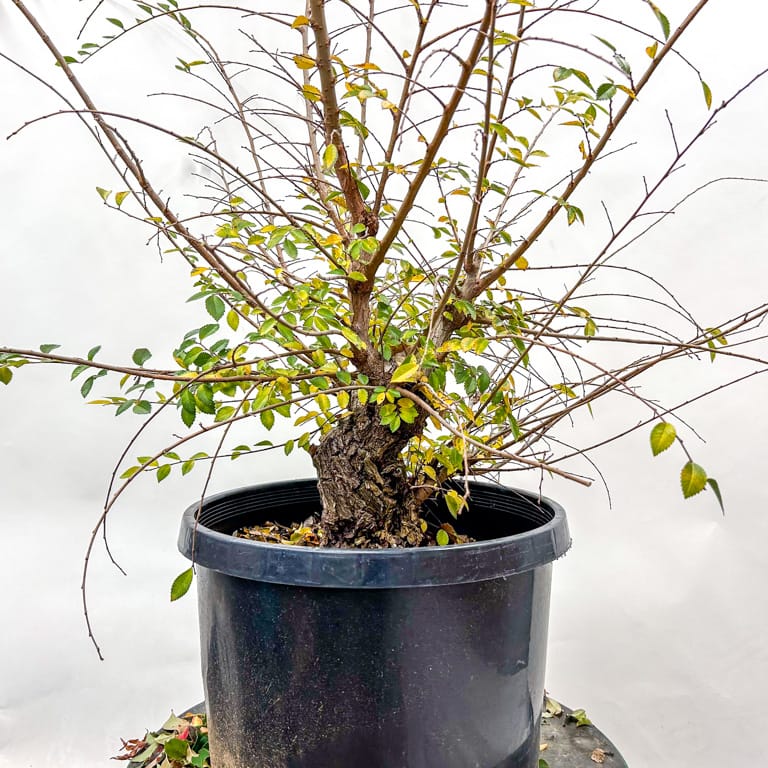
Field-grown cork bark elm – December, 2022
I don’t typically do much work on trees until I get a look at the roots, so I shortened the branches to make it easier to work with the tree but avoided making any big cuts.
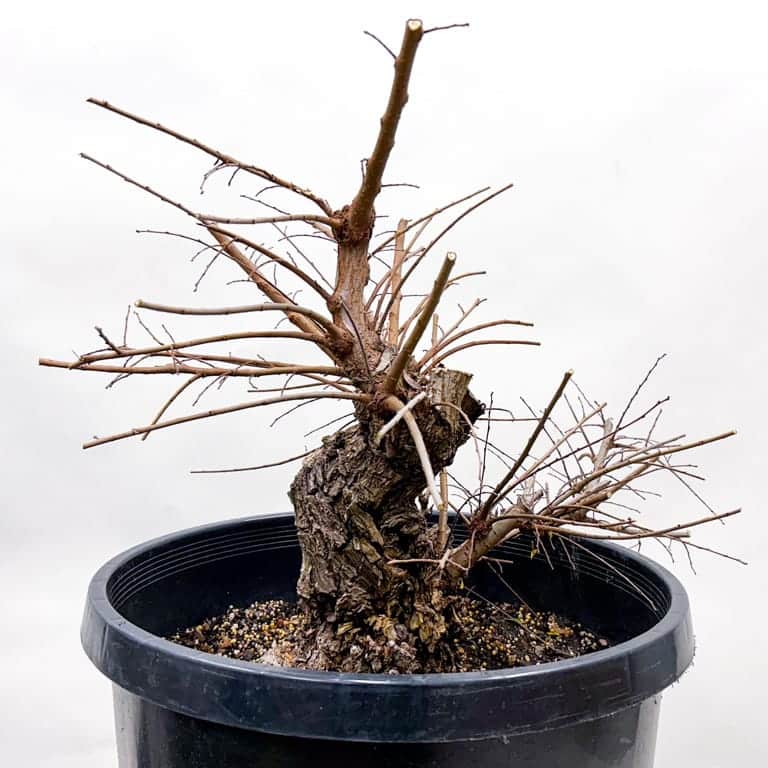
After reducing the branches
Over the next two years, I limited work to bare rooting the tree (to remove the field soil) and reducing branch stubs (so the wounds on the trunk could begin to heal). I left the rest of the branches alone to help the tree recover from this work. Here’s what it looked like earlier this week.
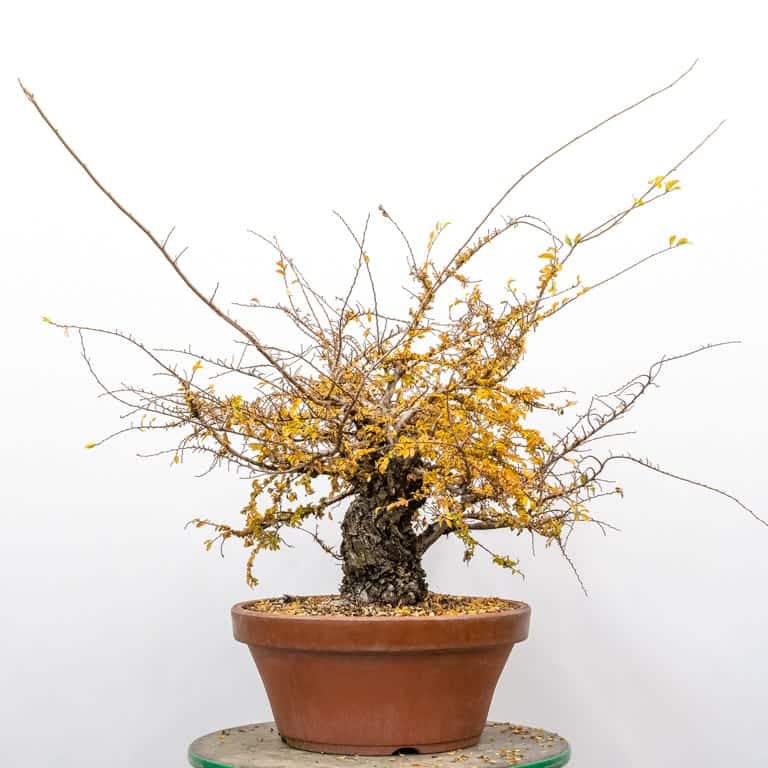
Cork bark elm – December, 2024
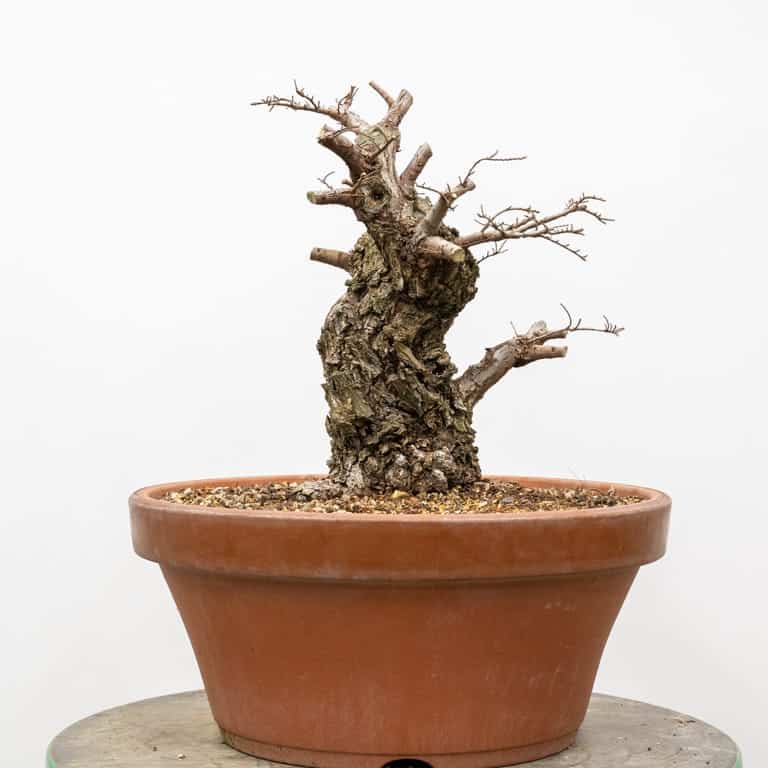
Before I started pruning, I removed the leaves so I could see the branch structure more clearly.
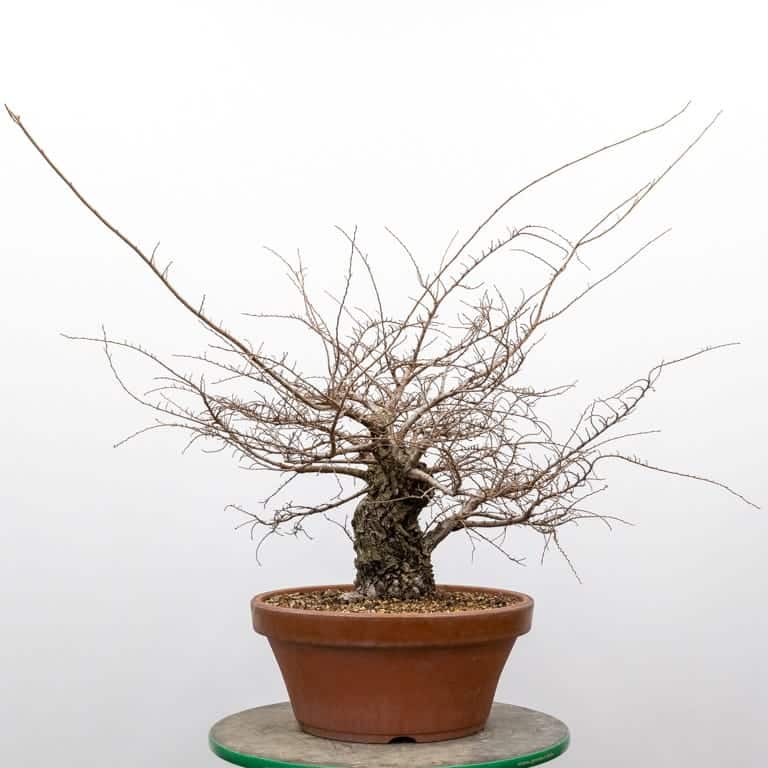
After removing the leaves
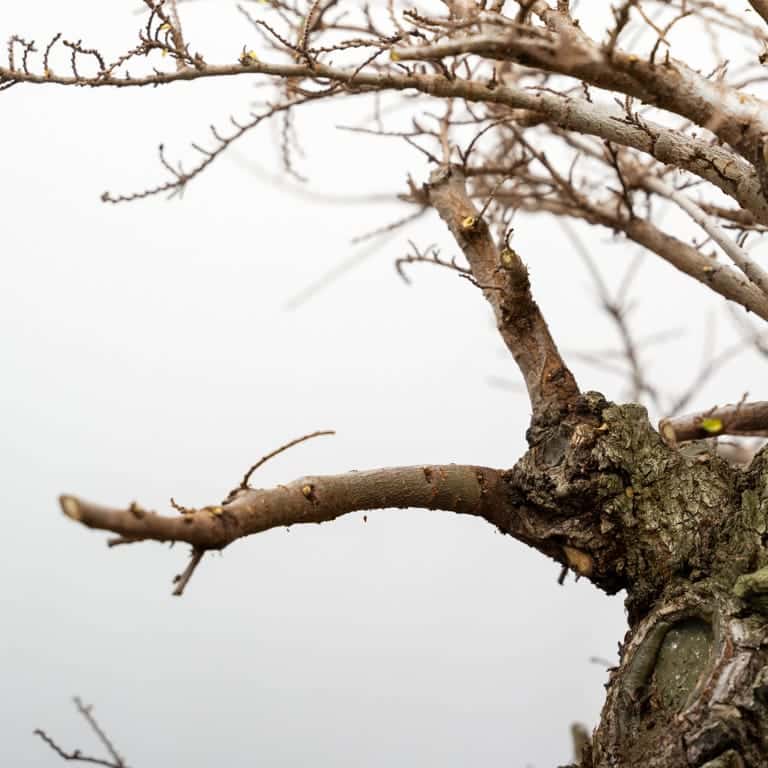
Now that the roots are growing in bonsai soil and the tree is producing strong growth, I can focus on improving the branch structure. I did this by shortening long branches and thinning congested areas. Here’s an example.

A large branch that divides into four large branchlets
To avoid additional swelling in this area, I removed two of the four branches that emerge from the same spot.
After removing two of the four branches
Because these branches lack structure, I shortened them to encourage new buds to form near the cut sites.
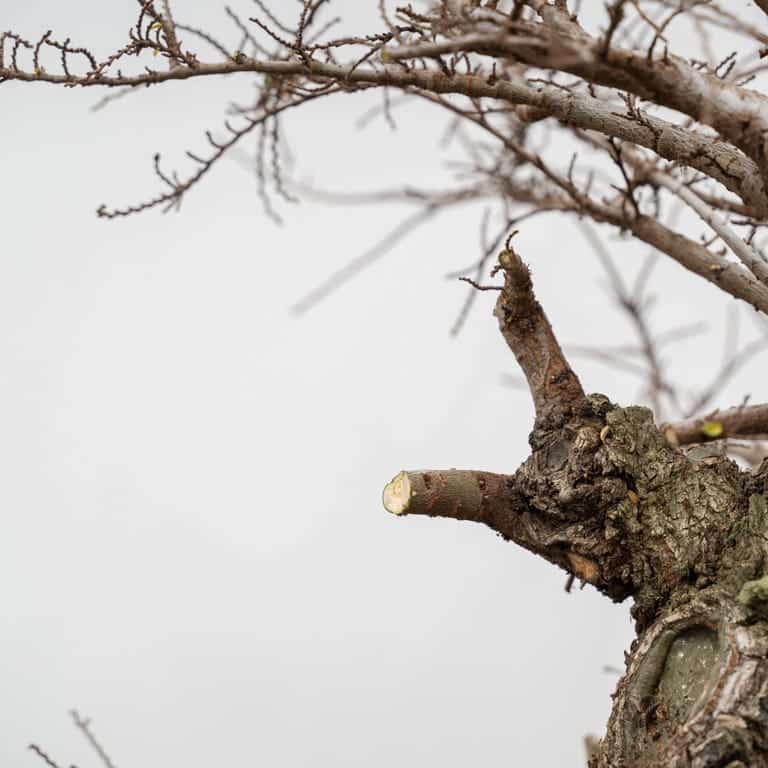
After reducing the branches
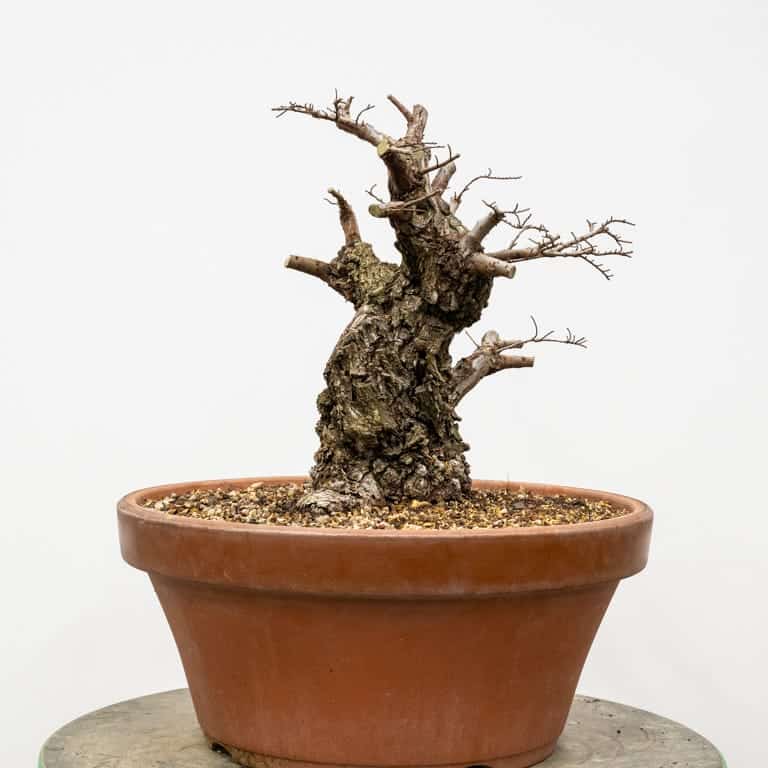
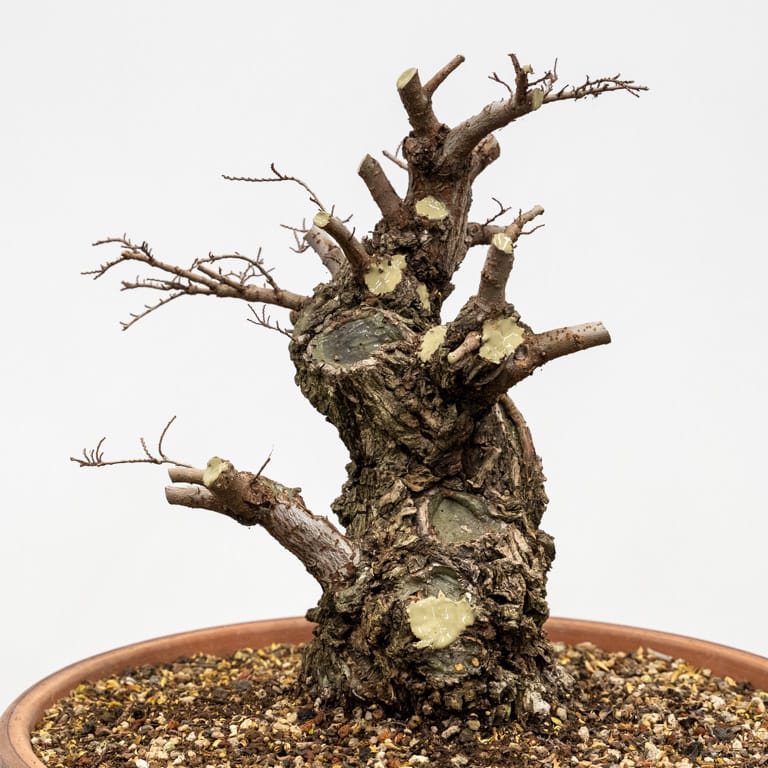
Here’s what the tree looked like after thinning crowded areas and shortening the long branches.
After pruning – candidate front #1
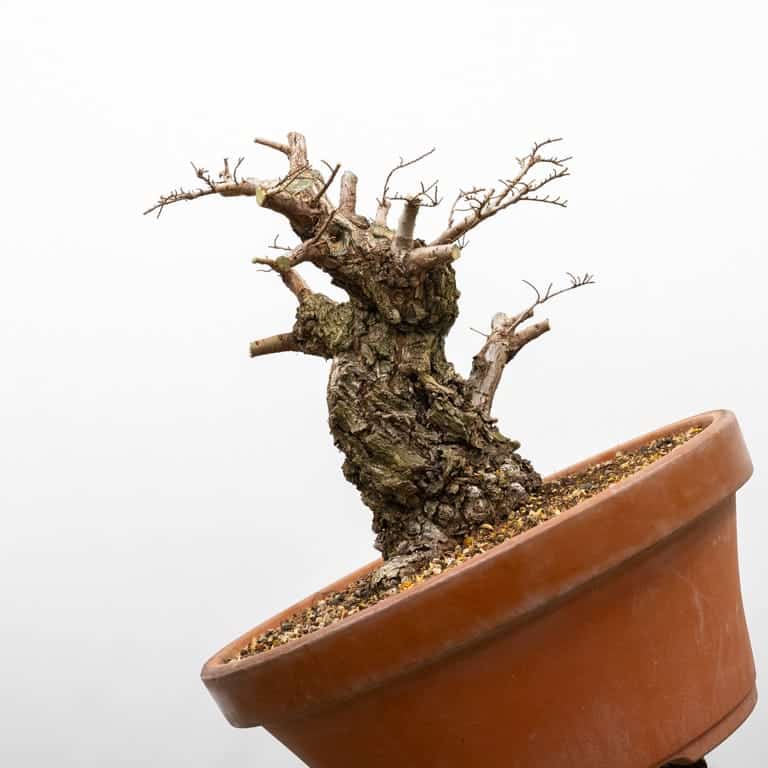
Another option for the front is to rotate the tree so that the large branch on the left side is visible.
Candidate front #2
The other side of the trunk makes a great “back” for the tree as all of the scars are on this side.
Scars on the back of the tree
The main reason I left the large branch midway along the trunk is that I wanted to avoid making another large scar.
Not totally satisfied with my options for the front, I tried tilting the tree to the left and right sides to see if that could make a difference. Tilting the tree to the right made the upper section of the trunk point straight up so that wasn’t a good option. Tilting it to the left, however, could be interesting.
New angle – candidate front #3
The tree doesn’t need repotting for another year so I have time to think about which approach makes the most sense. In the meantime, I’ll let the tree grow freely until May or June at which point I’ll check to see if it’s ready for pruning again.