
Azaleas are well-known for having two repotting seasons – one at the end of winter before the spring growth emerges, and one after the flowers bloom in late spring.
I think of repotting in spring as a good option if there isn’t a chance to repot in winter and the tree doesn’t need significant root-work.
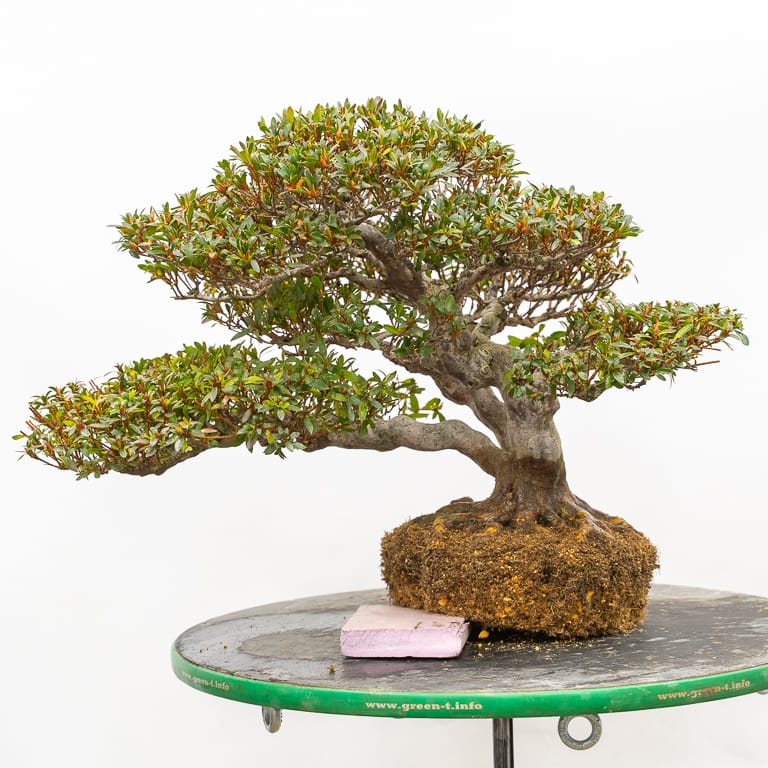
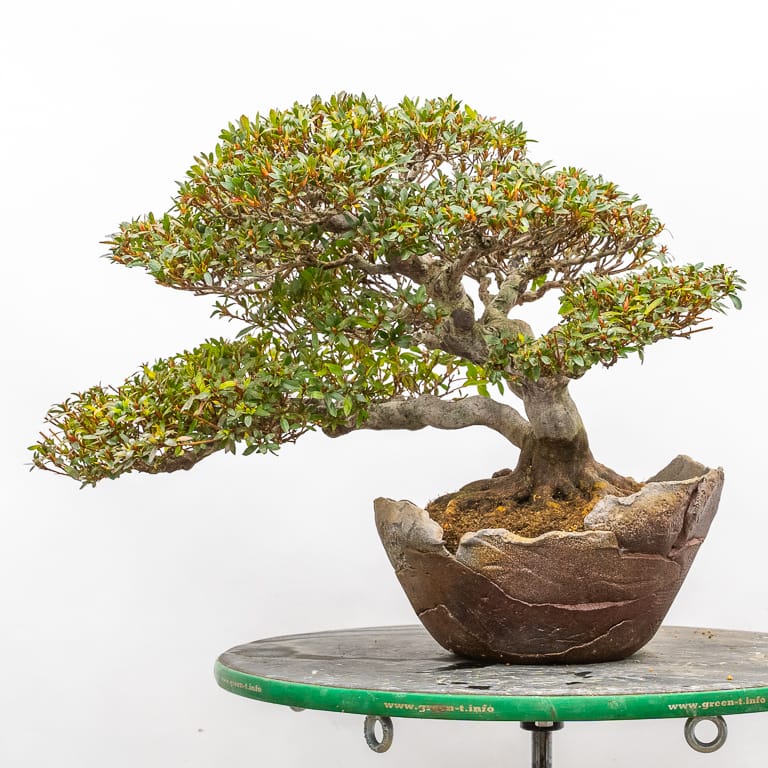
The satsuki azalea below was bare-rooted two years ago and has grown vigorously since then. My suspicion was that the tree could go another year but that the time was good for a repot if I could find the right container. I decided to go ahead with the repot.
Before getting started, I removed the long shoots and thinned to two branches in areas where three or more branches were growing.
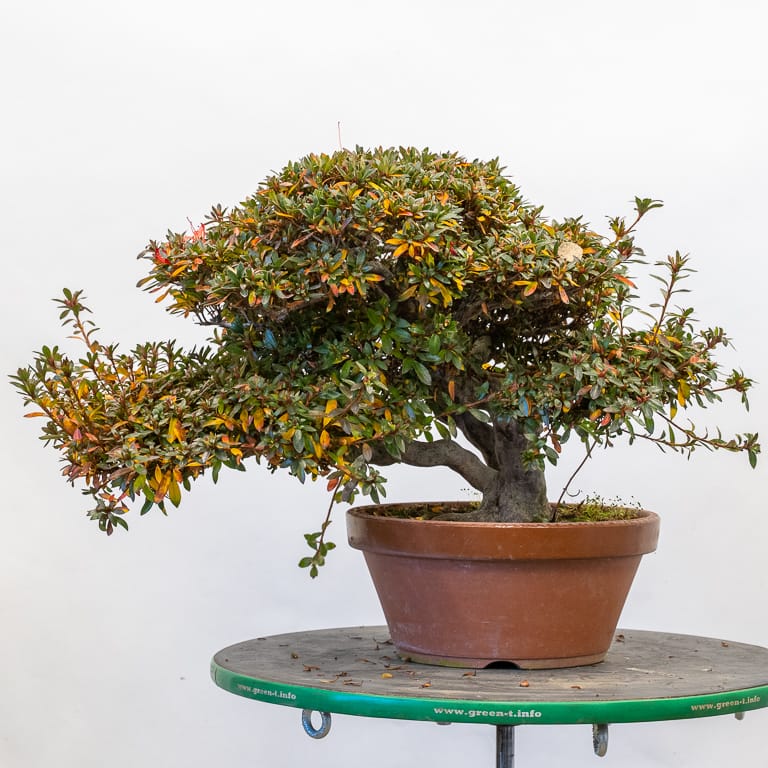
‘Kinsai’ satsuki azalea before thinning
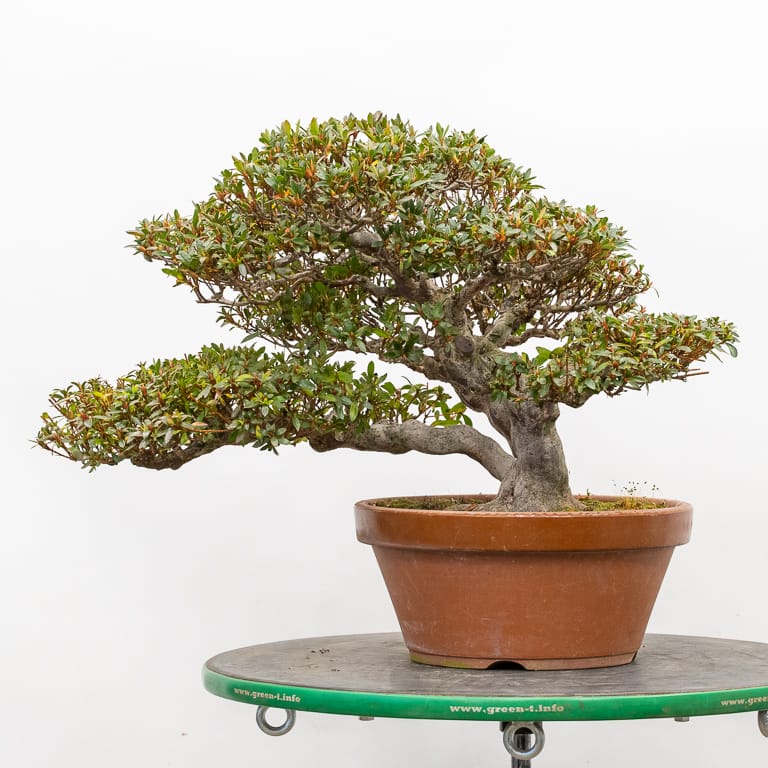
After thinning
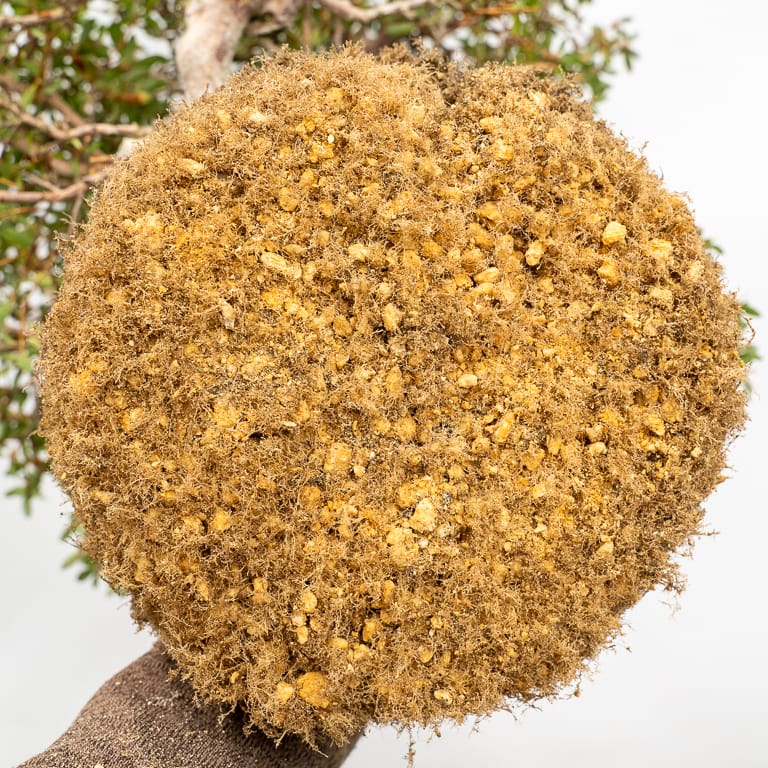
After cutting the tie-down wires I held the trunk in one hand and tapped the pot with a rubber mallet until the tree was free from the pot. Here’s what the root ball looked like.
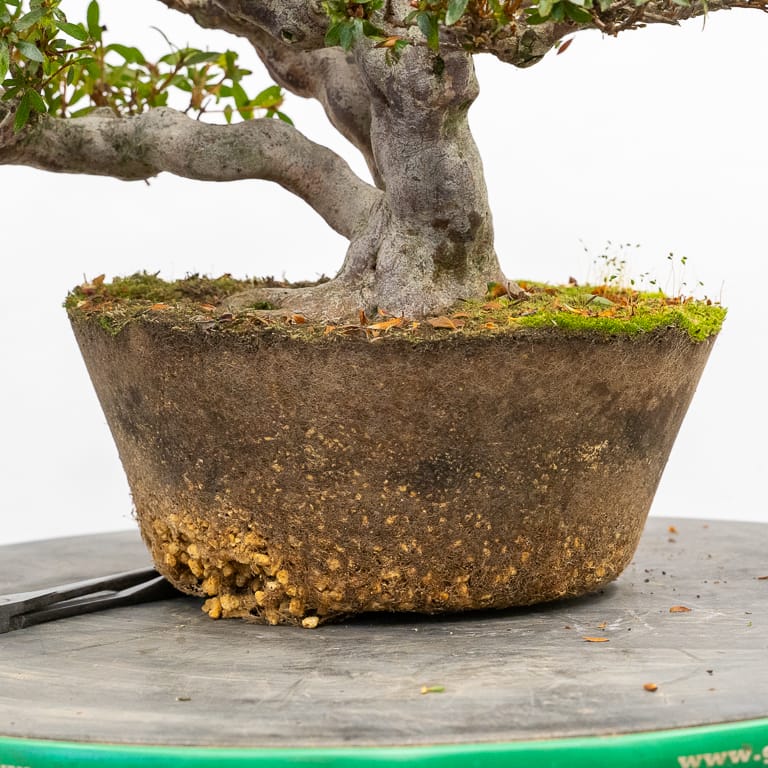
Root ball
As you can see, there are far more roots near the surface of the soil than there are near the bottom of the root ball. Unlike many species popularly grown as bonsai, azaleas favor the top of the soil for root development – a characteristic, paired with naturally fine roots, that makes them particularly susceptible to root damage when the surface of the soil dries out.
I typically bury the surface roots when I pot bare-rooted azaleas so I started removing the upper layer of soil in an effort to reveal the surface roots. Here’s what the root ball looked like after this work.
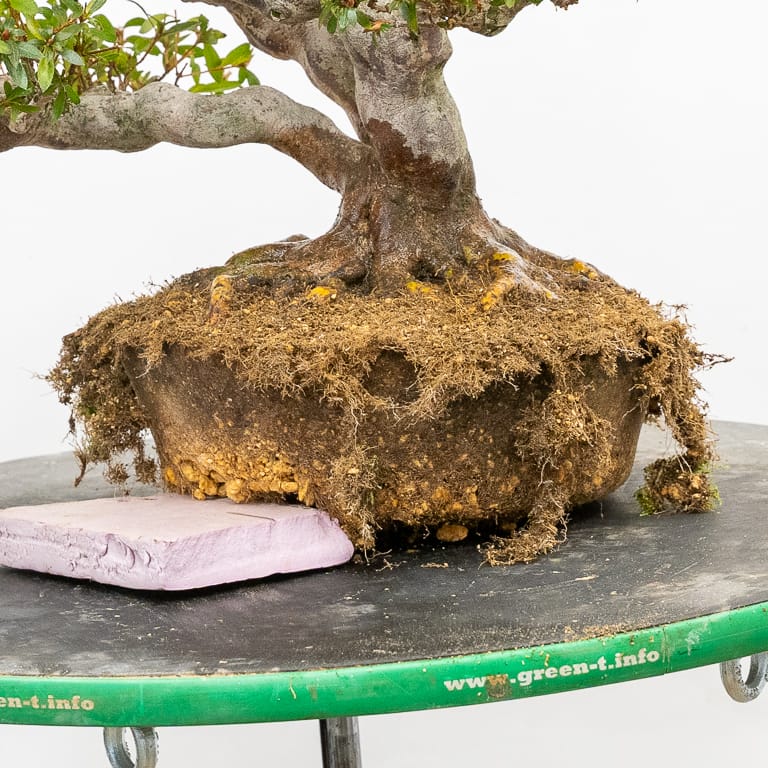
After revealing the surface roots
I worked on the bottom of the root ball next. There were far fewer roots there so the soil fell away quickly with the help of a root rake. Here’s what the bottom of the root ball looked like after removing the lowest layer of soil and trimming the roots.
Bottom of the root ball
I repeated the process on the sides of the root ball by combing out the roots that grew against the pot walls before trimming them.
Here’s what the tree looked like when the root-work was complete.
Root-work complete
Next, I had to find a suitable container for the tree. I’ve had trouble finding pots for cascade and semi-cascade bonsai recently so I knew I only had a few options to choose from. Here’s what I found.
Antique Chinese pot
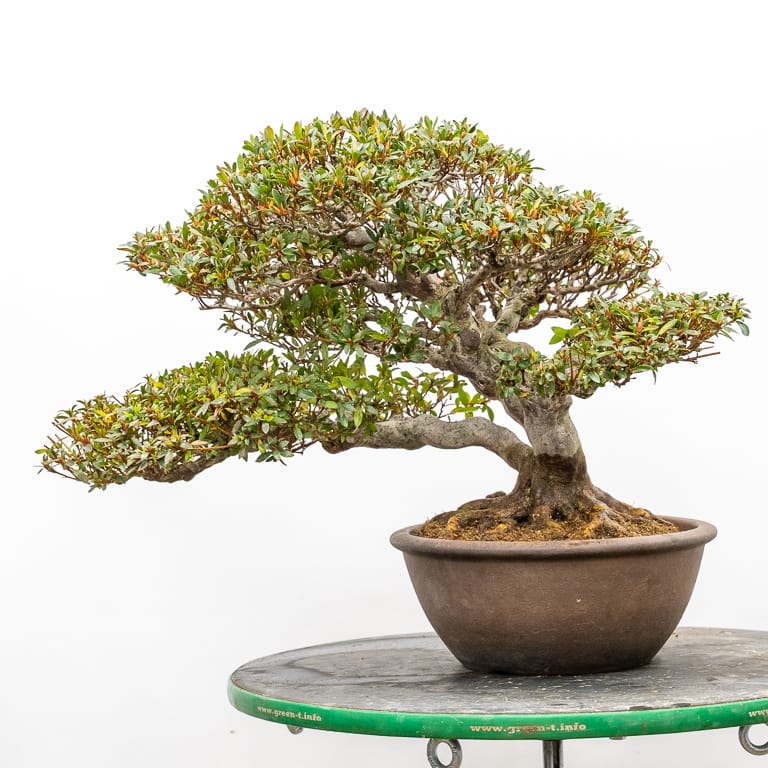
The antique Chinese pot was a good match for the tree, but it was on the small side. I think it would be a good choice for an exhibit, but I’m not planning to show the tree this winter so I wanted to go with something larger.
Blue glazed pot
The blue glazed pot is a more comfortable size for the tree, and the color would be a great complement to the red flowers in spring, but I wanted to see if I could find a better option.
Jan Rentenaar pot
The Rentenaar pot didn’t occur to me until I passed by it when I was checking for alternatives to the pots above. It turned out to be a good fit.
Before inserting drainage mesh and tie-down wires, I scrubbed the pot with a brush and water to remove algal build-up. What I found was that the drainage holes were made on insets that allowed water to pool up to 1/4″ deep in the bottom of the pot.
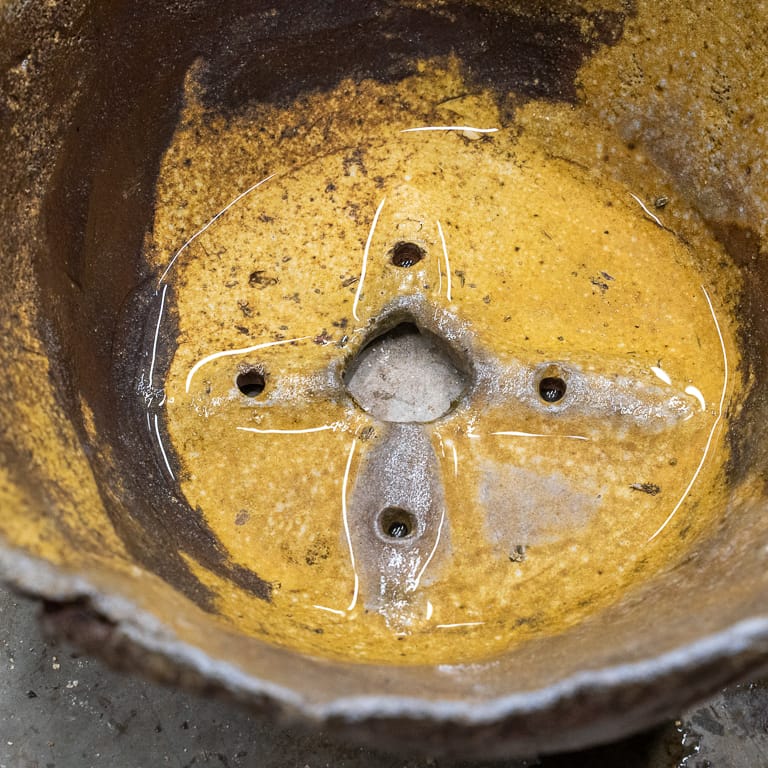
Standing water
I didn’t want so much water on the bottom of the pot so I added one additional drainage hole to each quadrant of the pot.
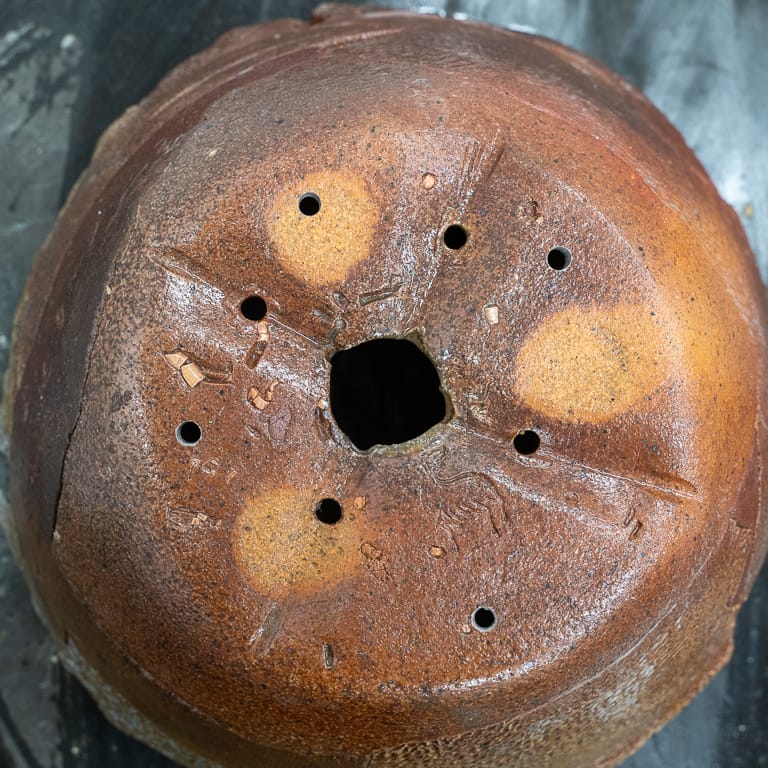
Drainage holes
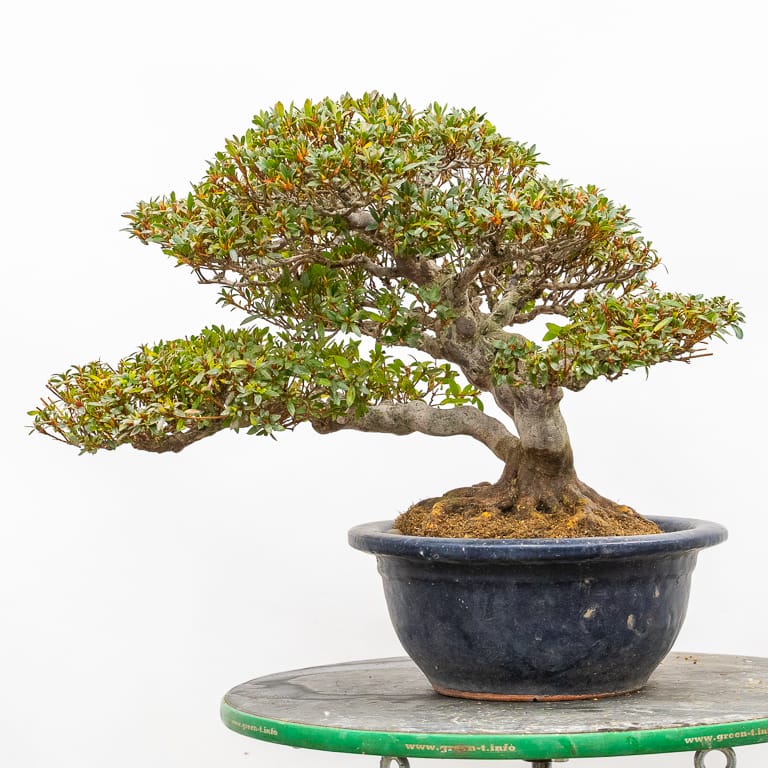
The rest of the repotting was straightforward. After working fresh kanuma into the roots, I applied a layer of mountain moss to retain moisture near the surface of the soil. Here’s the tree in its new pot.
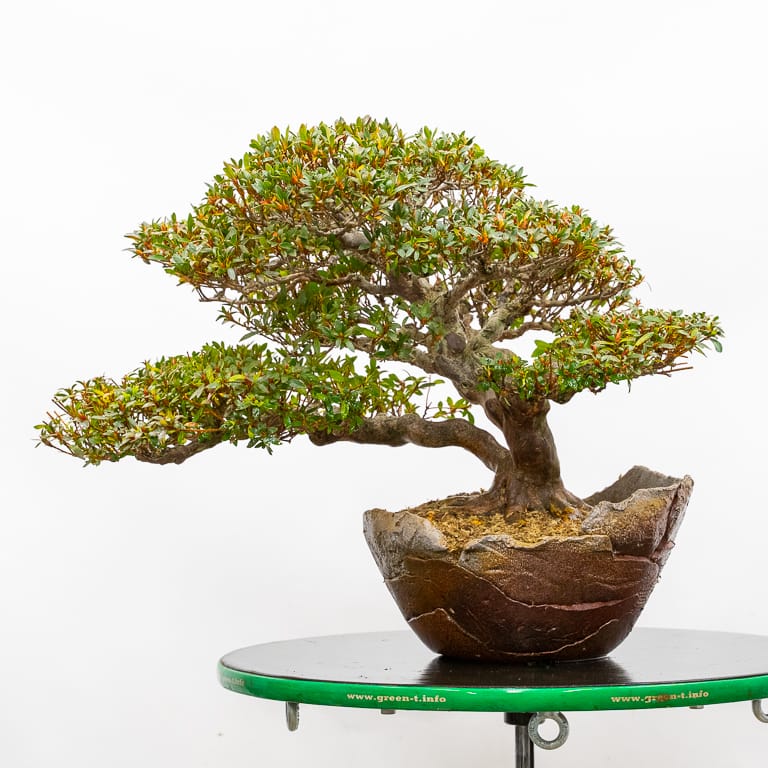
Repotting complete – 15″
The pot is still on the small side so I’ll be paying attention to how much water the tree needs this year. If it dries out quickly I’ll try to find a slightly larger pot for next year.