
When you have a good trunk to work with and the goal is to improve the branches, you’re working with a tree in the middle stages of development. For pines with large trunks, this stage can last five to ten years or more, depending on your goals for the silhouette.
The two pines below were grown by Chris and Lisa Kirk at Telperion Farms east of Salem, Oregon. My guess is that they are close to twenty years old, give or take.
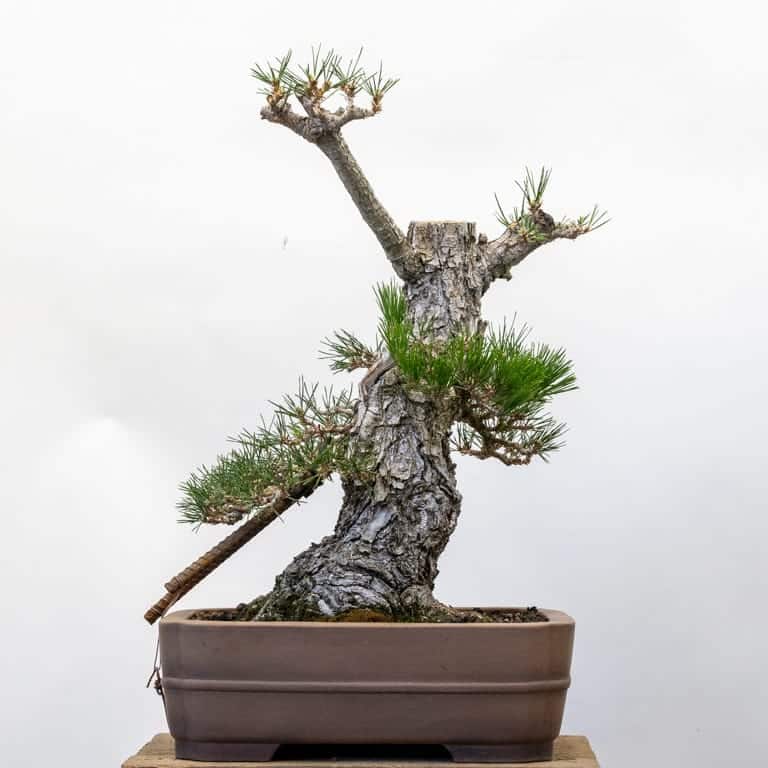
I’d originally planned to make a large bonsai from the tree below but have since changed my mind and am now aiming to make a medium size bonsai. In time, I’ll reduce the trunk just above the lower cluster of foliage.
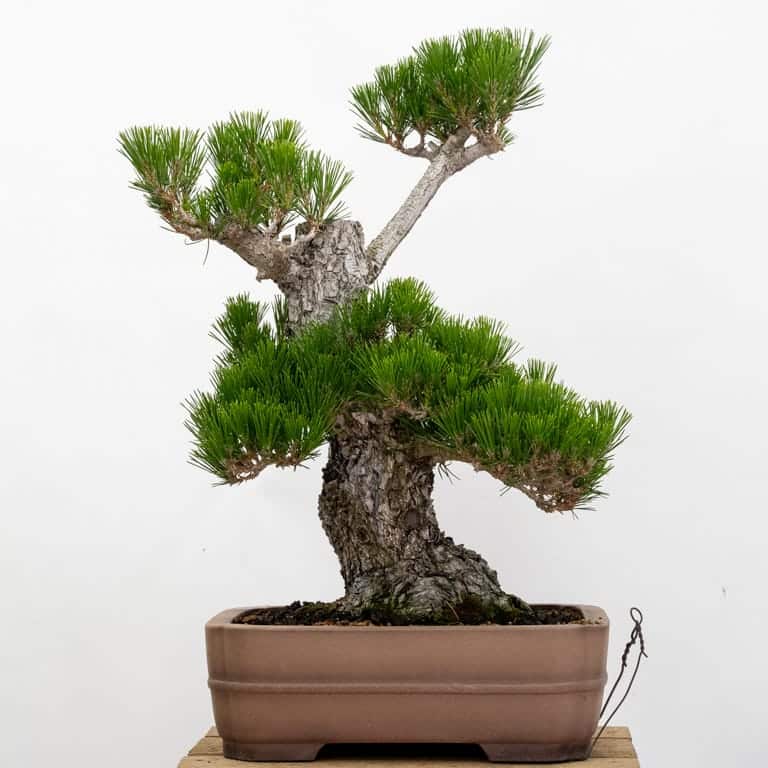
Black pine
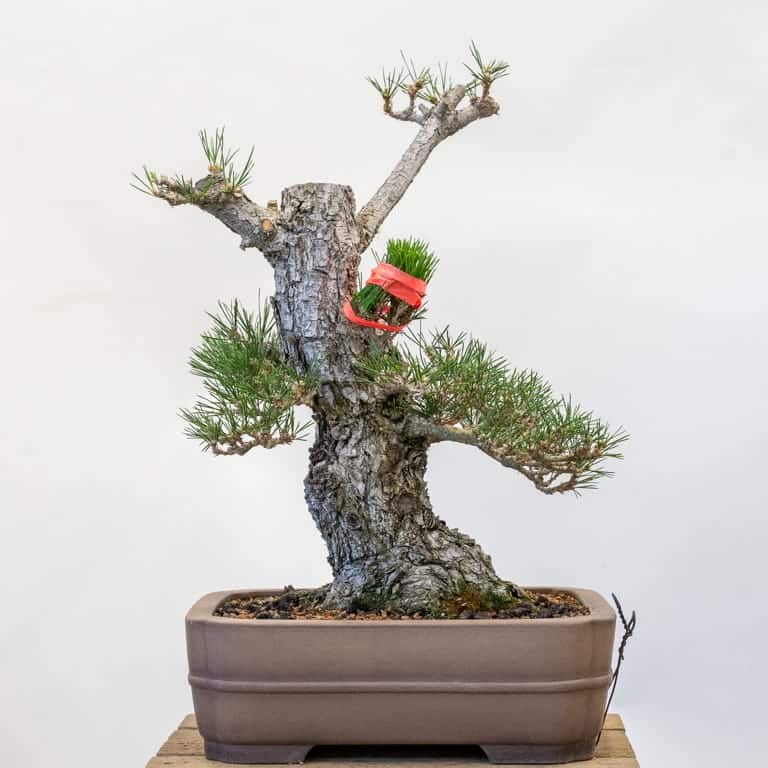
Because I want the branches that will form the new apex to grow rapidly, I’ll avoid decandling them this year. (For a primer on how to decandle black and red pines, see Decandling, an in-depth guide.) The red tape helps me remember which shoots not to cut.

After decandling the lower branches
The next step was to thin the needles. I kept between three to five pairs per branch.
After thinning the needles
To get a head start on wiring, I used short pieces of rebar to lower the lowest branches on the right side.
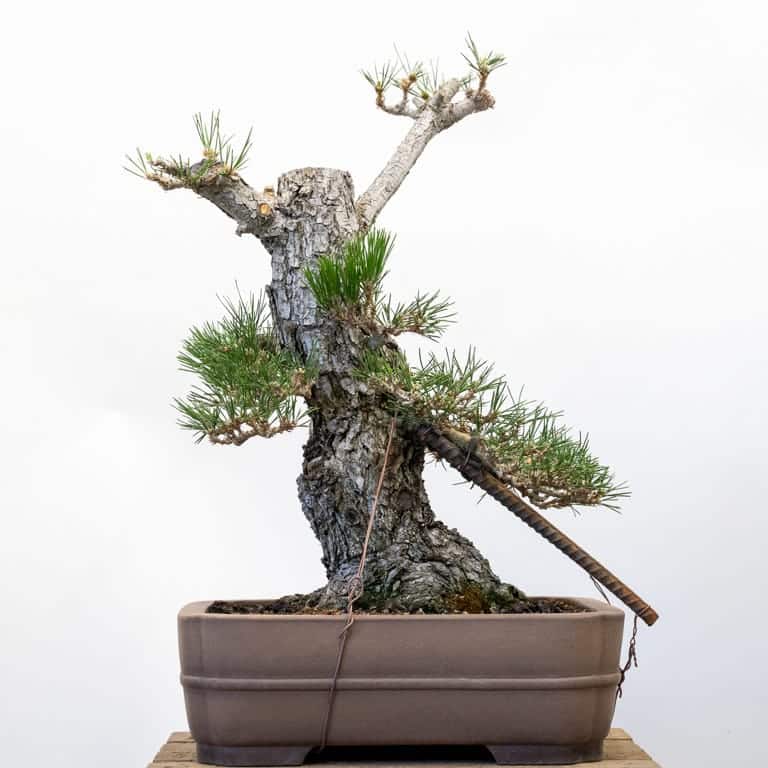
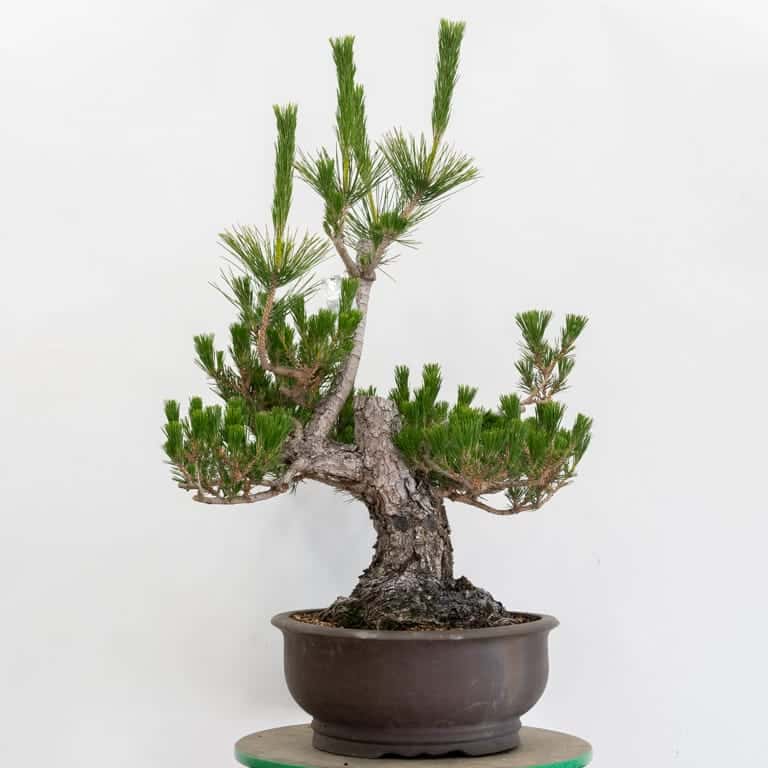
After wiring – 22″
The process looked similar on the back of the tree. I decandled all of the branches except for a row of shoots on the main back branch as I want it to grow longer.
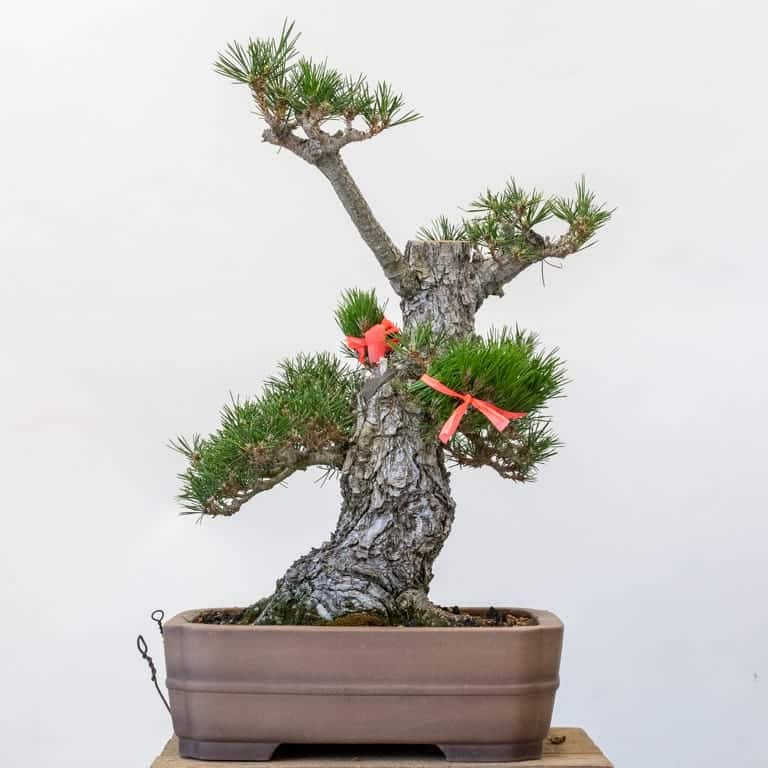
After decandling
After thinning needles and wiring
I kept, but decandled, the upper branches as I want to preserve as much sap flow through the trunk as possible. I’ll look to reduce the trunk once the new apex is bigger, likely in one to two years.
A slightly larger pine got a similar treatment. Because the branches are already on the long side, I shortened them after decandling. And because the tree is strong, I decandled every new shoot (except for the sacrifice branch extending from the new apex) in an effort to gradually slow the tree down.
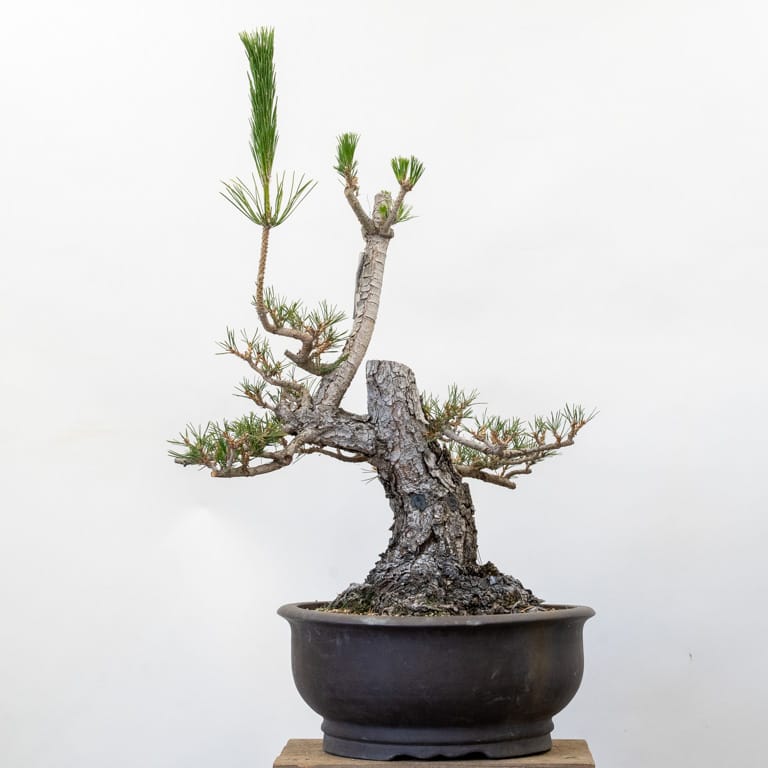
Before decandling
After decandling and thinning needles
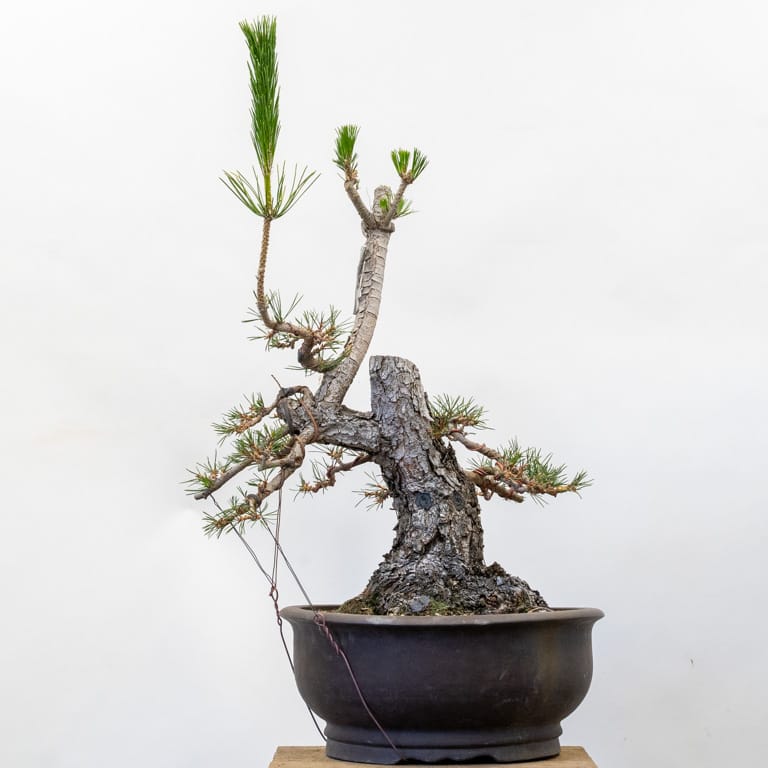
After wiring – 33″
As with the first tree, I preserved the old sacrifice branch in an effort to maintain good sap flow on all sides of the trunk to preserve as many roots as possible and increase the zones where I can graft new branches down the road.
I enjoy this work because it requires creativity and requires careful decisions about what to cut and what to let grow. This may result in trees that look funny on the bench for a few years, but it’s the fastest way I know of to create appealing bonsai with interesting structure.
News & Updates
Here’s a list of helpful links for learning more about the Pacific Bonsai Expo.
- Tickets and Merchandise
- Passes for our fundraiser, the Friday Evening Reception
- Donation and Sponsorship opportunities (page includes a link to our budget for the event)
And in case you missed our recent podcast episodes about the expo: