
Toward the end of 2014, I picked up an old cork oak bonsai that belonged to a former member of Bay Island Bonsai. The tree hadn’t been repotted for maybe 5-10 years. Getting it out of the pot took several hours – the whole repotting took more than a day.
At the time, the tree had little foliage or evidence of root growth. I put the tree in a wood box and waited for spring.
The tree grew – slowly at first, and then vigorously. After a couple of years of letting it grow freely, I cut back and wired the branches last year. Now, after three years in the box, it’s time to repot.
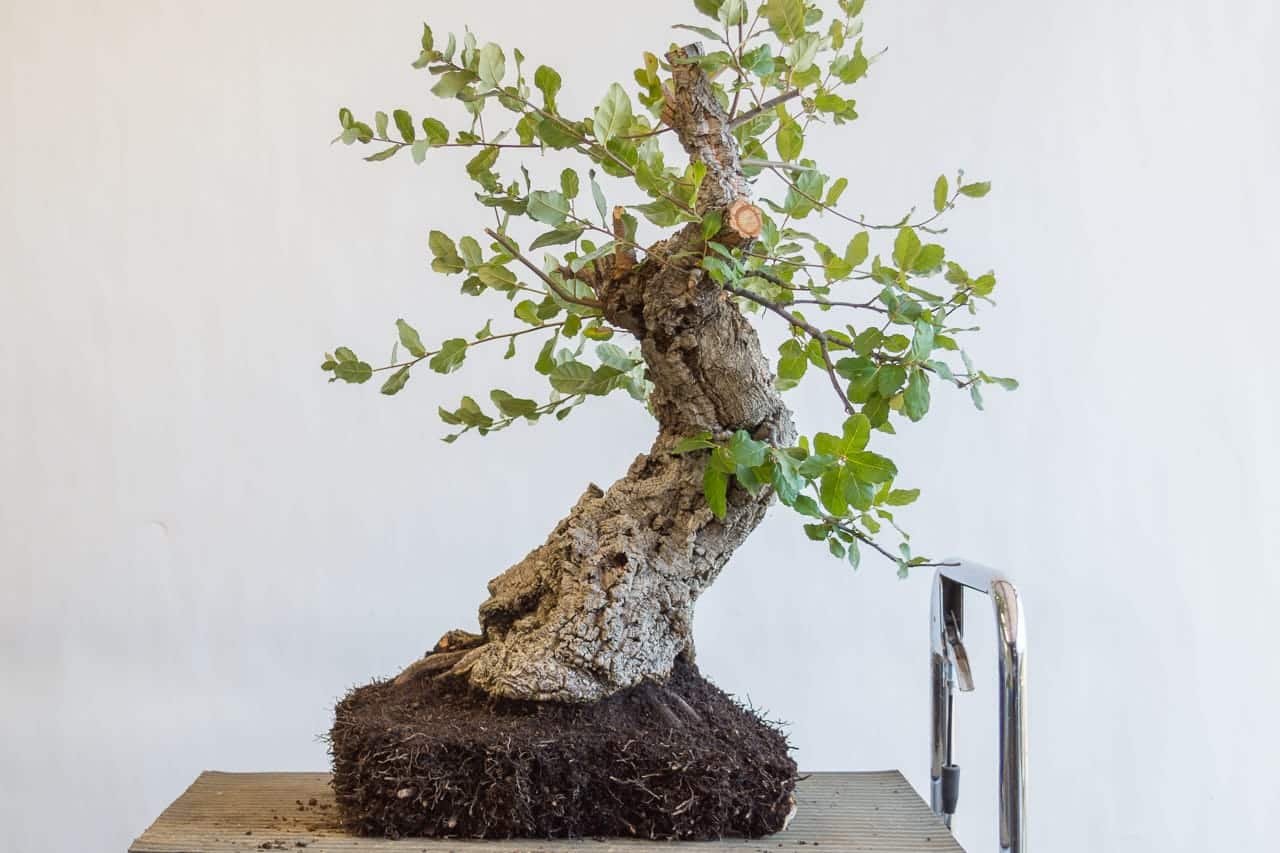
Skipping past this year’s cutback, here’s the oak in the wood box.
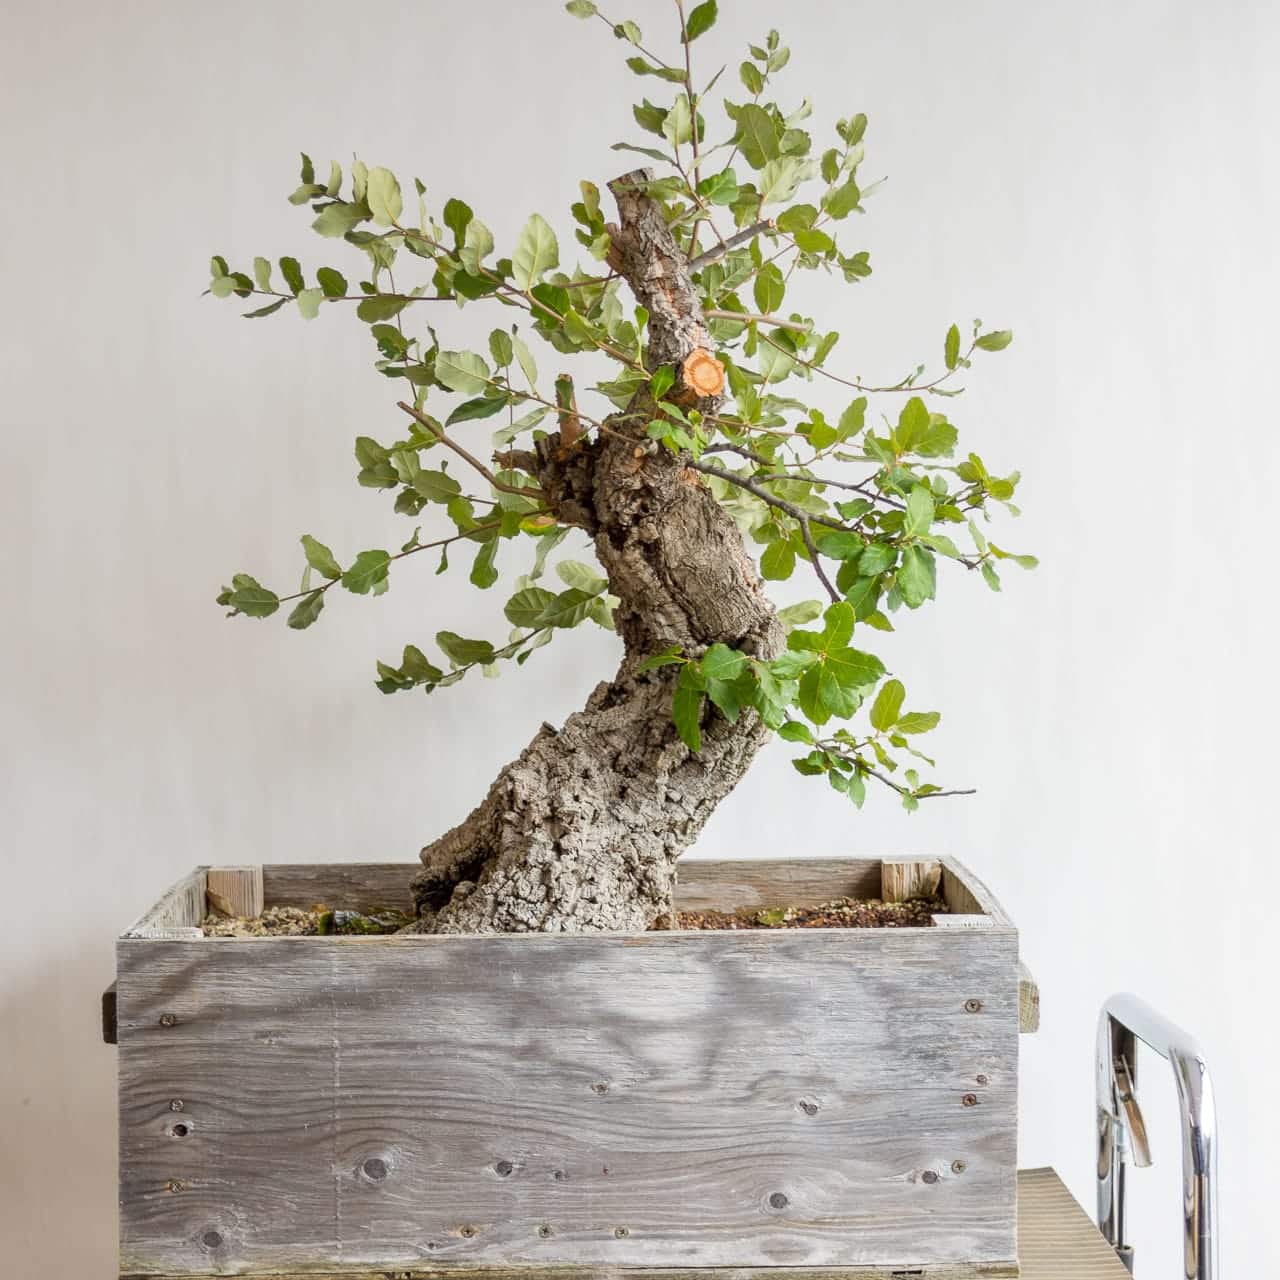
Cork oak – February, 2018
After the last repotting ordeal, I decided take a more civilized approach and enlist the help of a friend.
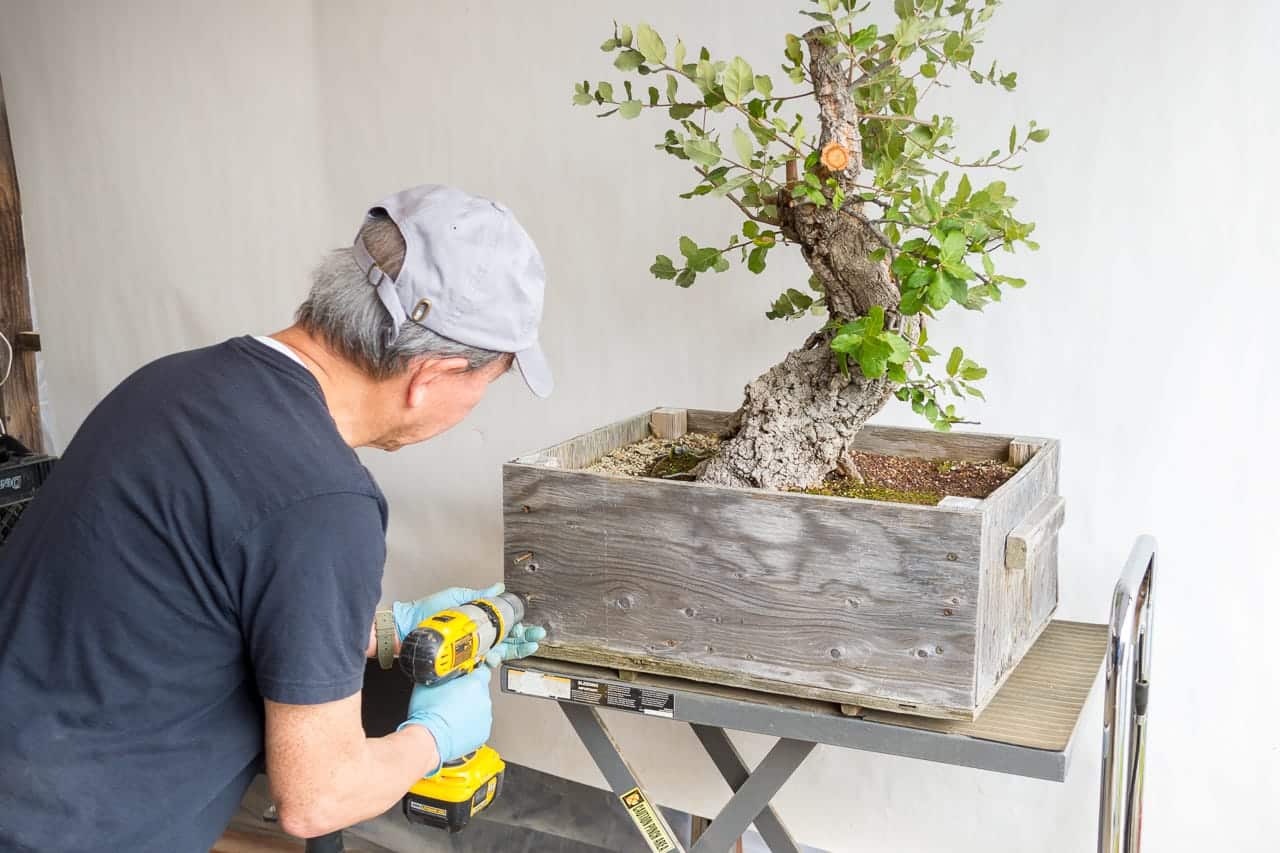
Lucky dismantling the box
After removing the first panel, I was happy to see lots of roots.

A window to the roots
There were a few white patches of some type of fungus – not sure if it’s beneficial or not – but there weren’t enough to be concerned about.
Once the tree was out of the box, I was struck by the angles made by the blocks that supported the box walls.
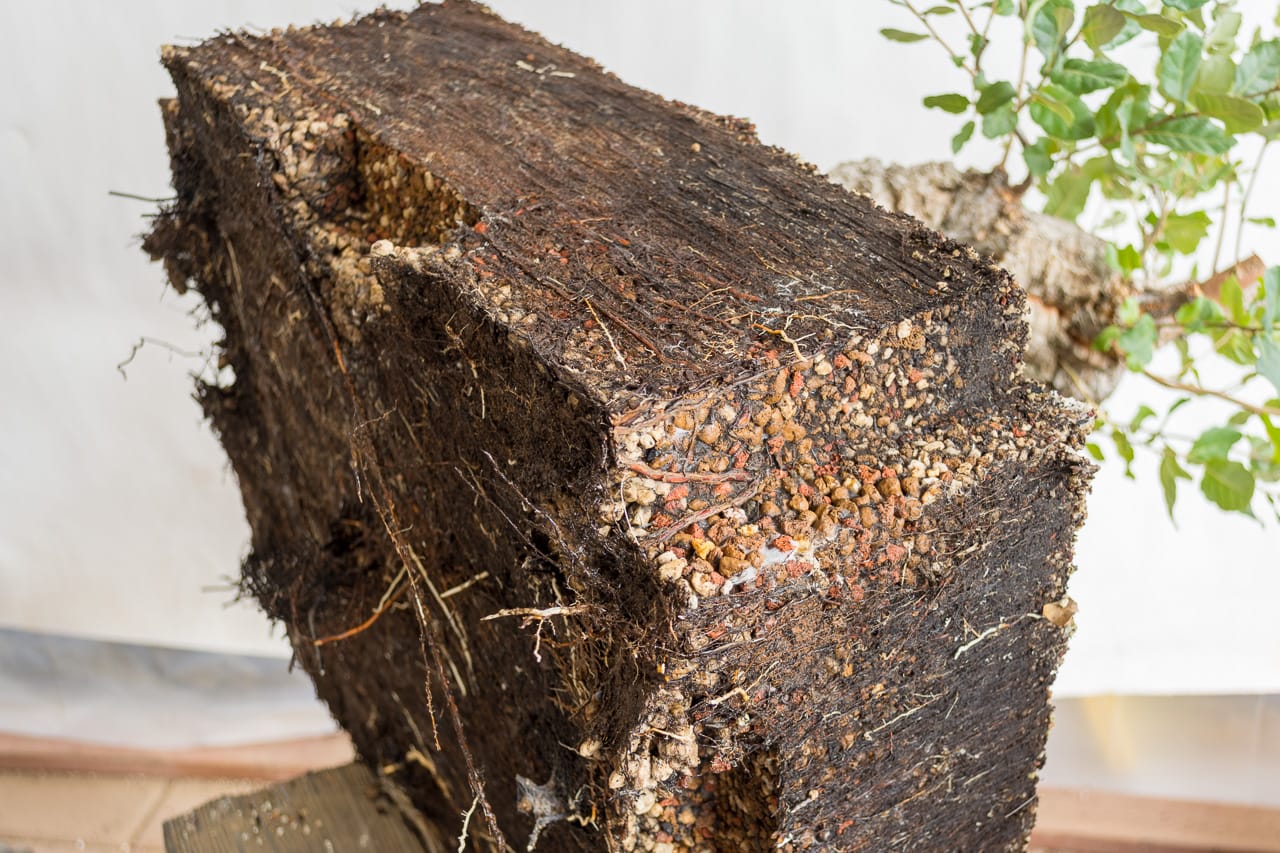
Angular root ball
Looking closer, I noticed that no roots grew next to the blocks.
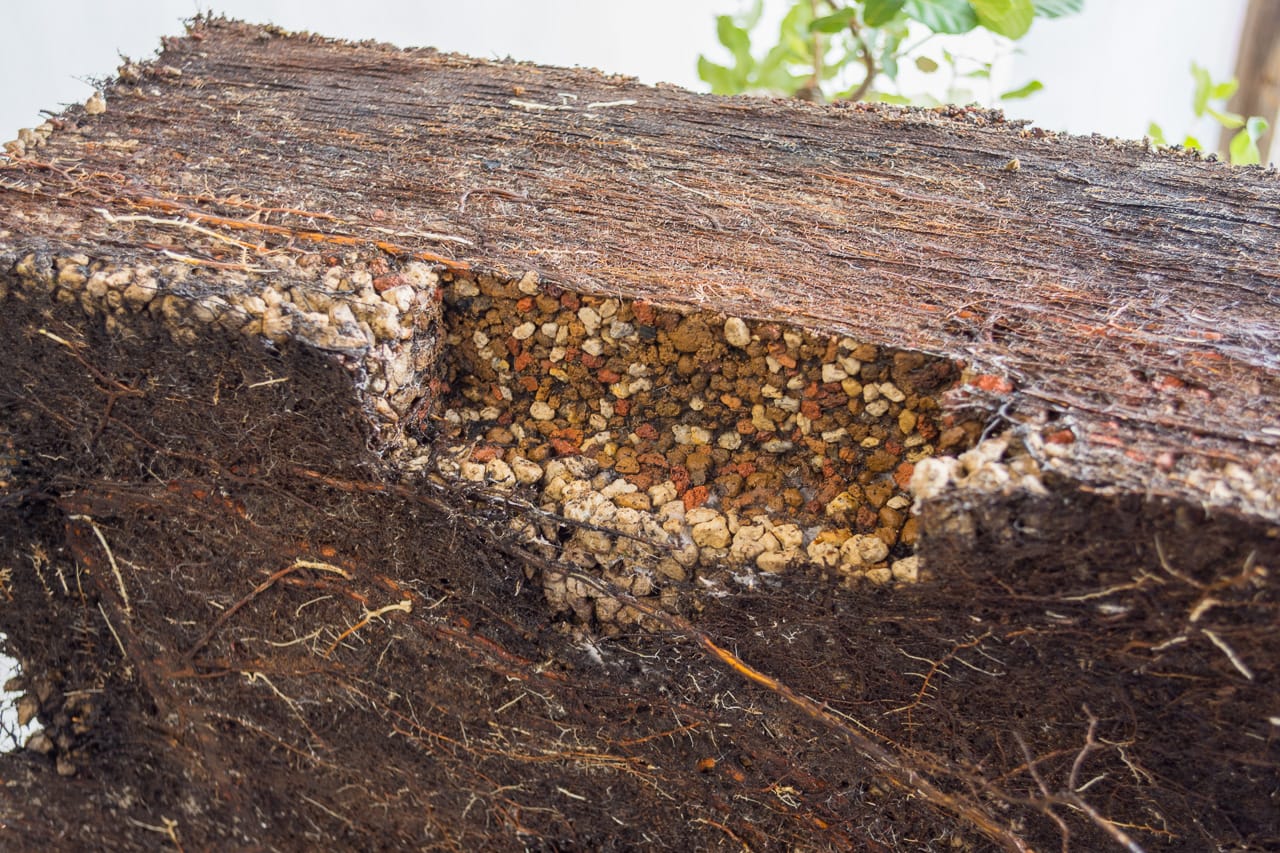
No roots in the cutout
I thought about why there were no roots growing against the edge of the box where the blocks were and came up with a single idea – that the edges of the box were warmer than the edges of the 2 x 2 blocks.
Once Lucky and I got started on the rootball, we found consistent root growth throughout the rootball. We removed about an inch of soil from the tree’s surface and several inches from the bottom, leaving the rootball about half as deep as it was when we started.
We then worked on the sides of the rootball, bringing it close to the size it was during the last repotting.
Rootwork complete
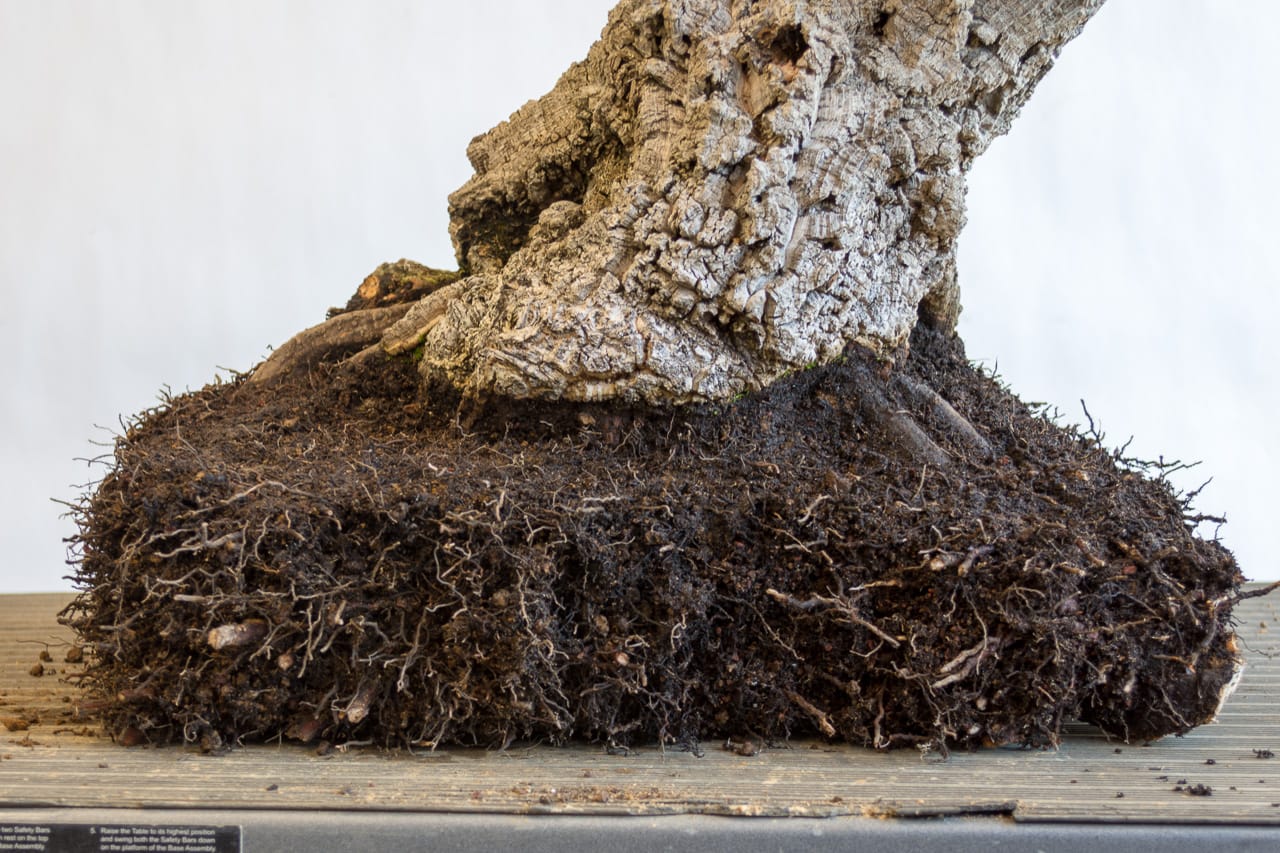
Closeup of the rootball
Normally I’d like to cull out more old soil from between the roots in this area, but as we’d already removed the majority of the roots, I thought this would be enough rootwork for this year.
Which meant it was time to select a pot.
Option #1 – new Chinese

Option #2 – new Chinese with cut corners
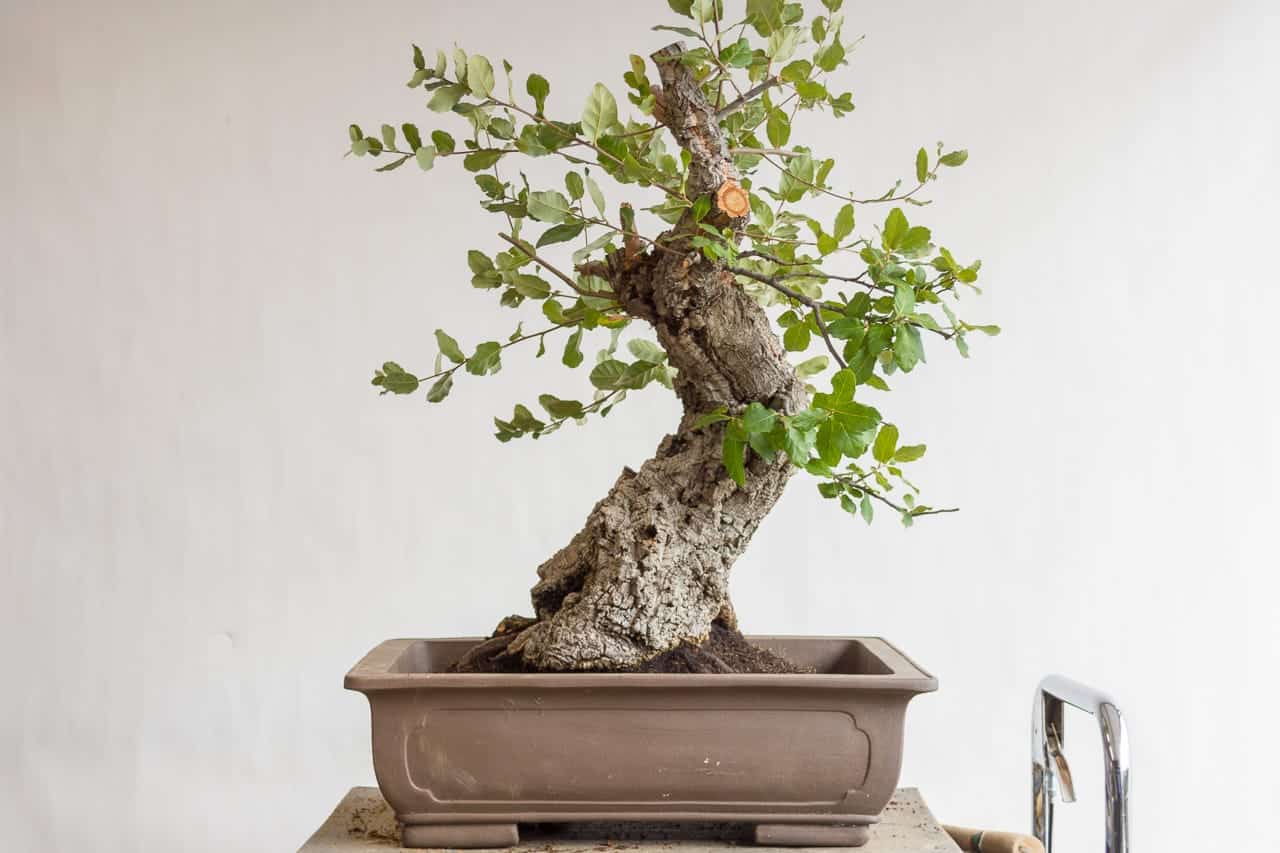
Option #3 – training pot

Option #4 – Handmade Gyouzan
(I wasn’t too serious about using the Gyouzan – and it’s a bit large for the tree – but I’ll happily try it out whenever I get the chance.)
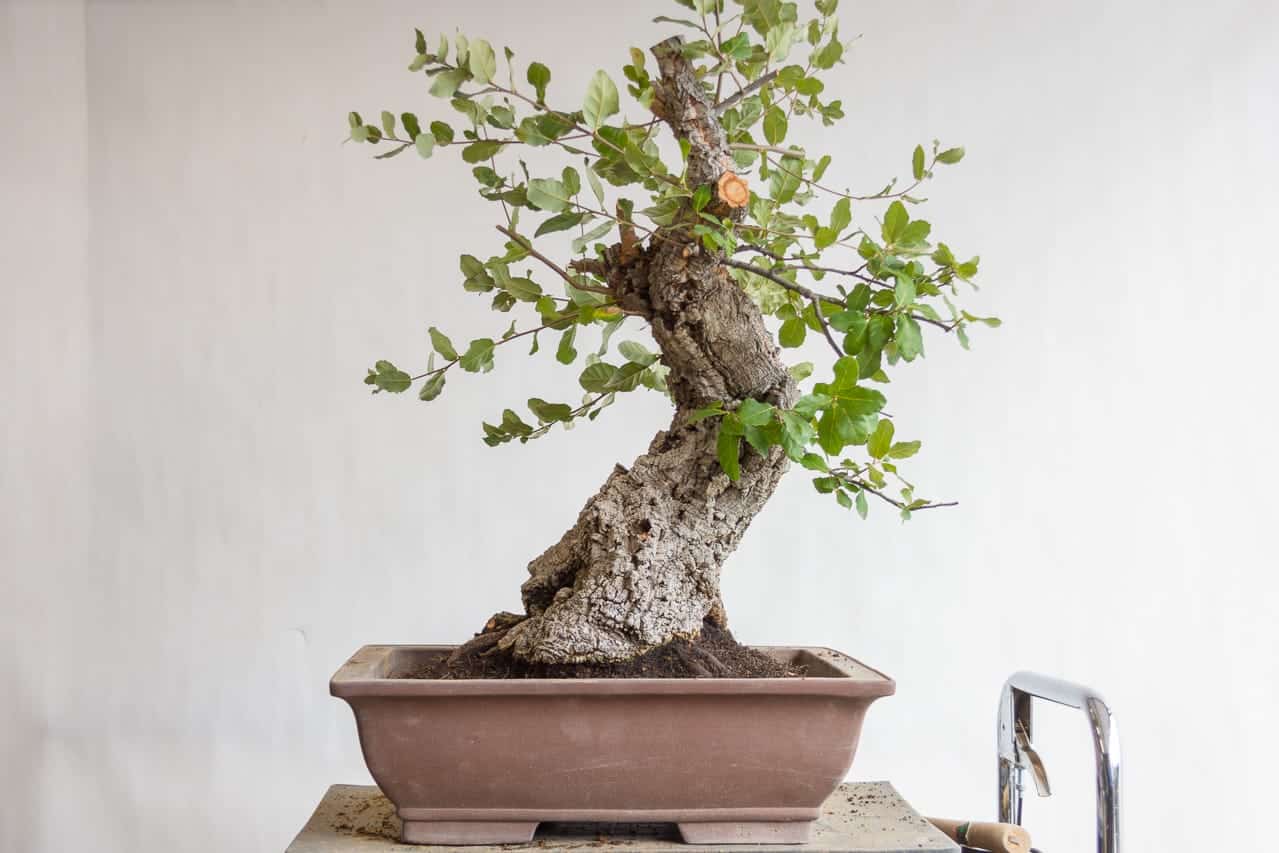
I went with the training pot as it’s a good size for the tree.
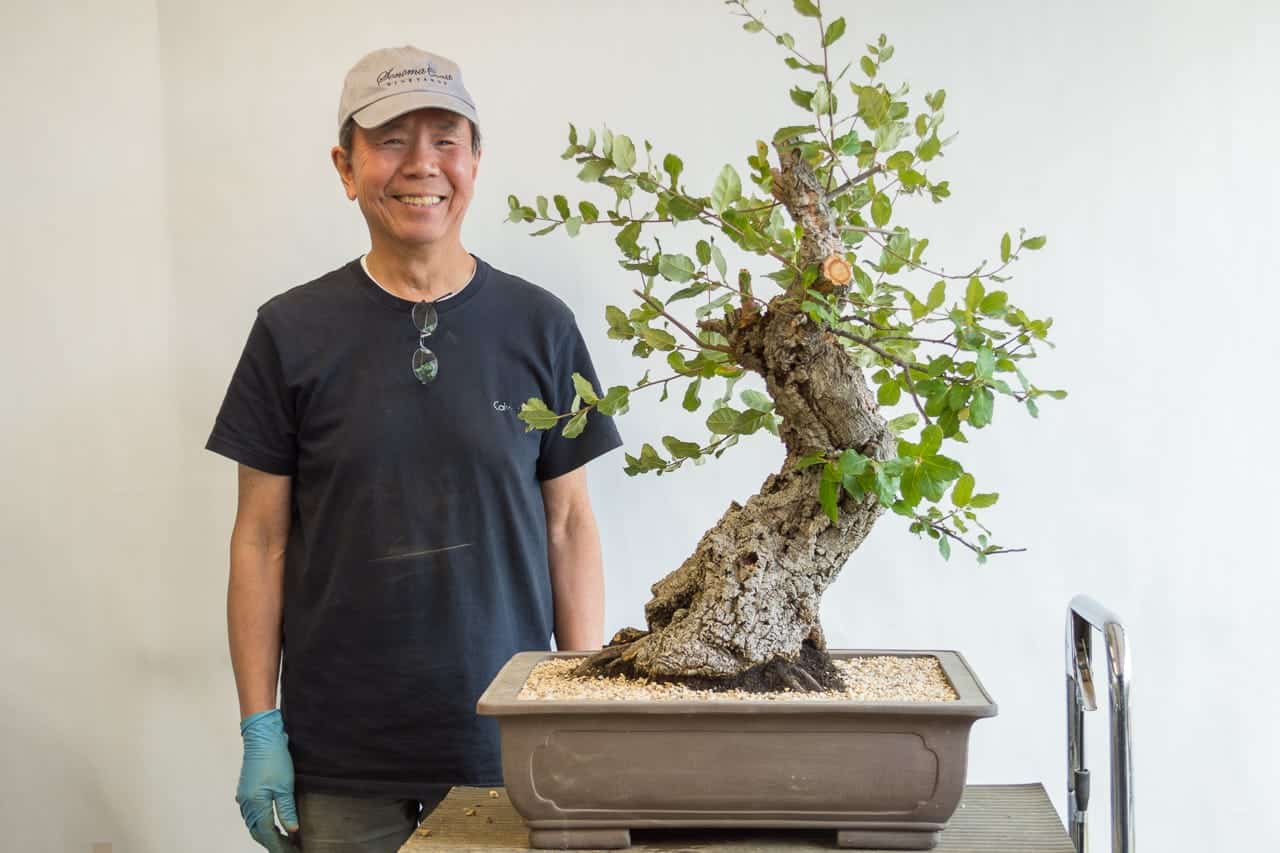
Happy with the work
Now that the tree is in a bonsai pot again, I can focus on developing the apex and primary branches. Although this work might progress faster in a bigger container, I’m curious to see how it goes in a smaller container. If the tree slows down too much, whether as a result of the recent rootwork or the new, smaller, container, I’ll hold off on the styling and get the tree back into a larger container.
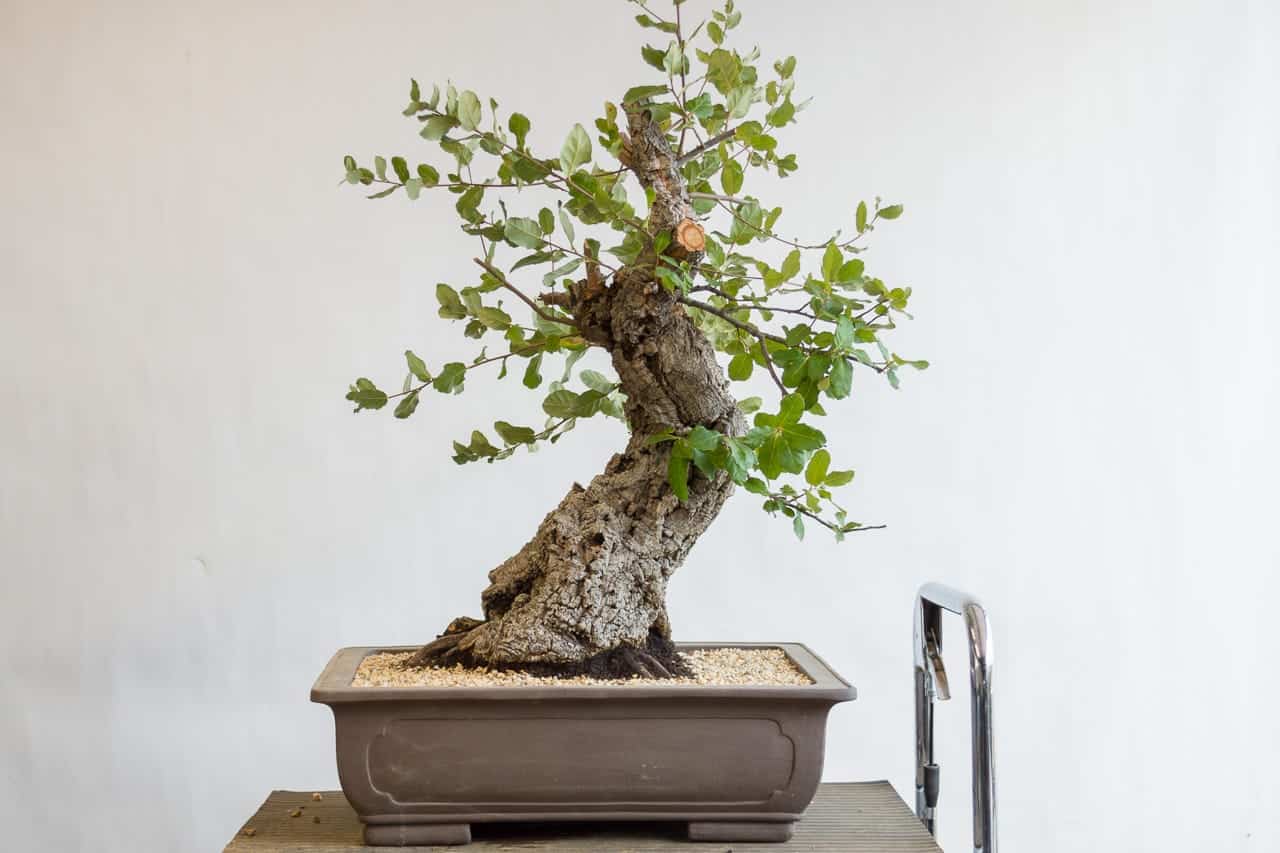
Repotting complete
The post Restoring an old cork oak bonsai appeared first on Bonsai Tonight.