
“Bonsai Jacks” are tools designed to bend heavy branches and trunks. They allow us to make these bends incrementally – and safely – by twisting a threaded rod.
The best way to describe their use is with an example, so let’s start there. Here’s a pine styled by Daisaku Nomoto with help from Boon Manakitivipart, Matt Reel and Tyler Sherrod at the 2016 Pacific Northwest Bonsai Convention held in Olympia, Washington.
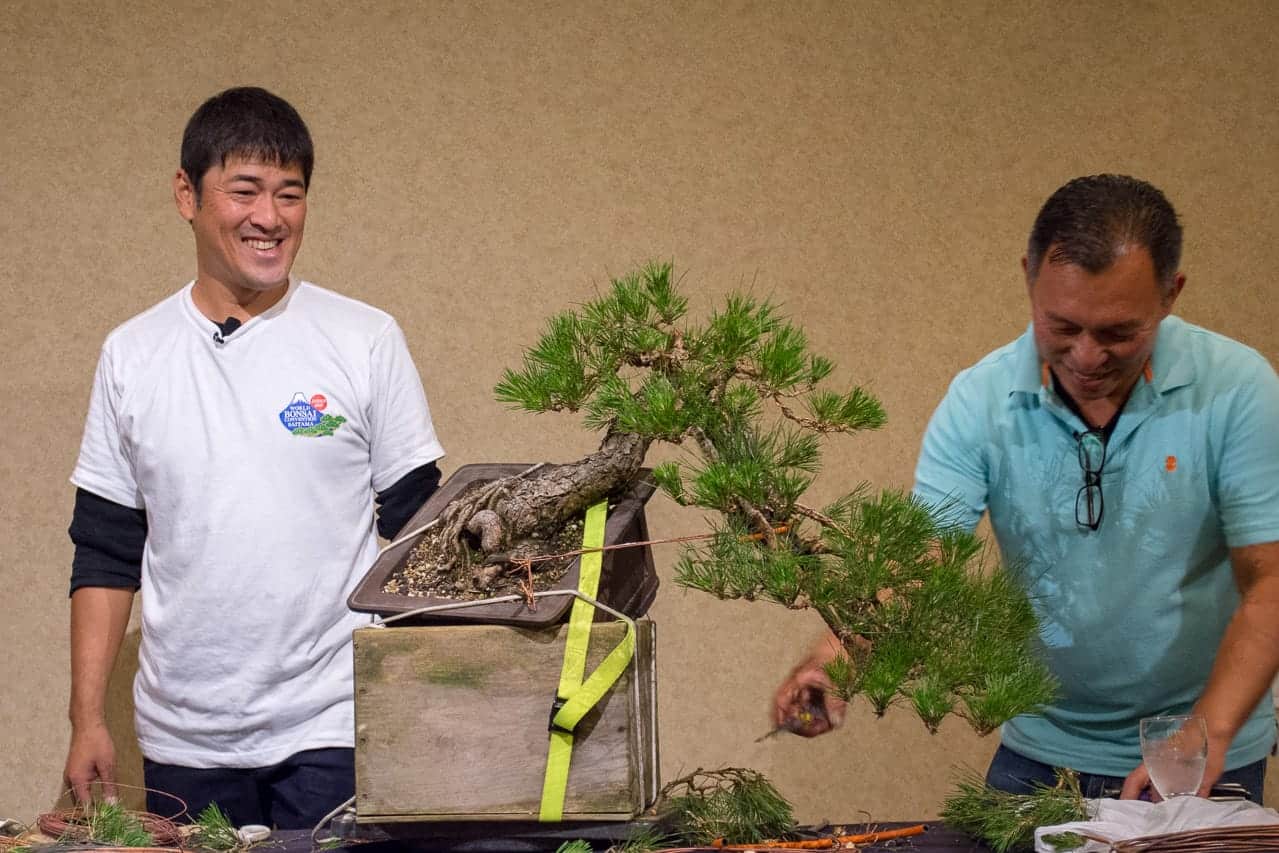
Daisaku Nomoto and Boon Manakitivipart after the demo
Daisaku bent the trunk of the pine significantly during the demonstration, but he noted that he wanted to bend the trunk further once the tree had recovered from the work. I acquired the tree at the event and found the perfect opportunity to complete the bend as Daisaku is currently visiting California. Here he is modeling the jack he’ll be using on the pine.
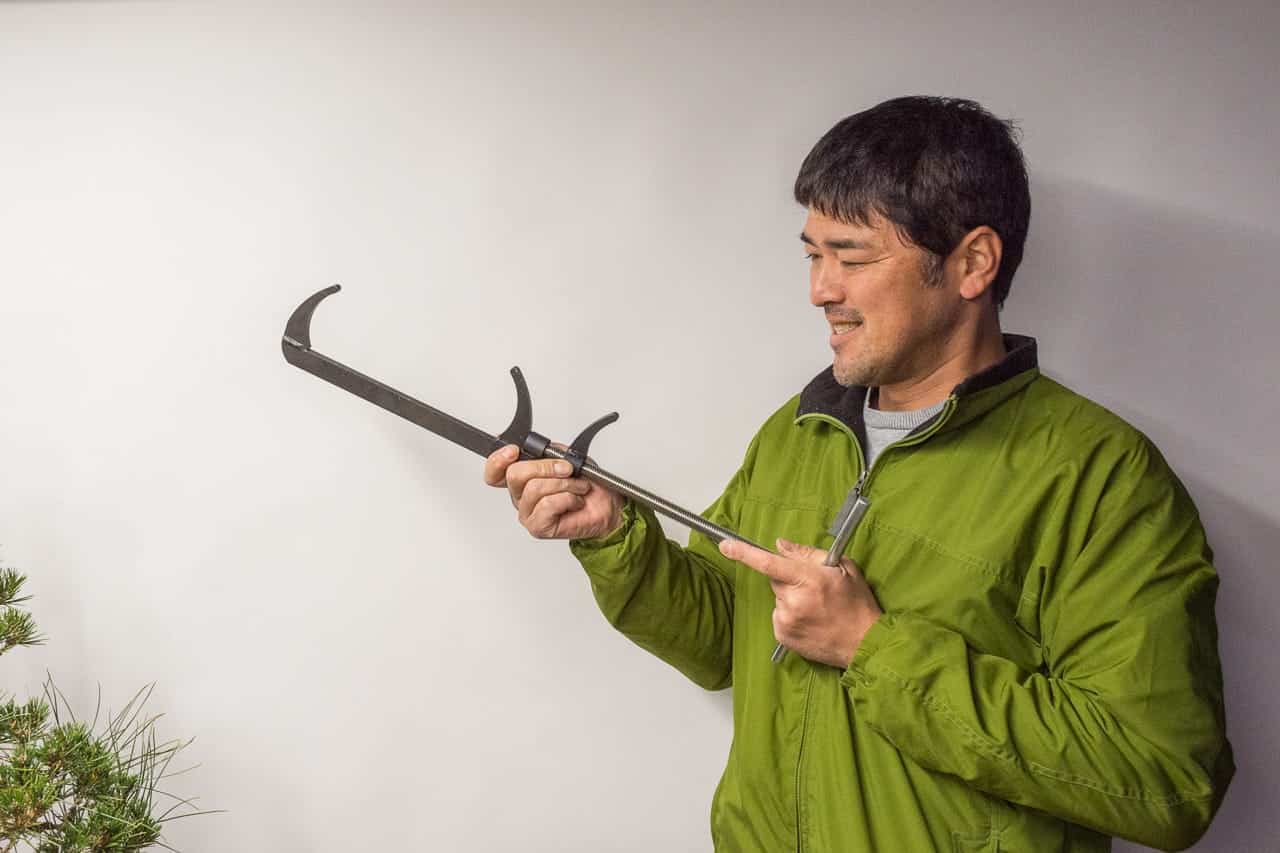
Daisaku and the bonsai jack
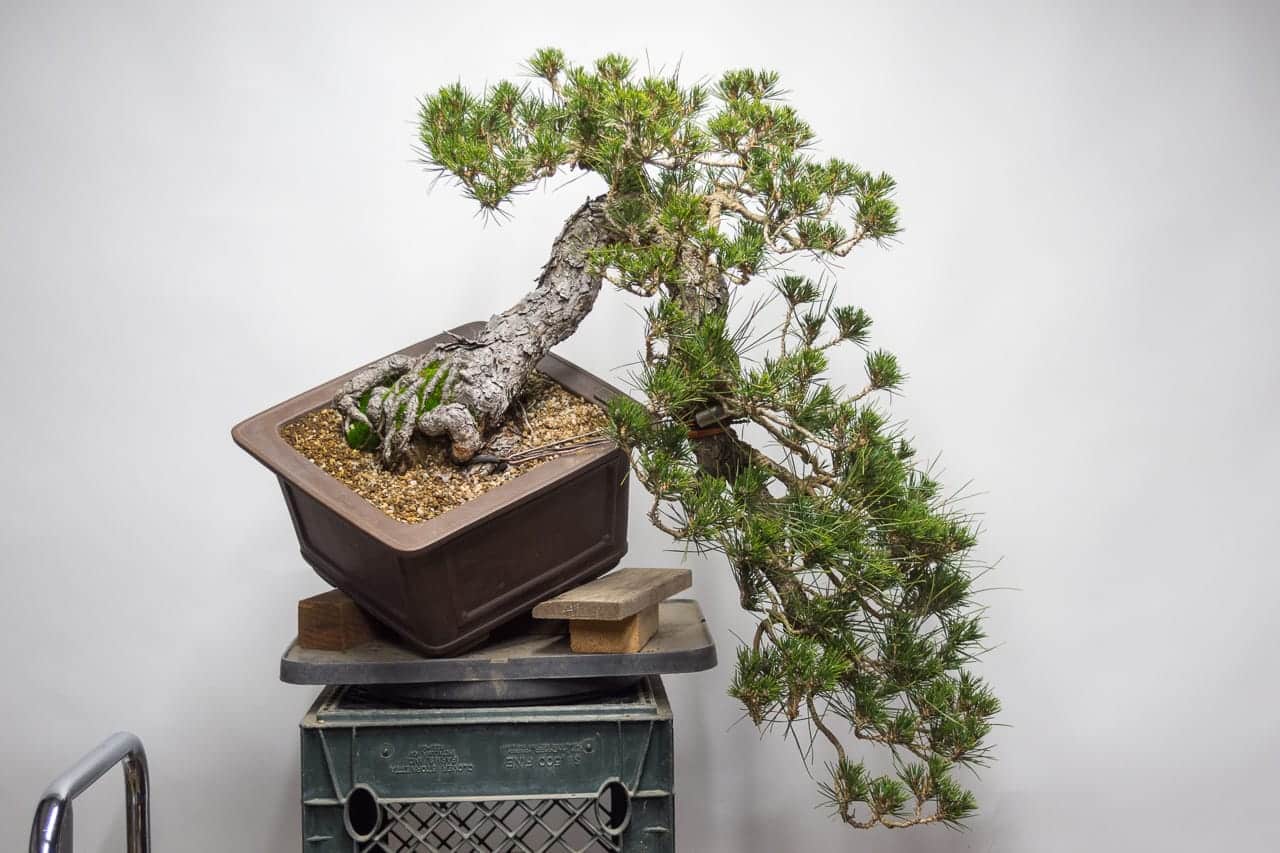
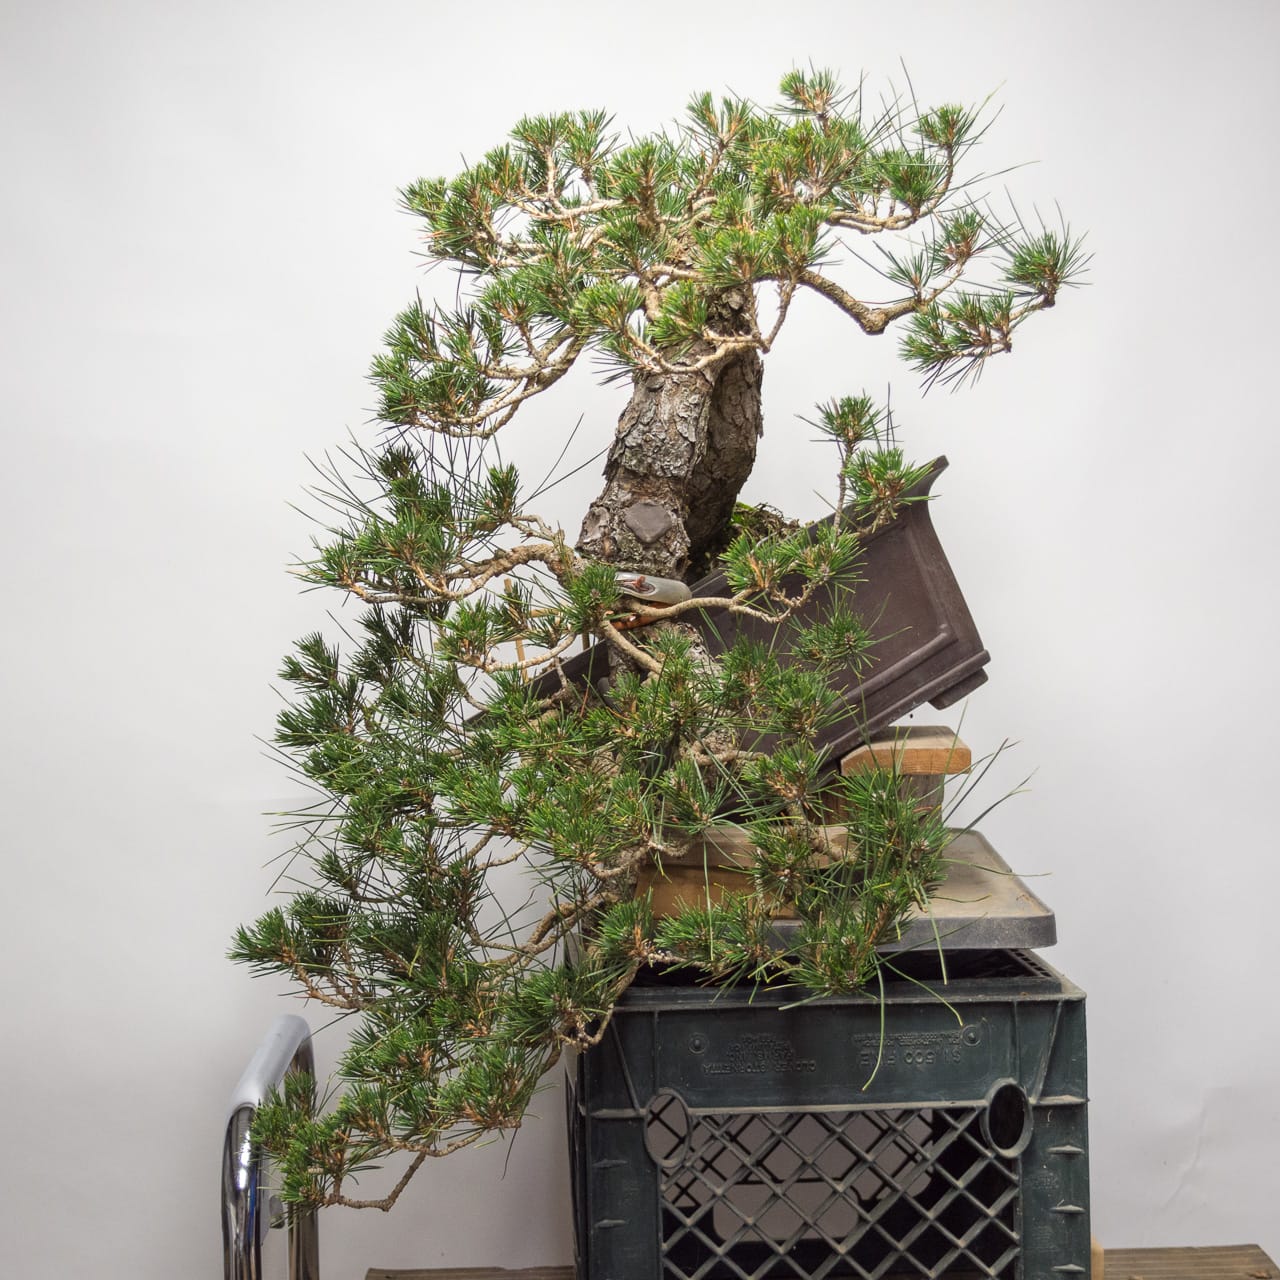
And here is a photo of the pine before making the bend.
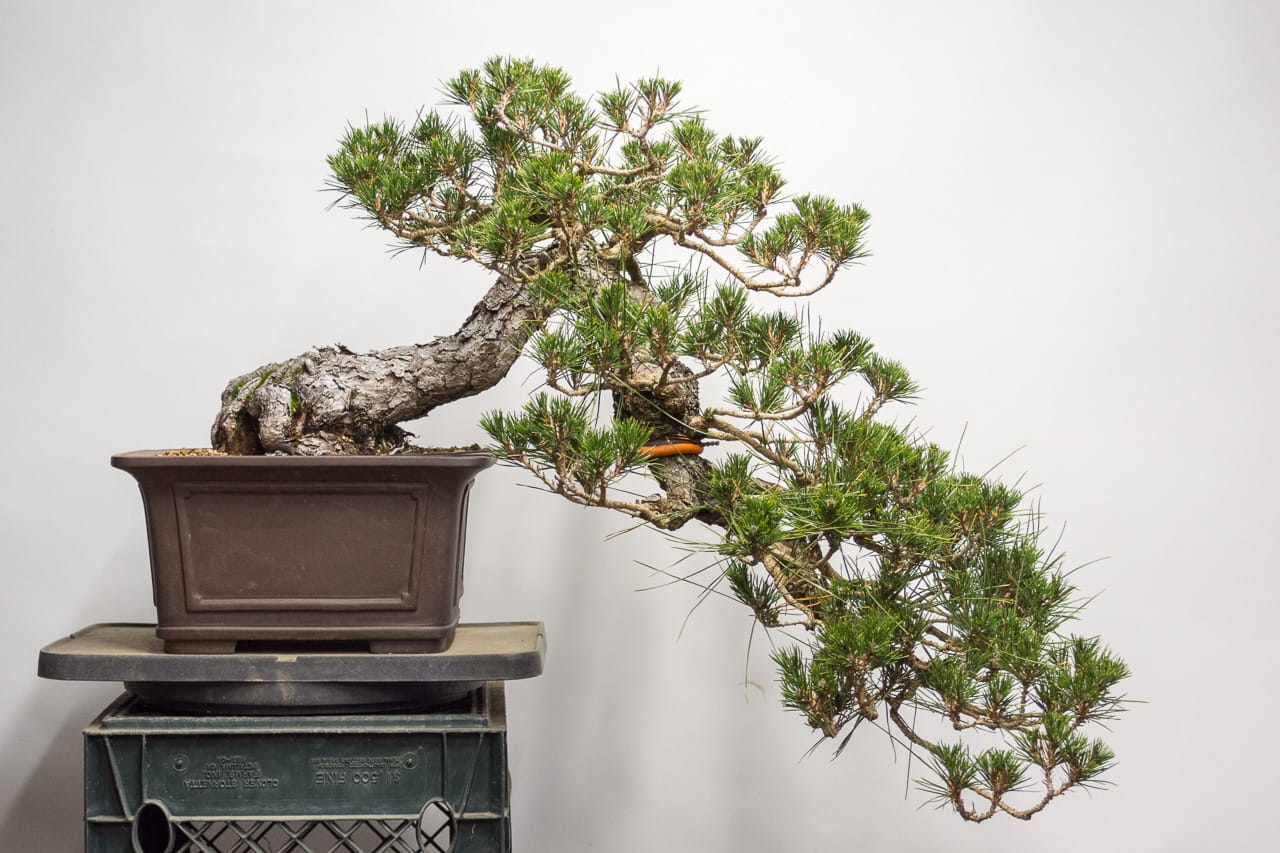
Black pine, January, 2018
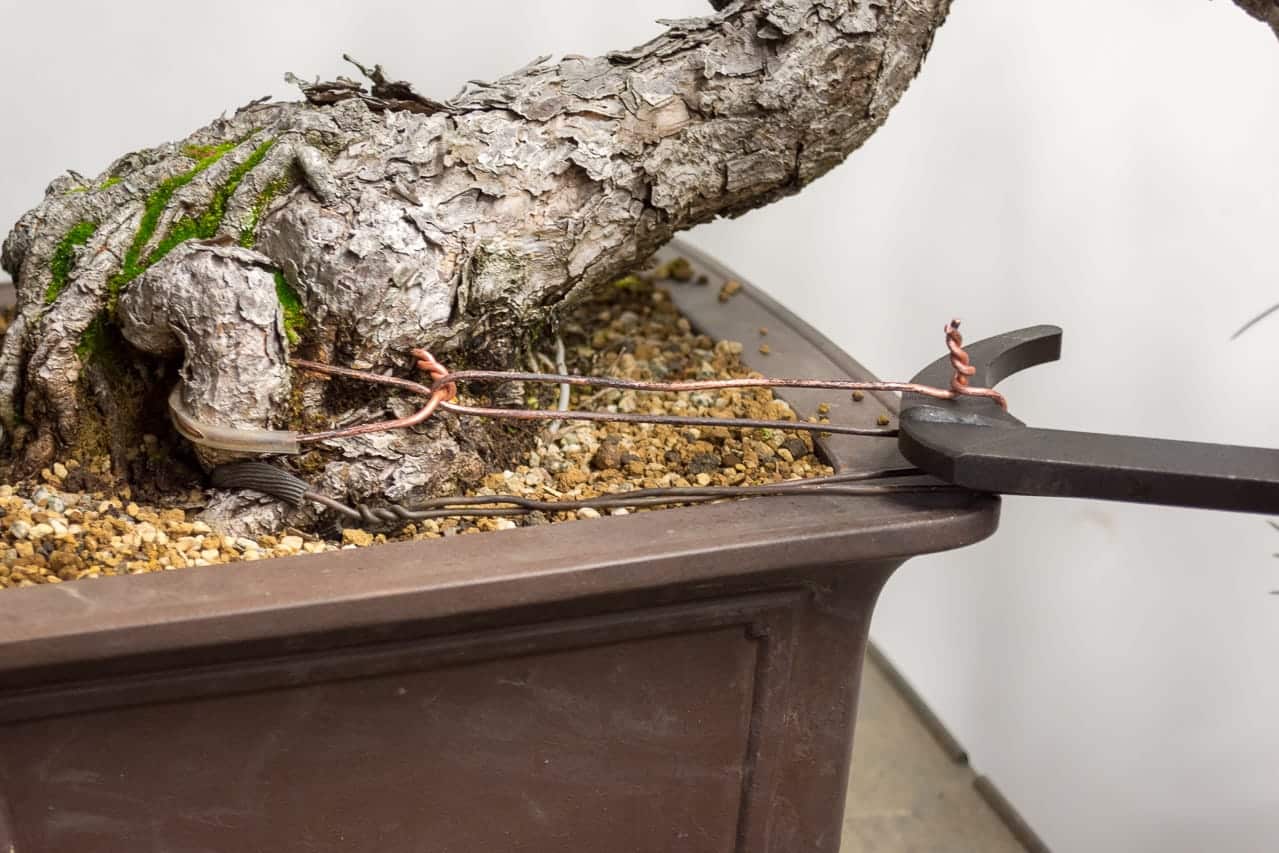
The first step is to prepare a wire loop that the jack can use as an anchor to make the bend.
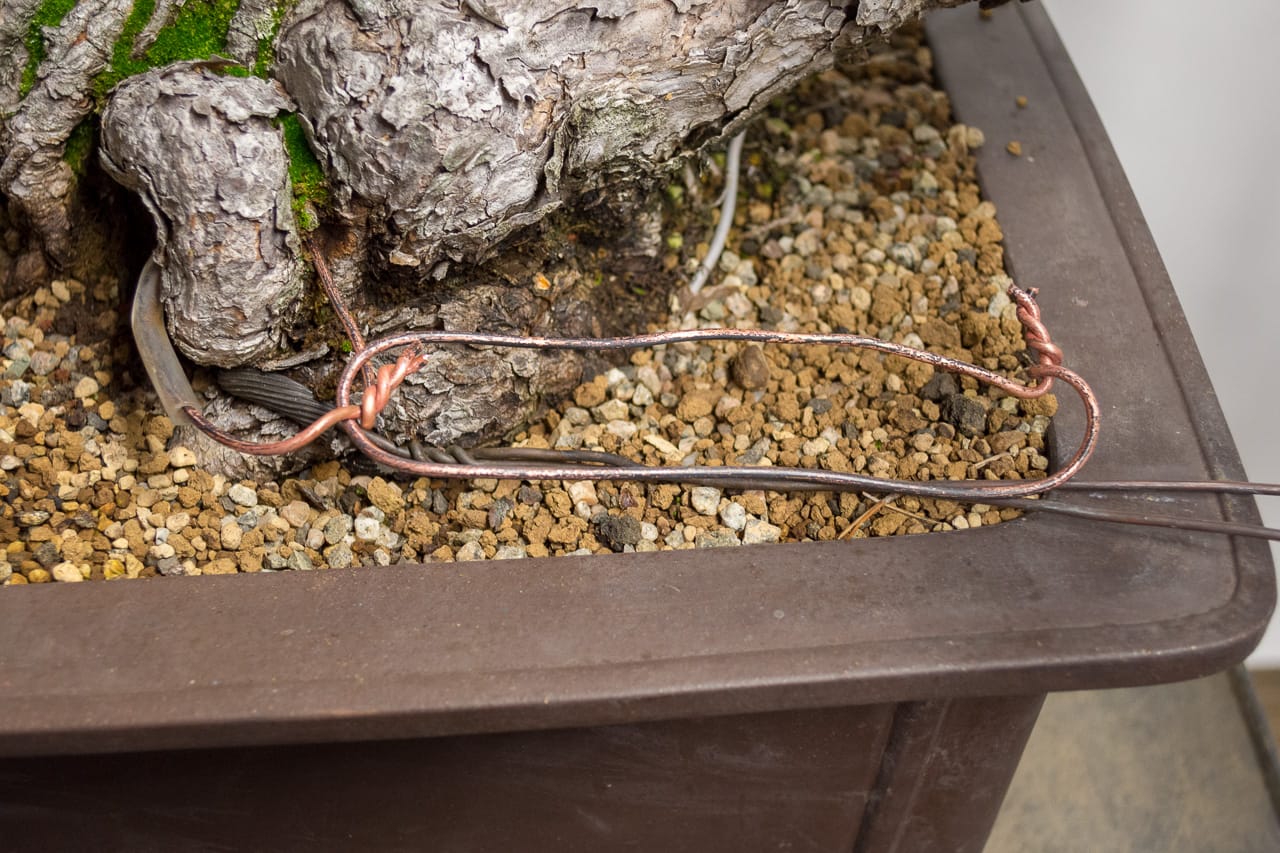
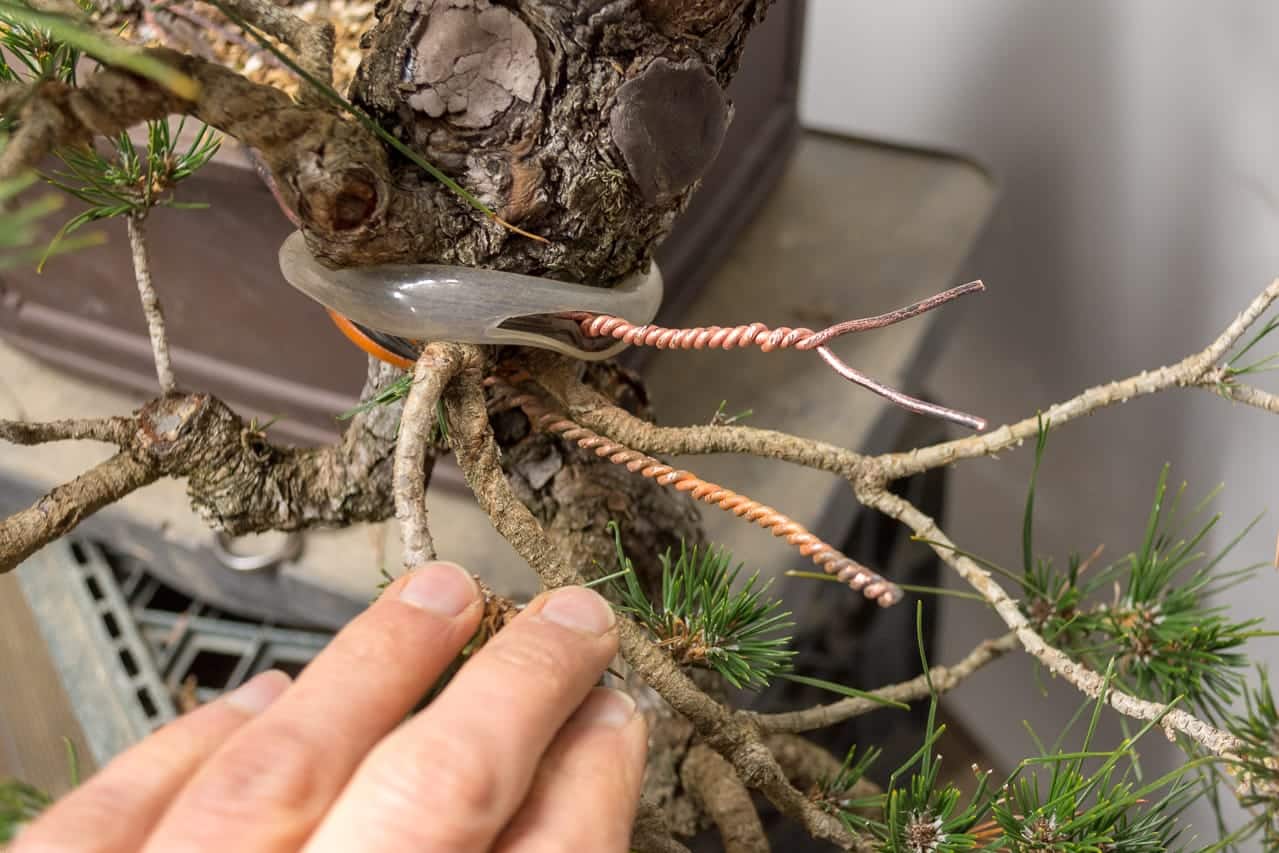
Wires used to anchor the jack
In this case there are two wire loops. The first loop encircles a root as an anchor point. The second, longer, loop makes it easy to anchor the jack without it bumping against the trunk and provides some flexibility for changing the length of the anchor wire without re-doing the section around the root.
The other end of the jack will grab the trunk directly. To provide some protection where the jack touches the trunk, Daisaku added a piece of rubber hose secured with small copper wires.
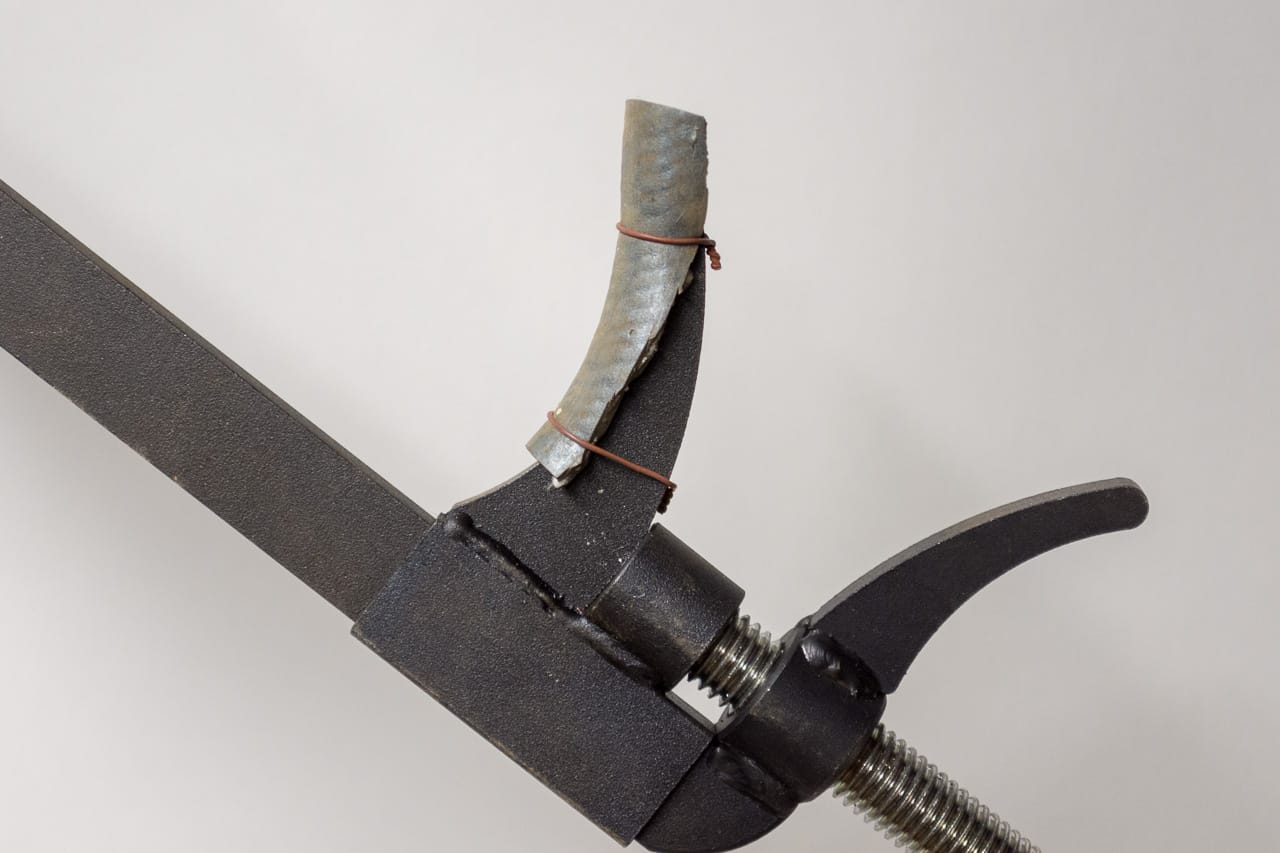
Section of rubber hose covering the sharp edges of the jack
Here is a photo of the setup before starting the bend.
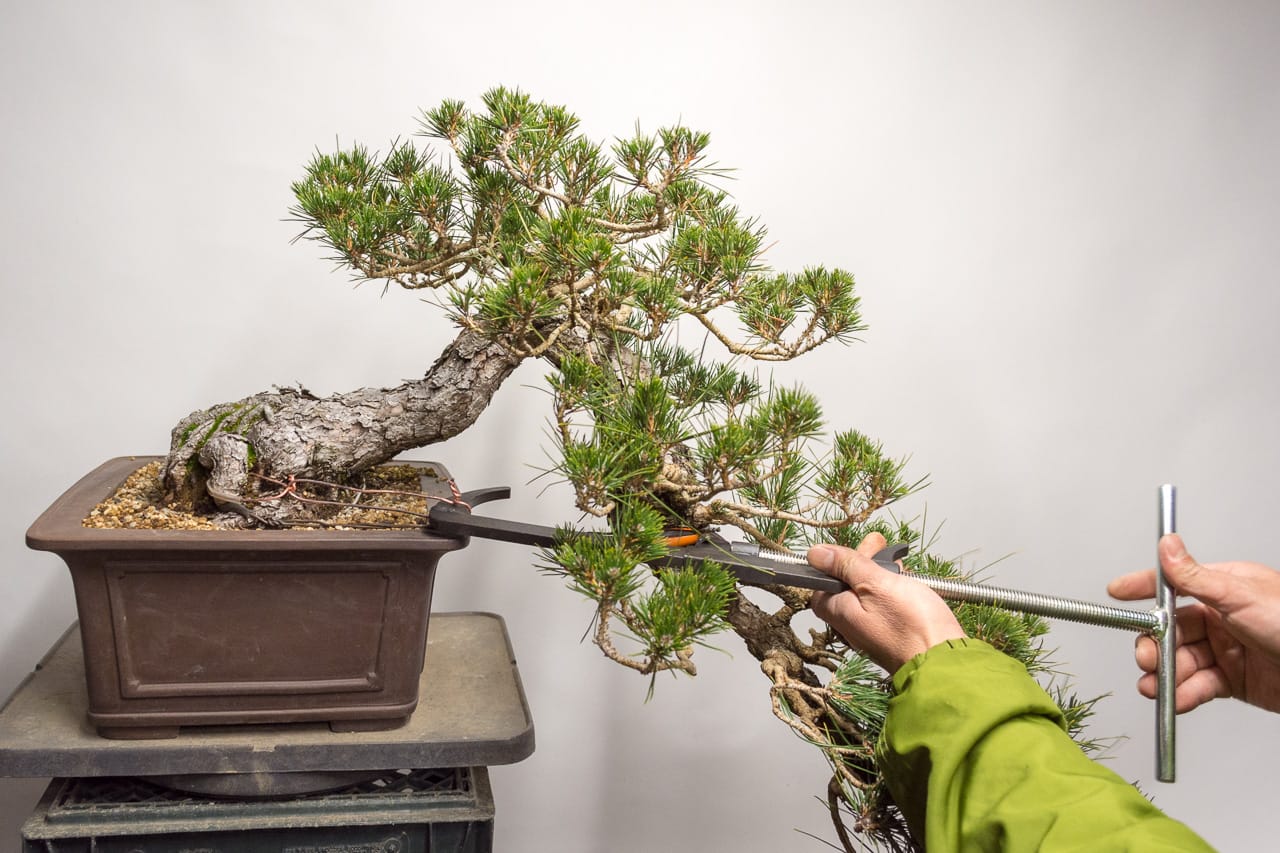
Ready to begin the bend
And here’s a close-up of how the jack fits into the anchor wire.
The jack inserted into the the anchor wire
Twisting the jack begins slowly. While making the bend, common practice entails listening carefully to any cracks or pops that may occur along the trunk or branch being bent. It’s also important to monitor the rigging to ensure that nothing slips out of place during bending.
Here’s a close-up of the guy wire and anchor wires after starting to bend the trunk.
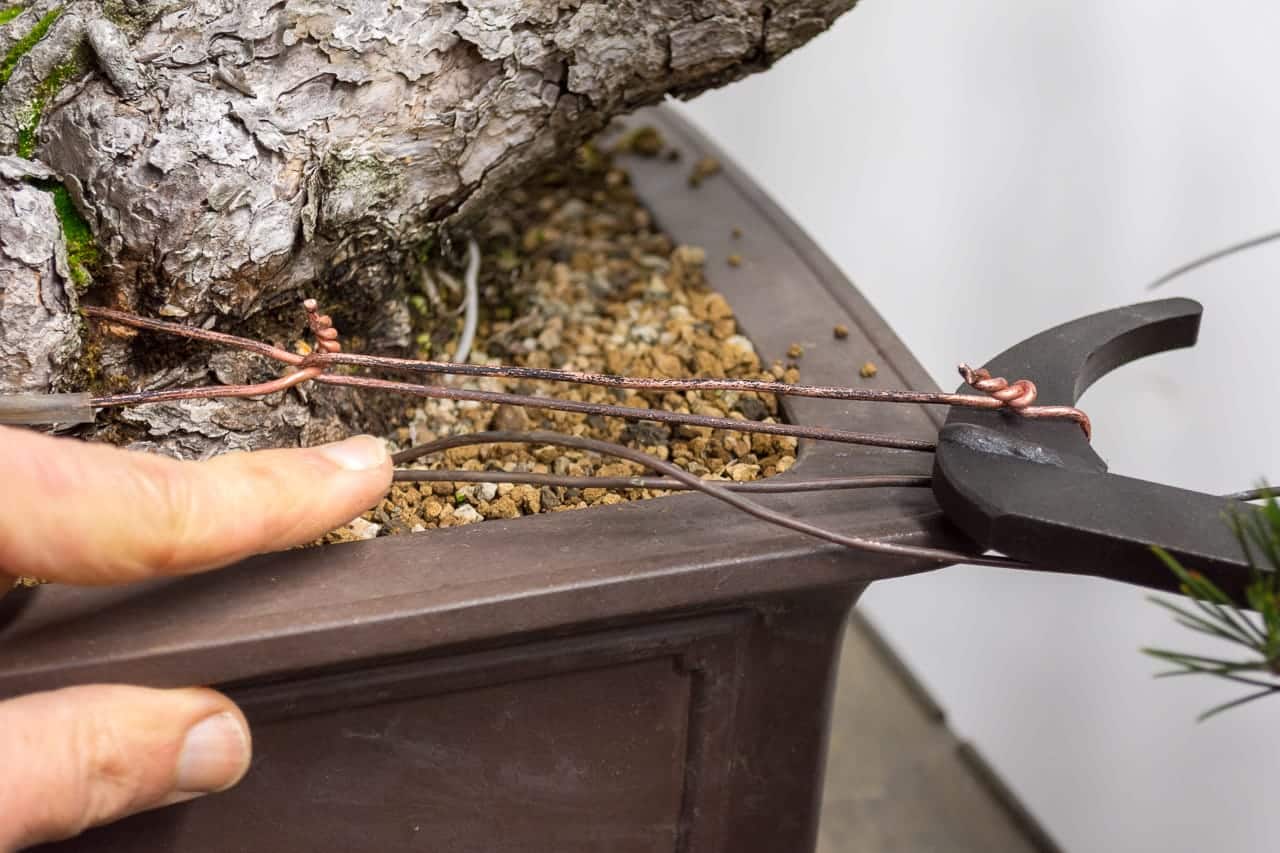
The anchor wire is taught – the original guy-wire is now loose
As the tightening continued, it became clear that we needed to make some adjustments. Bringing the trunk down lowered the guy wire below the lip of the pot. We added a piece of rubber below the guy wire to protect the pot and added a second guy-wire to maintain good leverage on the trunk.
When setting up the second guy-wire, Daisaku prepared a tube inside of a tube to protect the trunk from the wire cutting in. Here’s the tubing used for this.
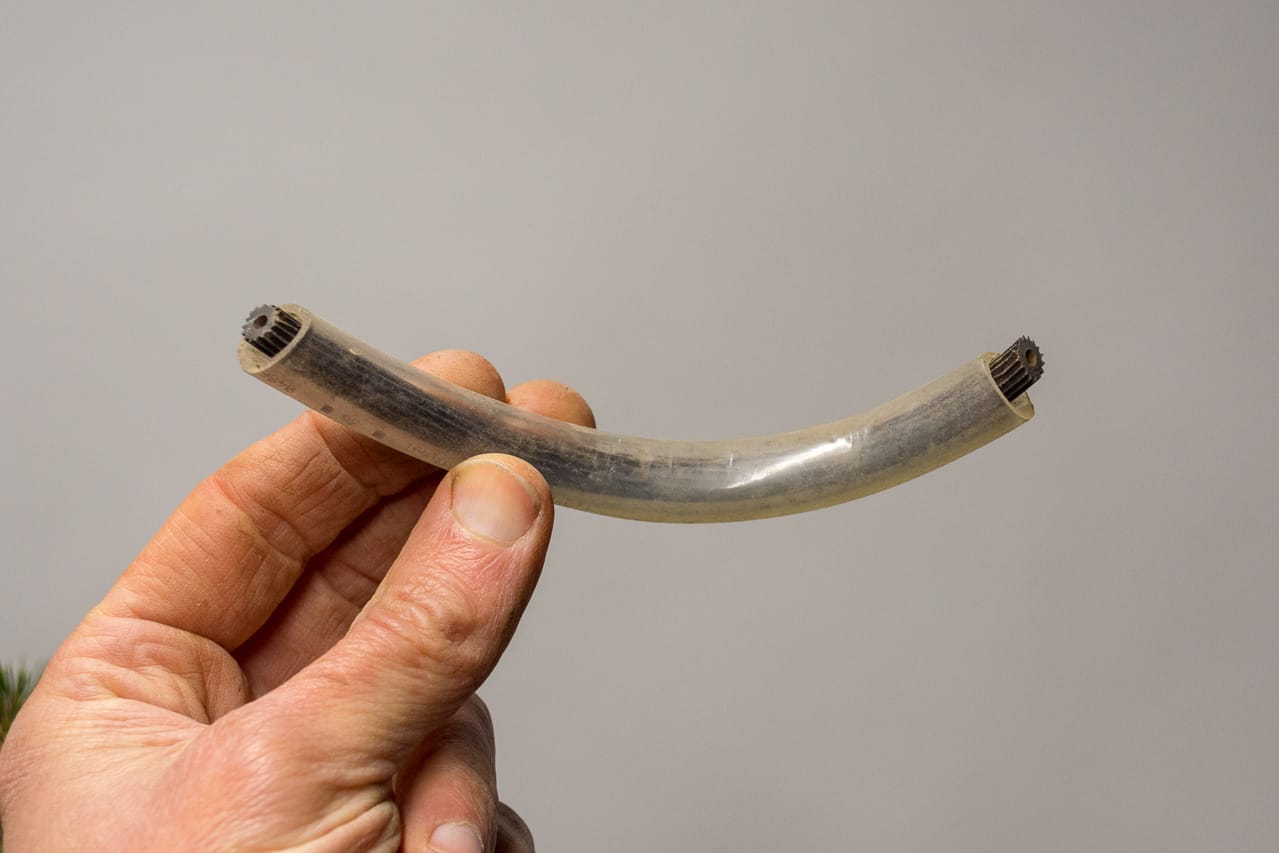
A tube within a tube
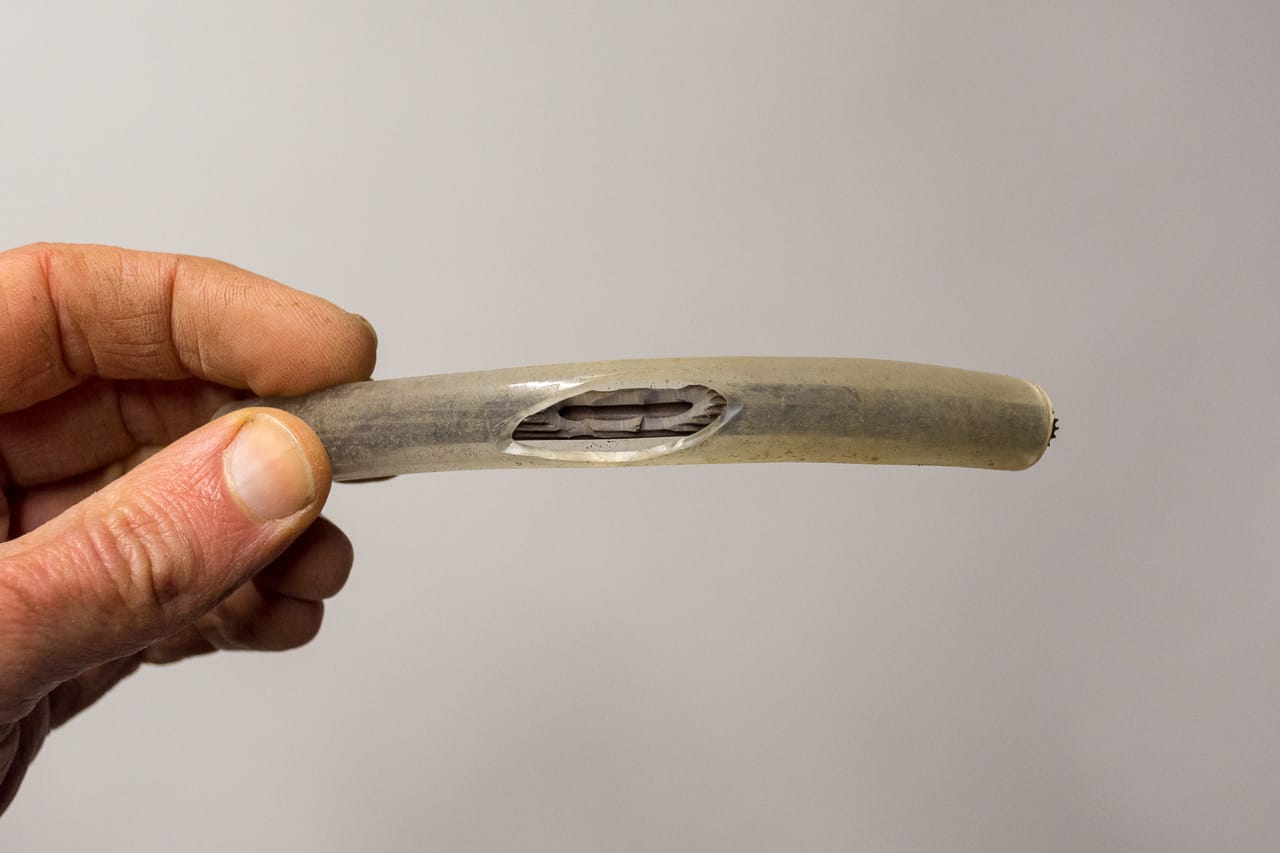
Slots cut in the middle of the tubes where the guy-wire will emerge
We also found that the change in the angle of the trunk brought foliage close to the moving parts of the jack. Daisaku grabbed a sheet of paper to keep the foliage out of the way.
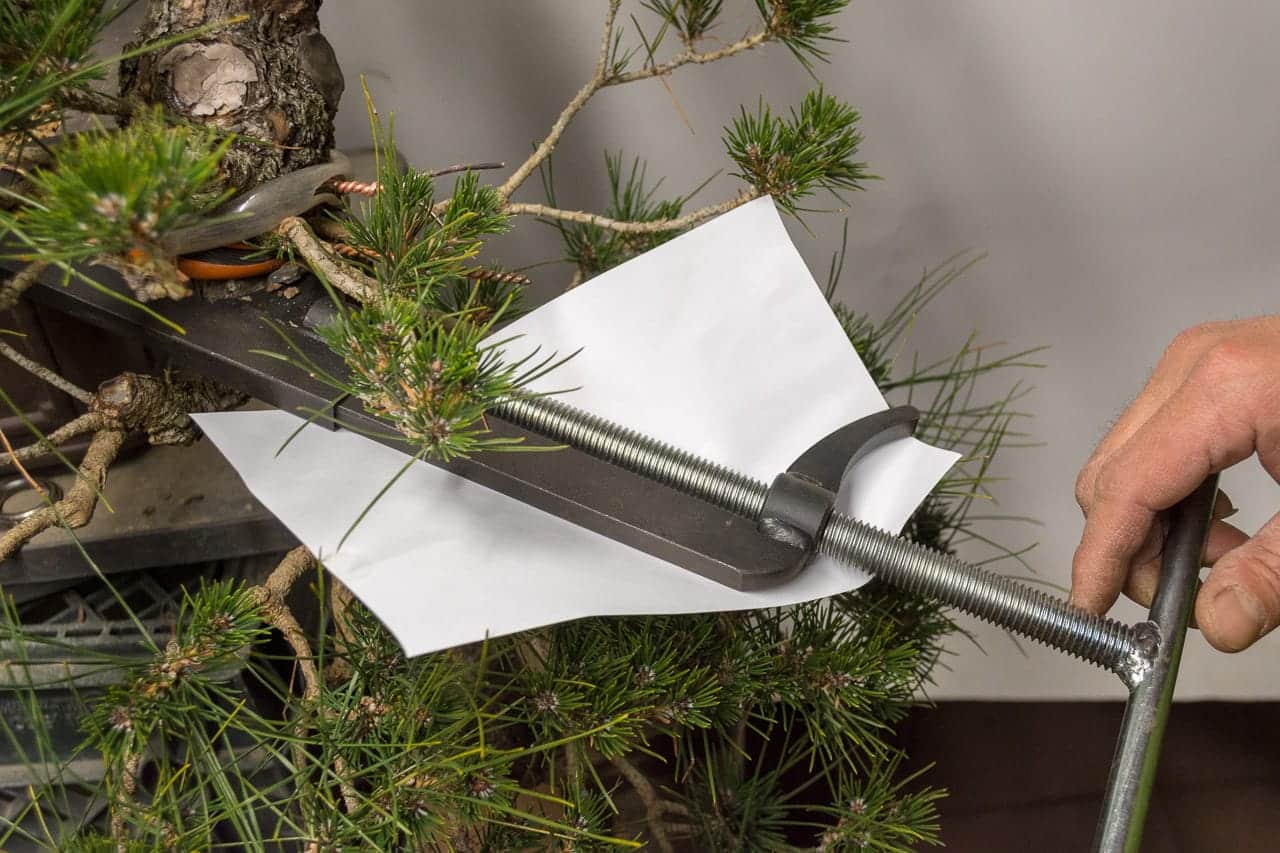
A sheet of paper protects the foliage below
Every so often, Daisaku paused to inspect the area of the trunk where the bend happened. He also tightened the guy wires to take up any slack that showed up.
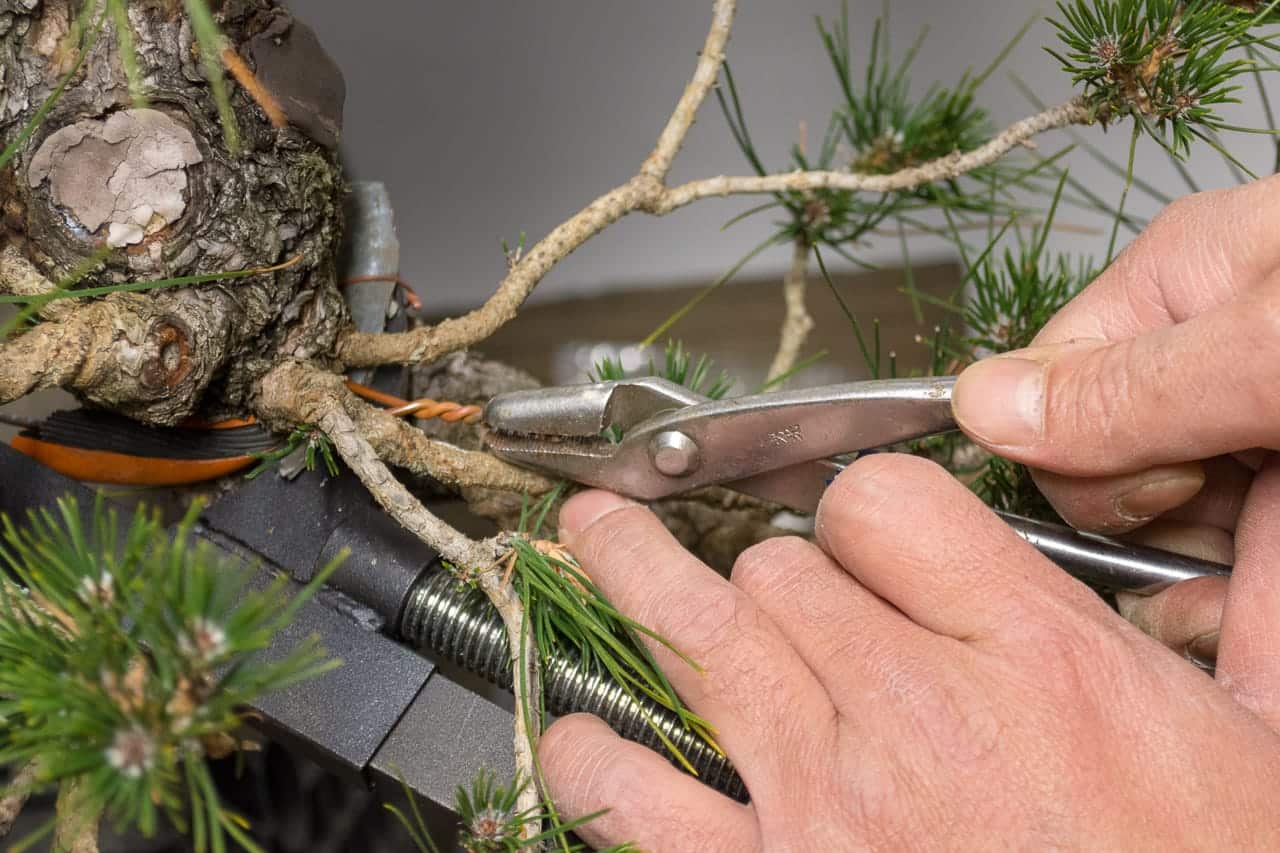
Tightening the guy wires
Daisaku shared, at this point, a trick to ensure that the new guy wire was effective. Rather than making all of the bend at once, he made several twists, tightened the slack in the new guy wire with pliers, and then relaxed the jack. This made the new guy-wire taught and allowed him to inspect it to make sure it sat exactly where he wanted.
Without letting the pressure of the trunk take up the slack early on, the slack would come out when the jack is loosened and removed. Removing any slack in the line during bending ensures the trunk will stay in place when the bending is complete.
You can see the progress made after a few minutes of bending by checking the length of the twists in the guy-wires.
Evidence of a big bend
Of course, the difference was much more evident when viewing the front of the tree.

After completing the bend
Such a big bend necessitated a new potting angle.
The new potting angle
Only a single, additional bend was made to achieve this new trunk line. Here’s a close-up of a guy-wire that pulled the lowest part of the trunk forward.
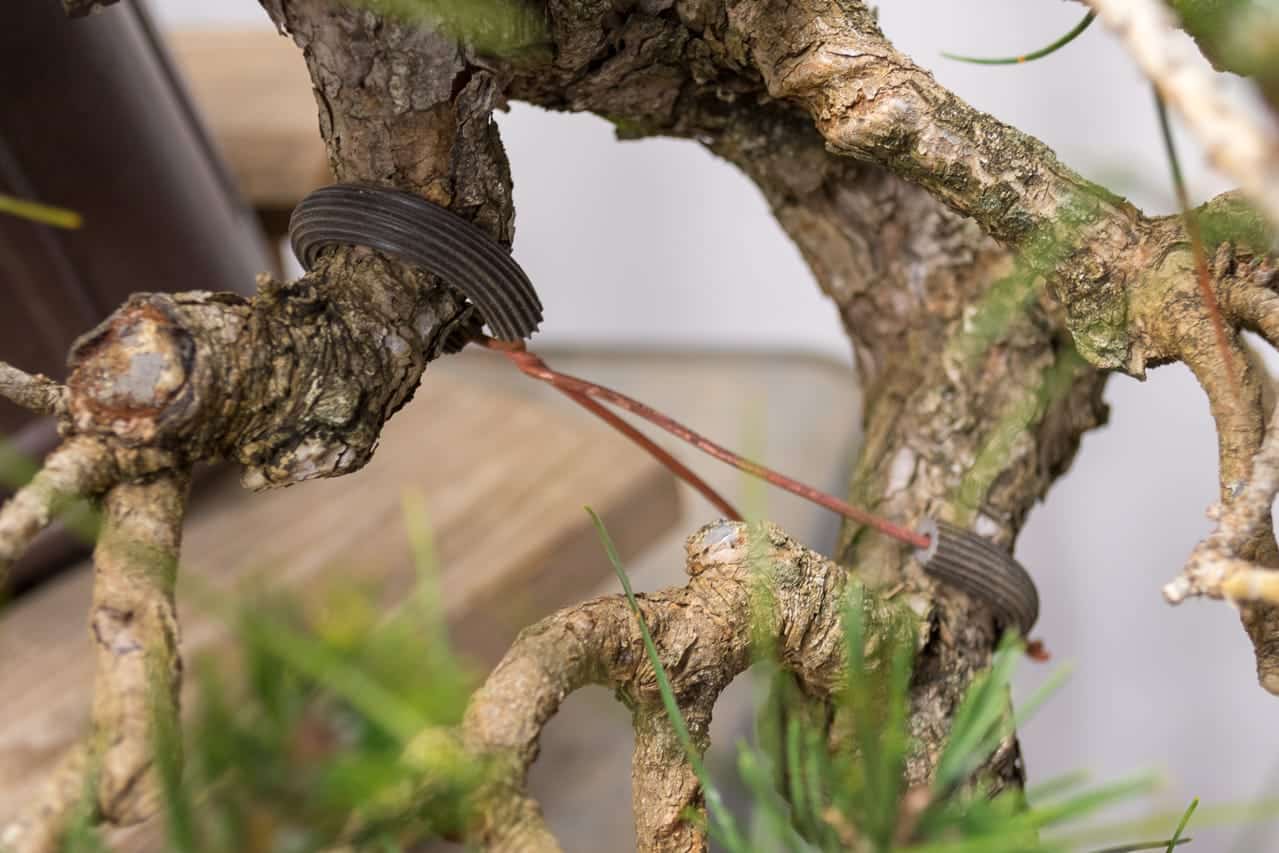
Guy-wire in the tree’s interior
As there wasn’t time to repot the tree after making the bend, Daisaku created a chopstick framework that will make it easy to recreate the angle at a later date.
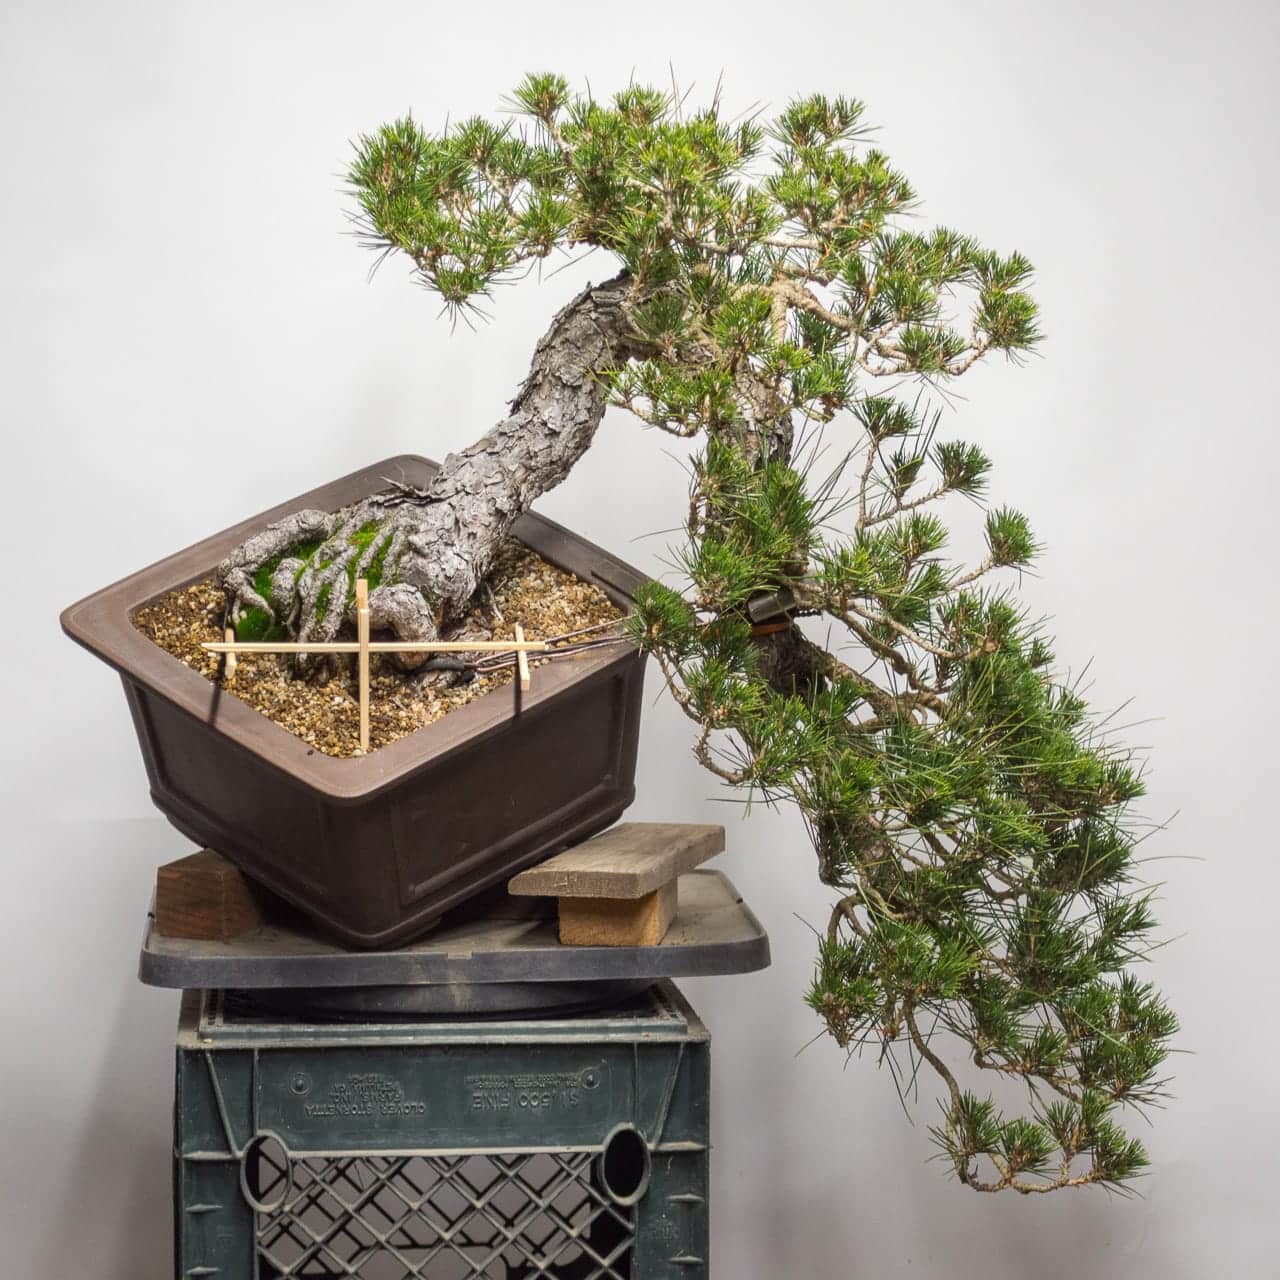
Chopsticks indicate the new angle

View from the side
For a better perspective on the actual shape of the tree, here’s a view from the side and back.
View from the right side

View from the back
The whole process took between 1-2 hours. When the work was done, we were both happy with the results.
I’ll repot the tree in the coming weeks and plan to re-wire the branches at decandling time in June.
The post How to use a bonsai jack appeared first on Bonsai Tonight.