
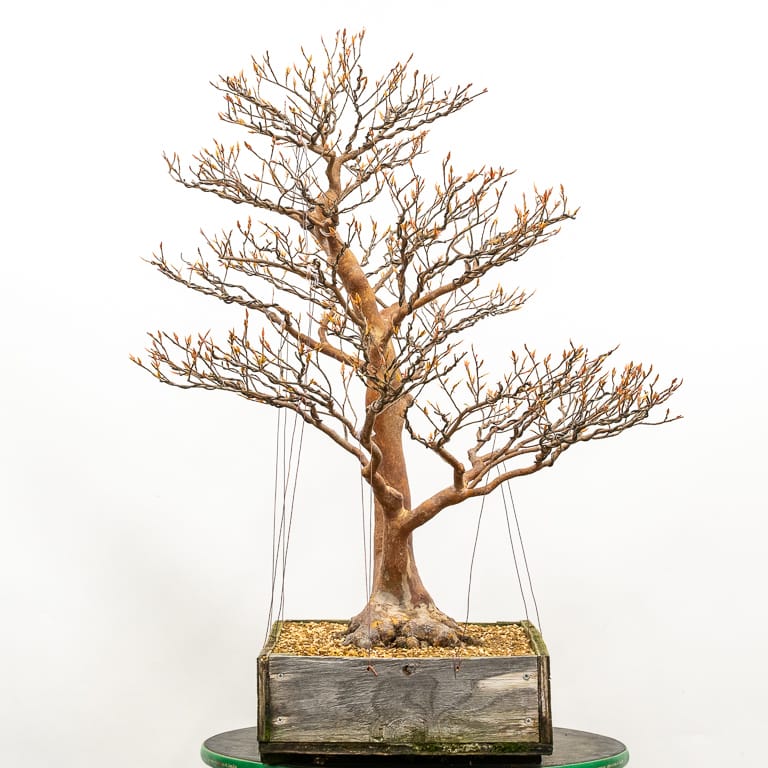
As many of you have noticed, there is a large scar at the base of the trunk on my large stewartia.
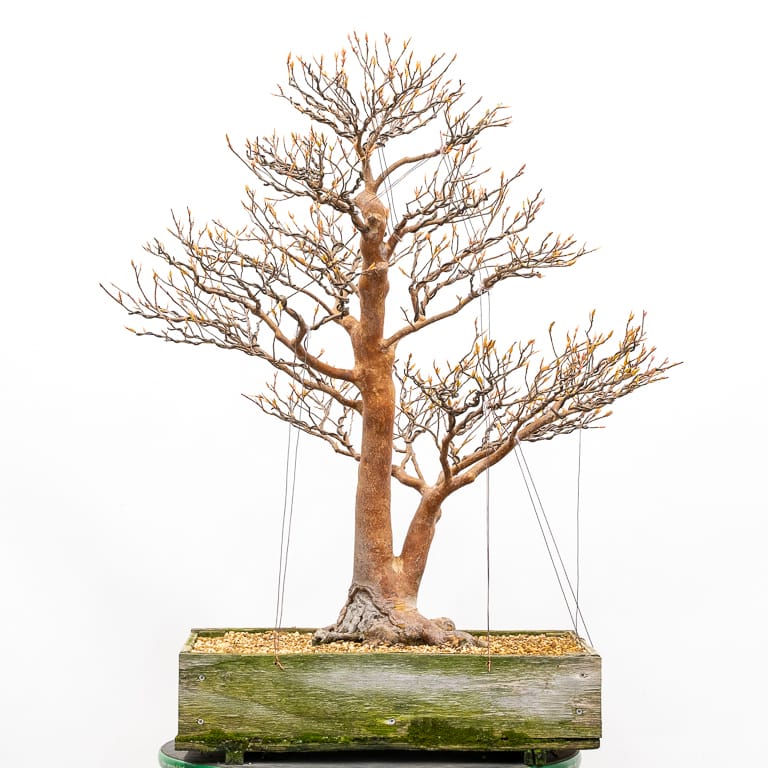
Stewartia with dieback on the trunk
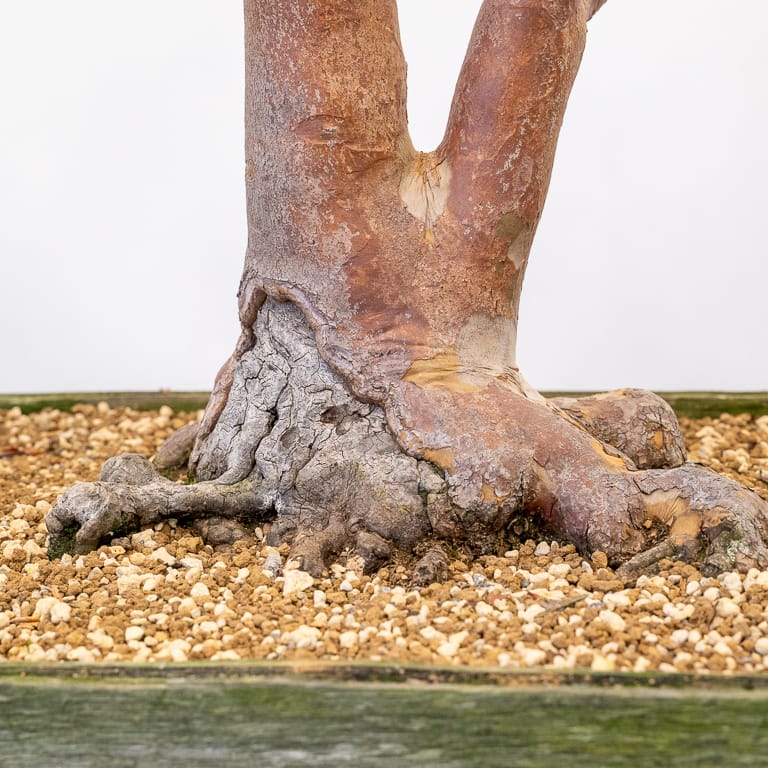
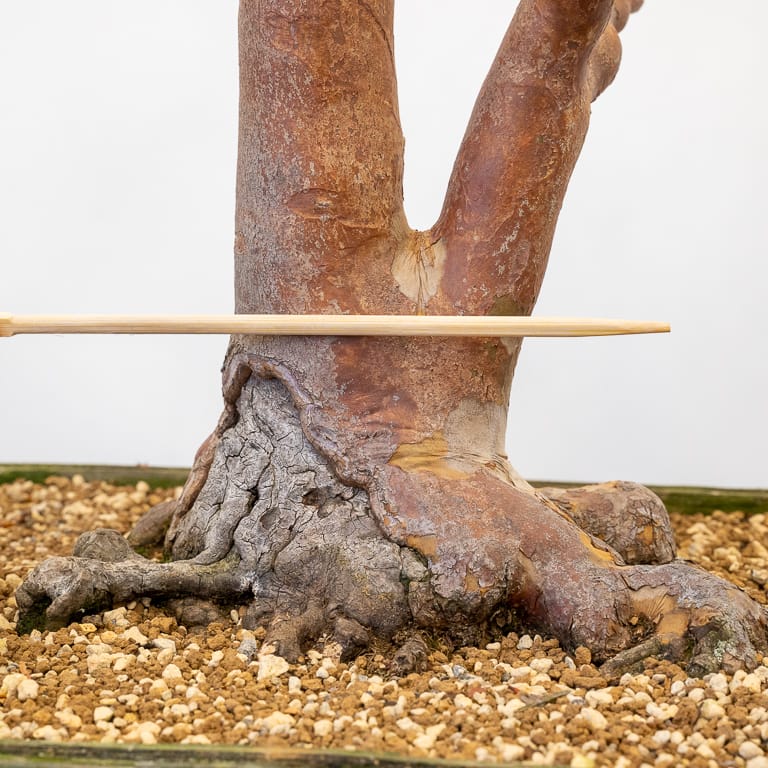
Trunk detail
There a number of options for addressing the dieback, each with their pros and cons.
The simplest option is to simply ignore the wound and show the tree as is. The great thing about this approach is that it’s easy – there’s nothing to do at all! The bad thing is that the wood will rot at some point leaving a hollow at the base of the trunk.
A related option is to purposefully create a hollow at the base of the trunk by carving. This would create visual interest to the lower trunk, but I don’t equate the species with deadwood and want to slow the decay of the wood as much as possible.
The third simple option is to hide the scar by making the back of the tree the new front.
Here’s what the back of the tree looks like.
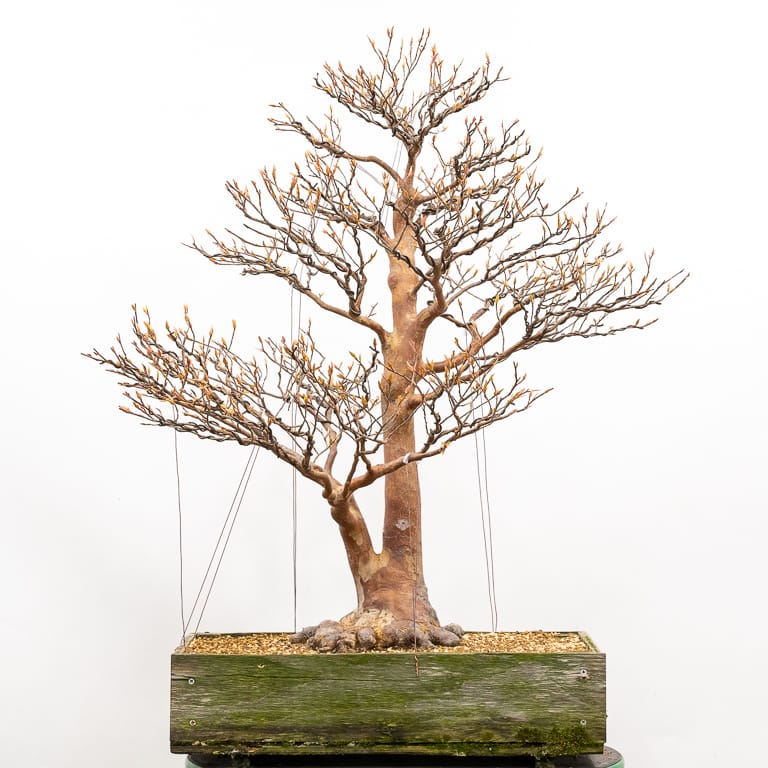
Back side
By removing the large branch that crosses the lower part of the trunk, the tree would have an attractive form and healthy roots.
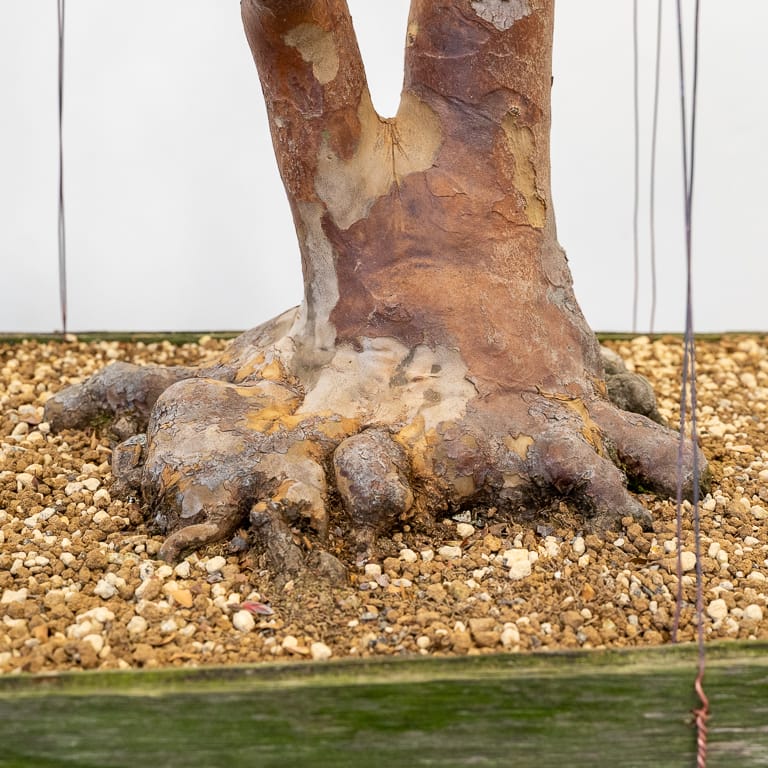
Roots on the back of the trunk
What I don’t like about this approach is that the apex would point away from the viewer. Here’s the tree from the side.
Right side
Some pruning could improve the silhouette from the side with this approach, but I’d still have the scar to deal with on the other side.
This leaves us with much slower options that involve grafting or layering.
For years, my first choice was to layer the tree just below the split.
Potential air-layer line
I’ve hesitated to try this as I don’t know if I can expect roots to grow with so much dieback below a large portion of the layer.
I also thought about layering the two trunks separately and then uniting them when it was time to remove the layers. This would be a fun project but I think it would be best suited for a younger tree.
The next idea was to use approach grafts all around the trunk and then remove everything below the line where I considered layering.
Grafting is much safer than layering in that failed grafts can cause scars whereas failed layers cause dieback.
After spending two years looking for seedlings that I could use for root grafting and then pre-bending them so the roots would emerge at the correct angle from the trunk, I’ve thought about whether or not there was a way to save the base of the trunk.
Stewartia are known for producing nubby roots as they age. If I remove the base through layering or grafting, the new roots will make the tree look much younger. Root grafting can produce mature looking roots much faster than layering, but I’d still lose the large flare at the base of the trunk.
Recently I’ve been thinking about encouraging the wound to heal as fast as possible and then grafting new roots when the callus gets closer to the soil.
Here’s the point to which I’d like to see the callus form before root grafting.
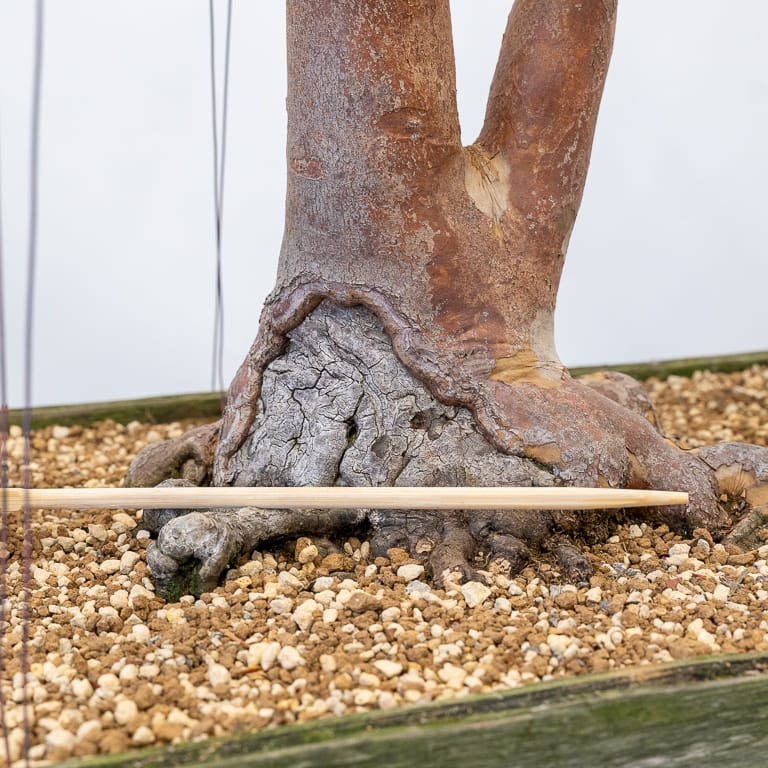
Ideal spot to graft new roots.
To speed up callusing, I plan to reopen the wound in spring and apply cut paste. I’ll also select a branch or two to run for a few years as I expect callus to form more quickly when the tree is growing vigorously.
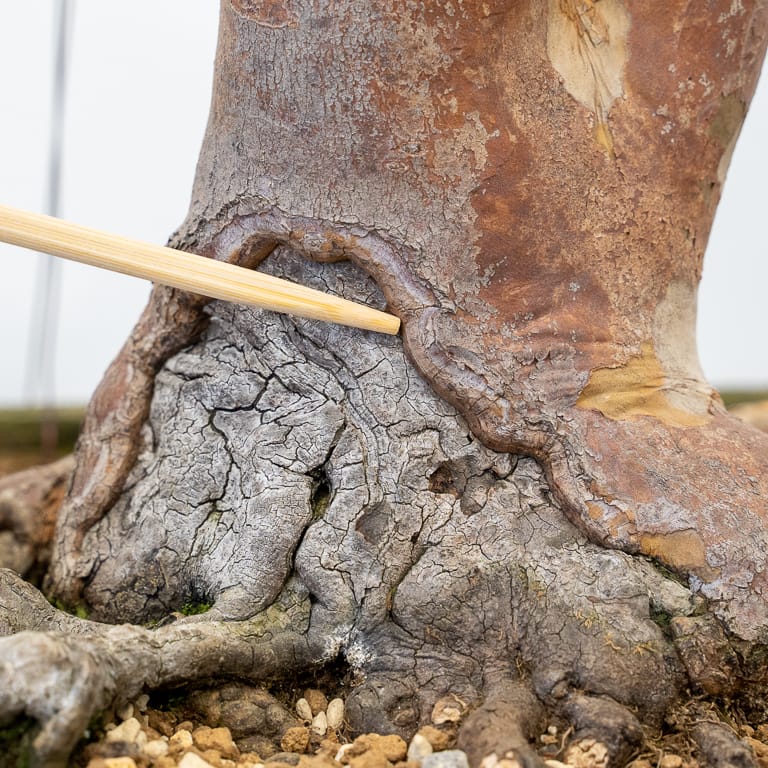
Fresh callus
That’s the plan for now anyway. If you have additional ideas, feel free to let me know in the comments below!