
When thinning needles on black or red pine, I treat branches differently based on my goals for refining them.
I typically want weak branches to grow stronger and strong branches to slow down, but there are cases in which I take a different approach. Here are the five most common patterns I follow and notes for why I’d select one over another when working on a given branch.
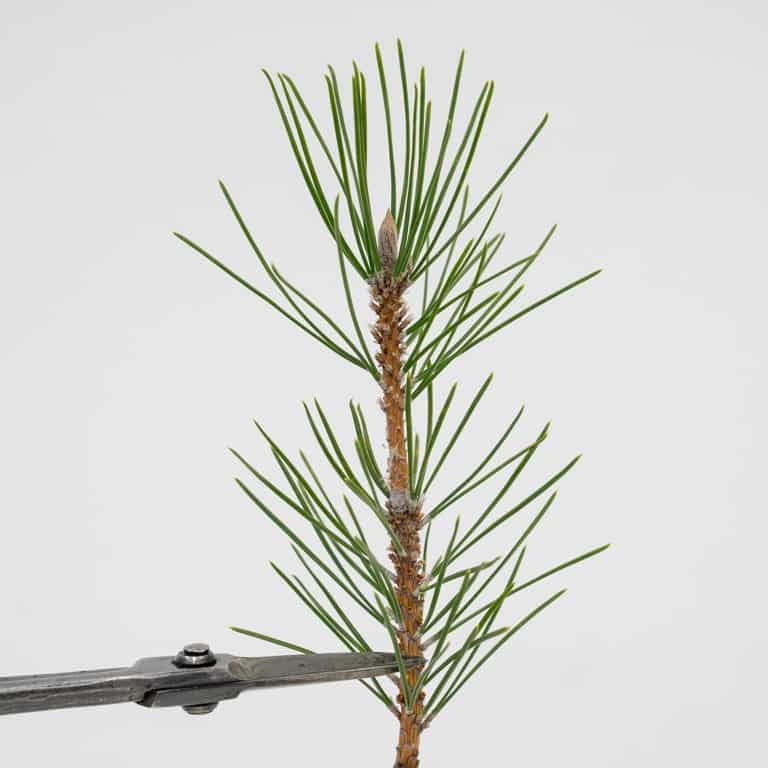
One: Remove the old needles
If I’m working on a full and healthy branch on a relatively mature tree, I’ll pull some or all of the old needles. This work is easy when there is a clear gap between the old and new needles.
Old needles below the gap, new needles above the gap
After removing the old needles
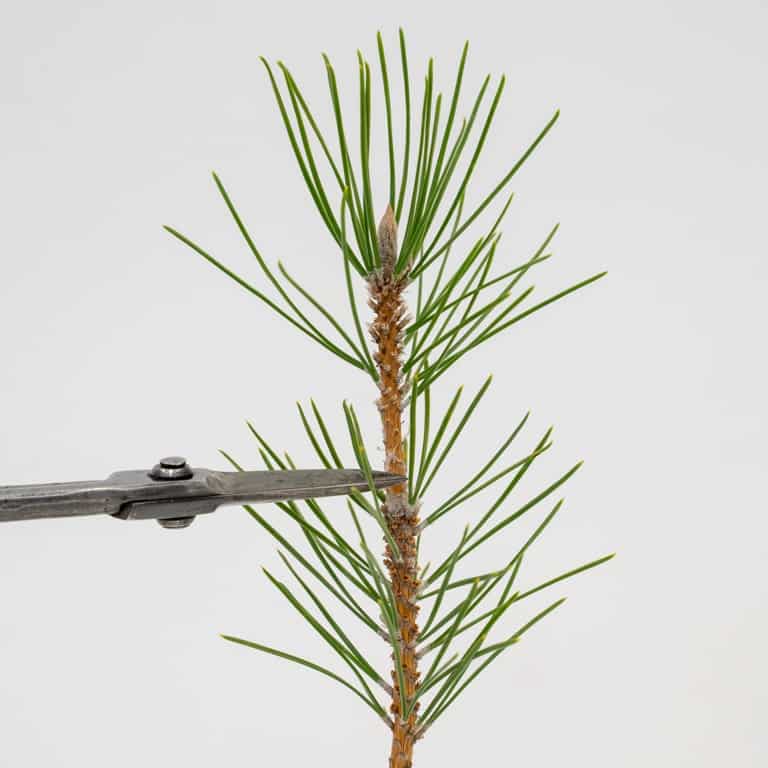
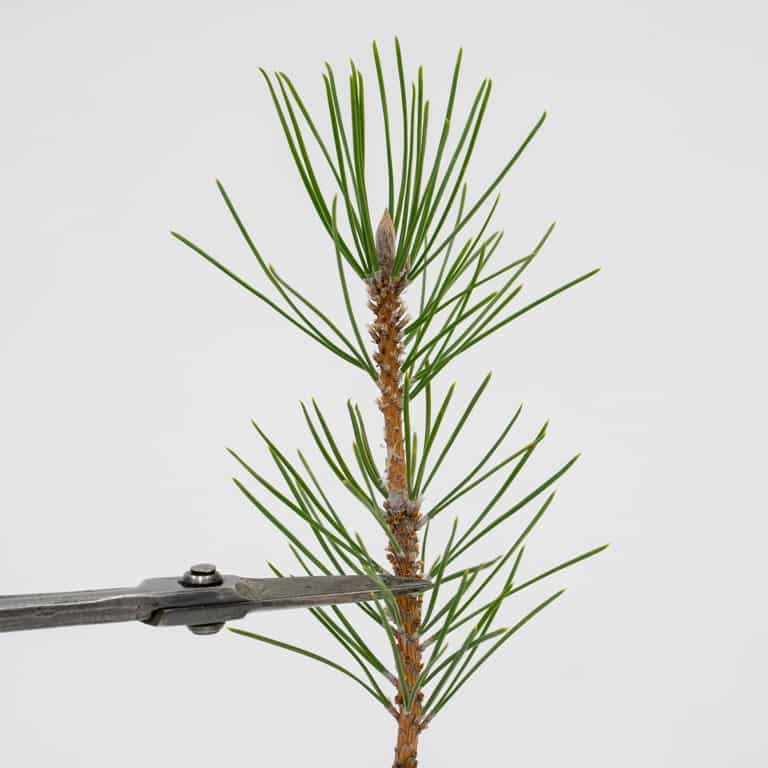
Two: Remove all of the old and some of the new needles
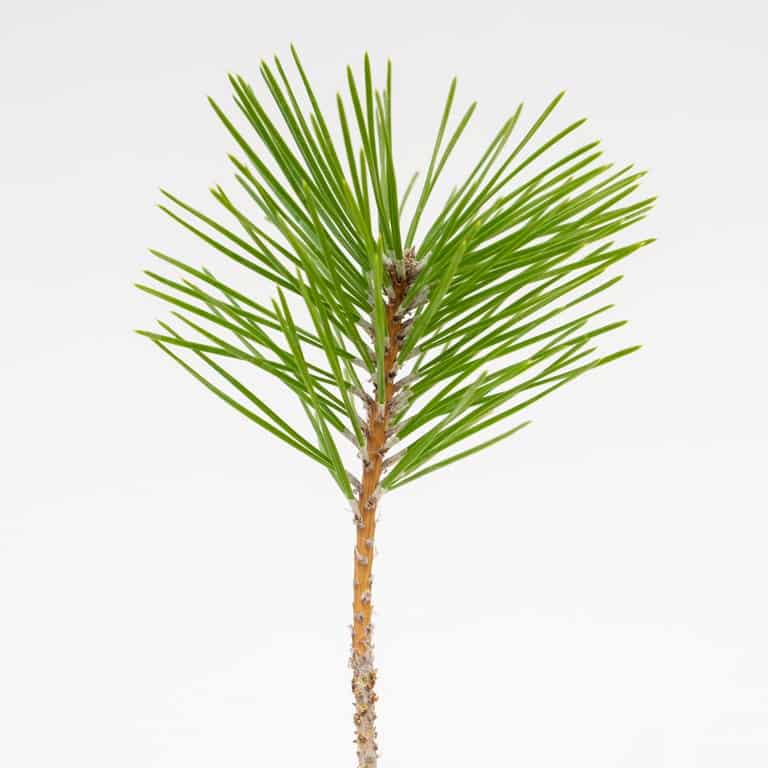
For extra-vigorous branches, I’ll remove all of the old needles and some of the new ones. Here’s the same branch after removing some of the new needles.

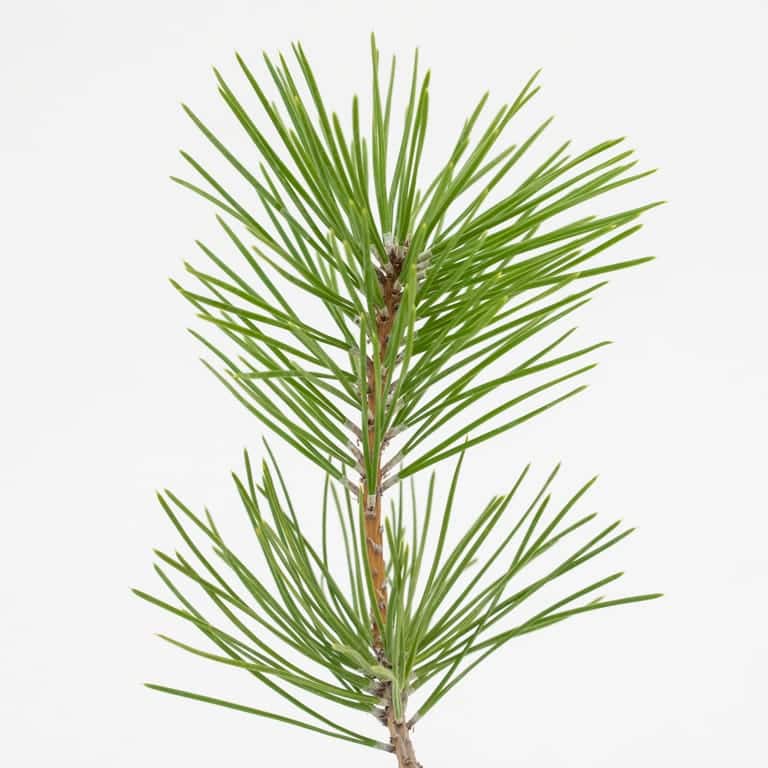
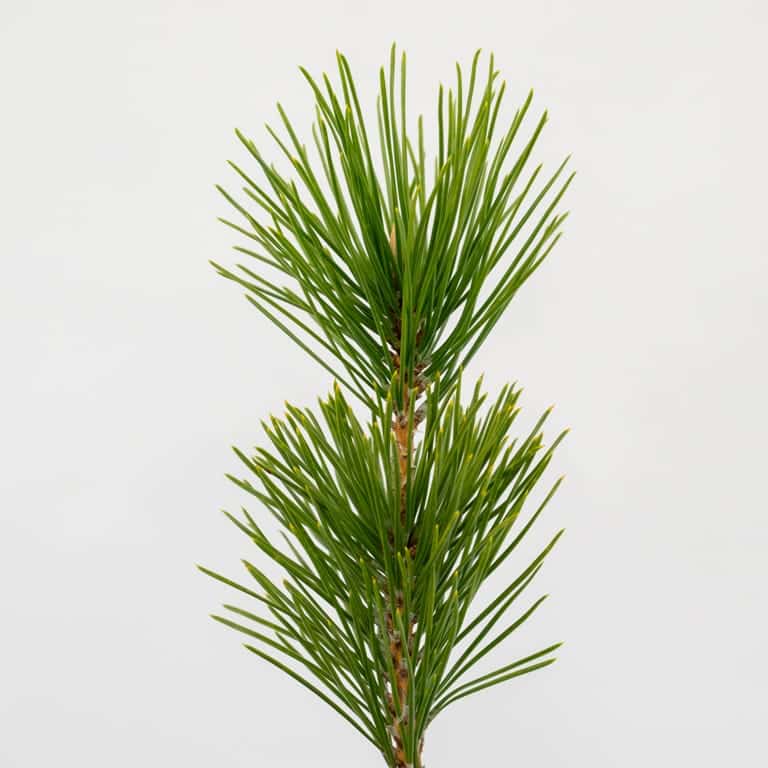
Branch with old and new needles
After removing all of the old needles and half of the new needles
Three: Remove no needles from weak branches
If a branch is weak and I want it to grow stronger, I might leave all of the old needles in place.
Branch strength is often relative so there are no absolute guides for when to leave the old needles. If most of a tree’s shoots are as strong as the branch above, I’d consider the branch below to be relatively weak and keep the old needles.
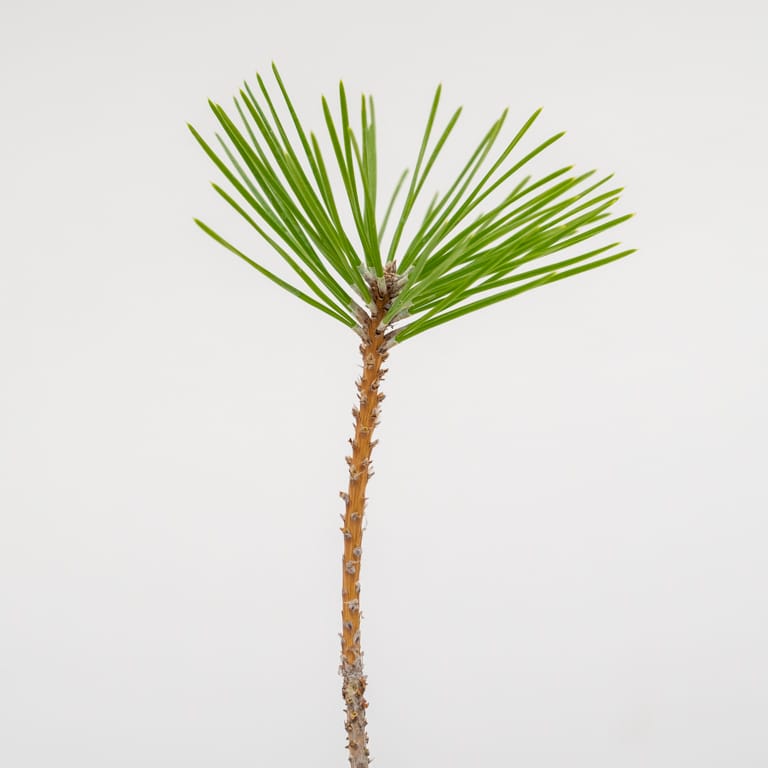
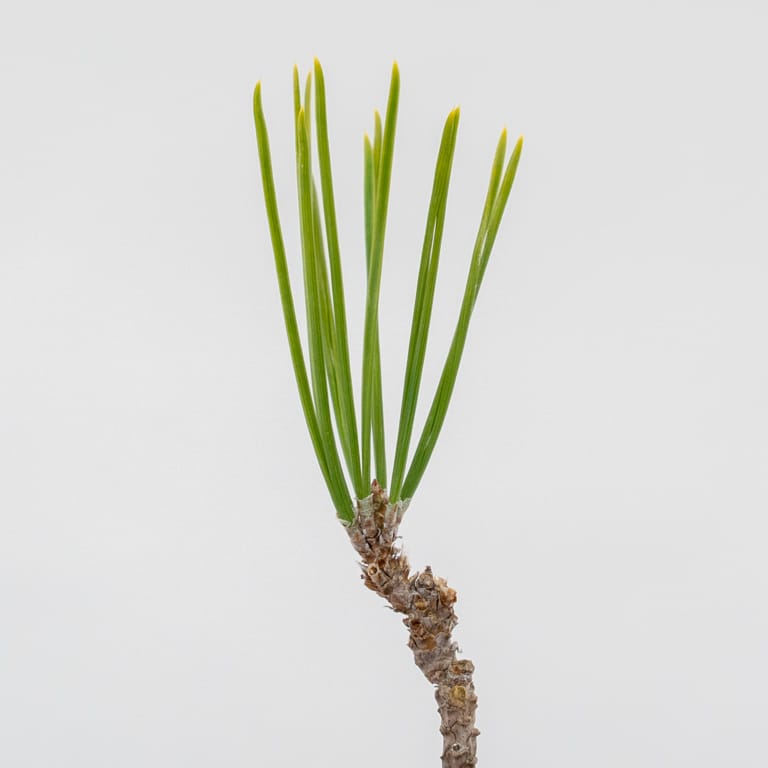
Weak branch – no needle reduction necessary
If a full and beautiful tree was covered with branches like the shoot above – a common case for refined pine bonsai – I could make a case for removing the old needles and keeping the seven new needles.
After removing the old needles from a relatively weak branch
Four: Remove no needles on strong branches for trees in development
It’s common to preserve old needles on young pines to help the trees grow as fast as possible.
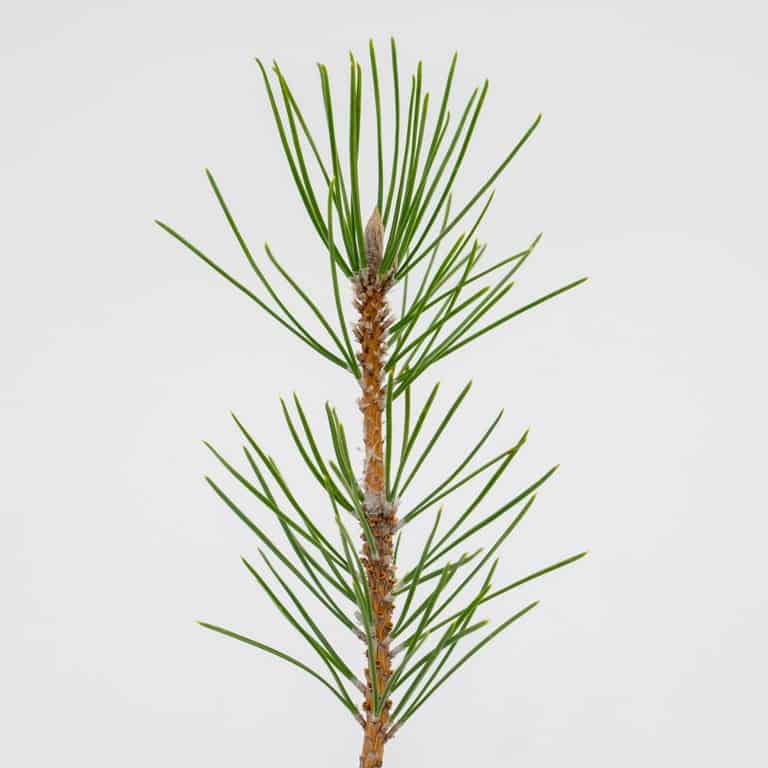
Old needles on a strong branch – no pulling necessary
That said, there are exceptions. If I want to let light into the tree’s interior or reduce habitat for insects, I’ll pull some of the old needles on young pines.
Five: Remove needles along the length of the branch
When I have long internodes that I want to dramatically reduce, I’ll remove new and/or old needles along the length of a branch.
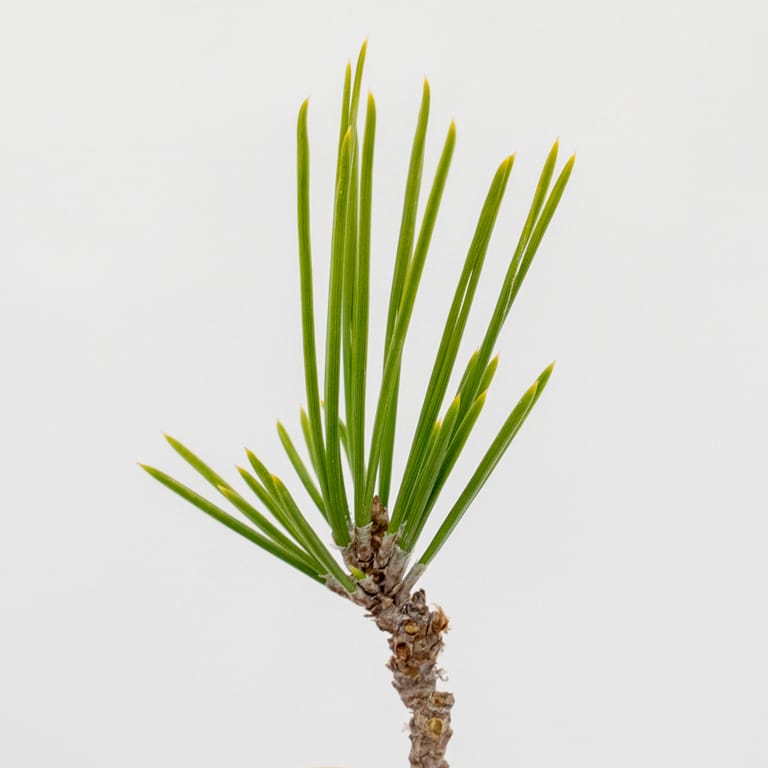
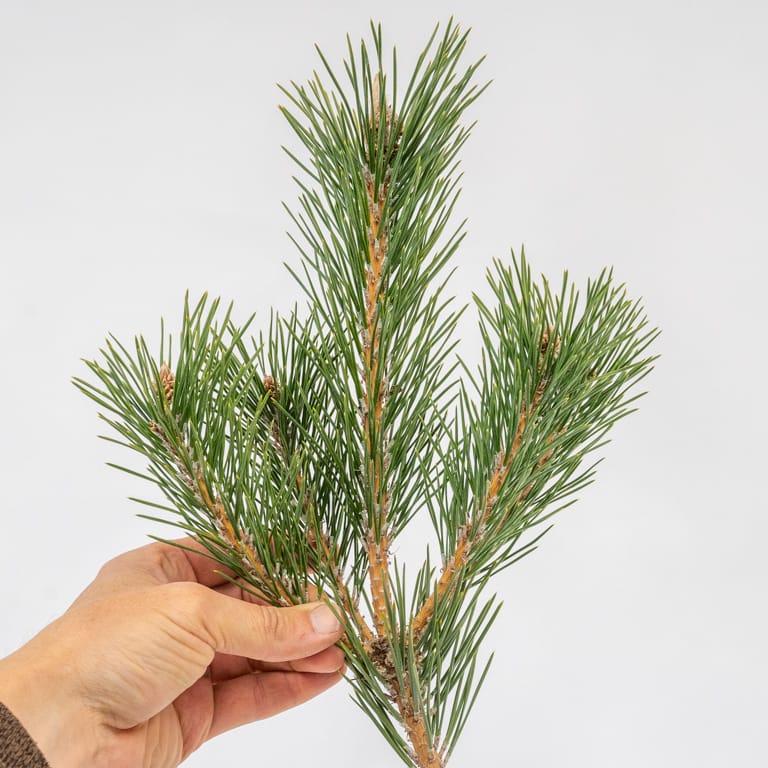
New and old needles on a branch
After thinning a selection of new and old needles
By preserving needles along the length of a branch, I give myself many options for reducing the branch at decandling time (see “Stimulating back buds” for details).
For example, I can stimulate needle buds by cutting back to the point indicated below if I wait until decandling time to make the cut.
A good place to cut
If want to further reduce the internode length, I can cut back even further.
Cutting here would yield a shorter internode
Cutting here would yield the shortest possible internode
Although the overall goal of thinning pine needles is to produce a tree with even density from top to bottom, the needle count on individual branches may differ along the way and from year to year.
Do you follow similar patterns or different ones? Feel free to share in the comments below.
Space Available for Winter Bonsai Intensives
Bonsai health begins with repotting, and we’ll focus on repotting in the upcoming winter bonsai intensive. By the end of the course, you’ll know the techniques for securing trees into pots with one, two, three, or four holes, identify the best soil mix for different species and stages of development, and understand how to secure recently collected trees into bonsai pots.
Winter also gives us the opportunity to refine our wiring and styling skills. We’ll work on both using trees from my collection.
As always, the bulk of the class will be hands-on to provide you with as much opportunity as possible to improve your skills.
Reserve a spot online for the winter bonsai intensives.
The post Five patterns for pulling needles on black pine appeared first on Bonsai Tonight.