
I’ve been following the same approach to creating pine bonsai for the past few years now. It’s time for a change!
I outlined the basic approach for starting informal upright pines five years ago (see “Wiring 3-year-old black pines“). Sometimes, instead of removing the lowest needles before wiring, I leave all of the needles on the tree. This gives me additional options for generating branches lower on the trunk – a useful approach for creating miniature and shohin-sized pines.
Here’s what this looks like.

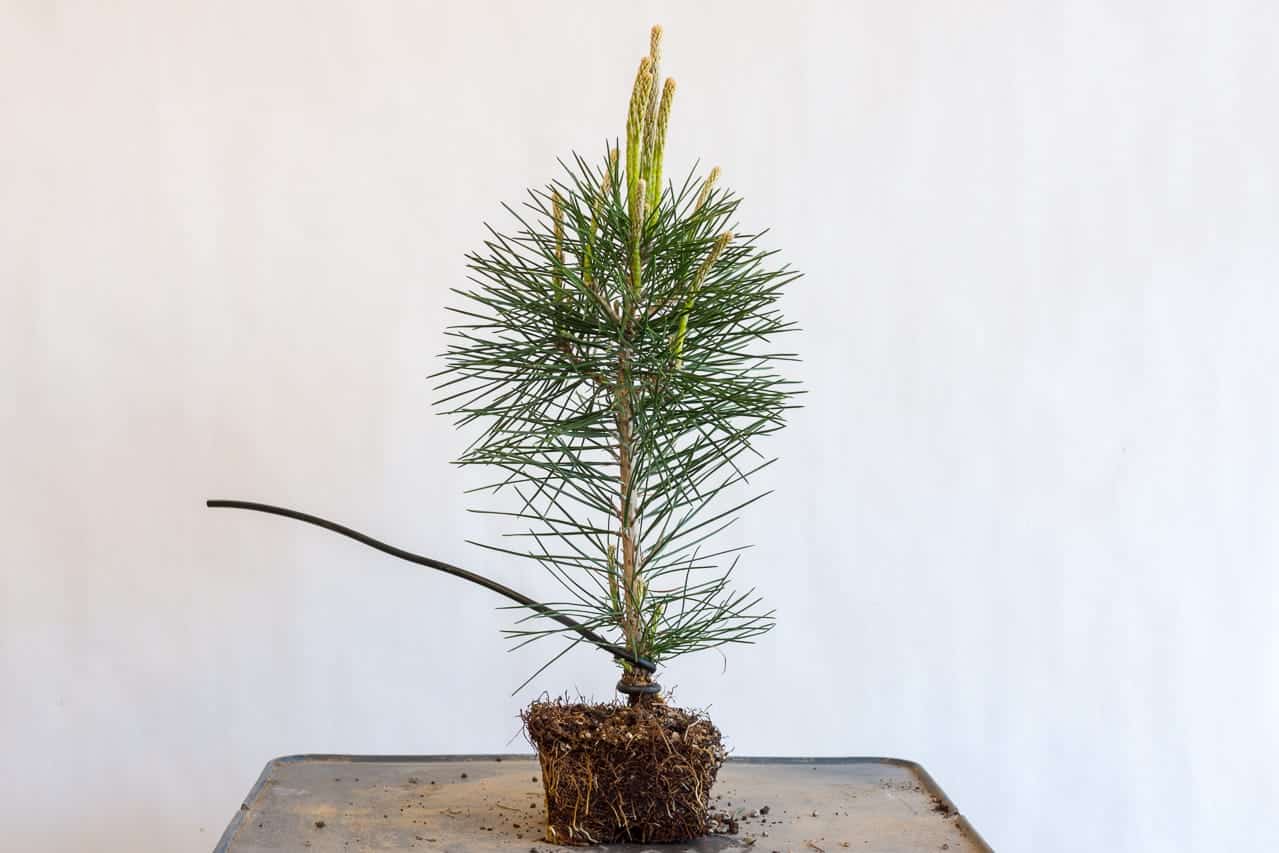
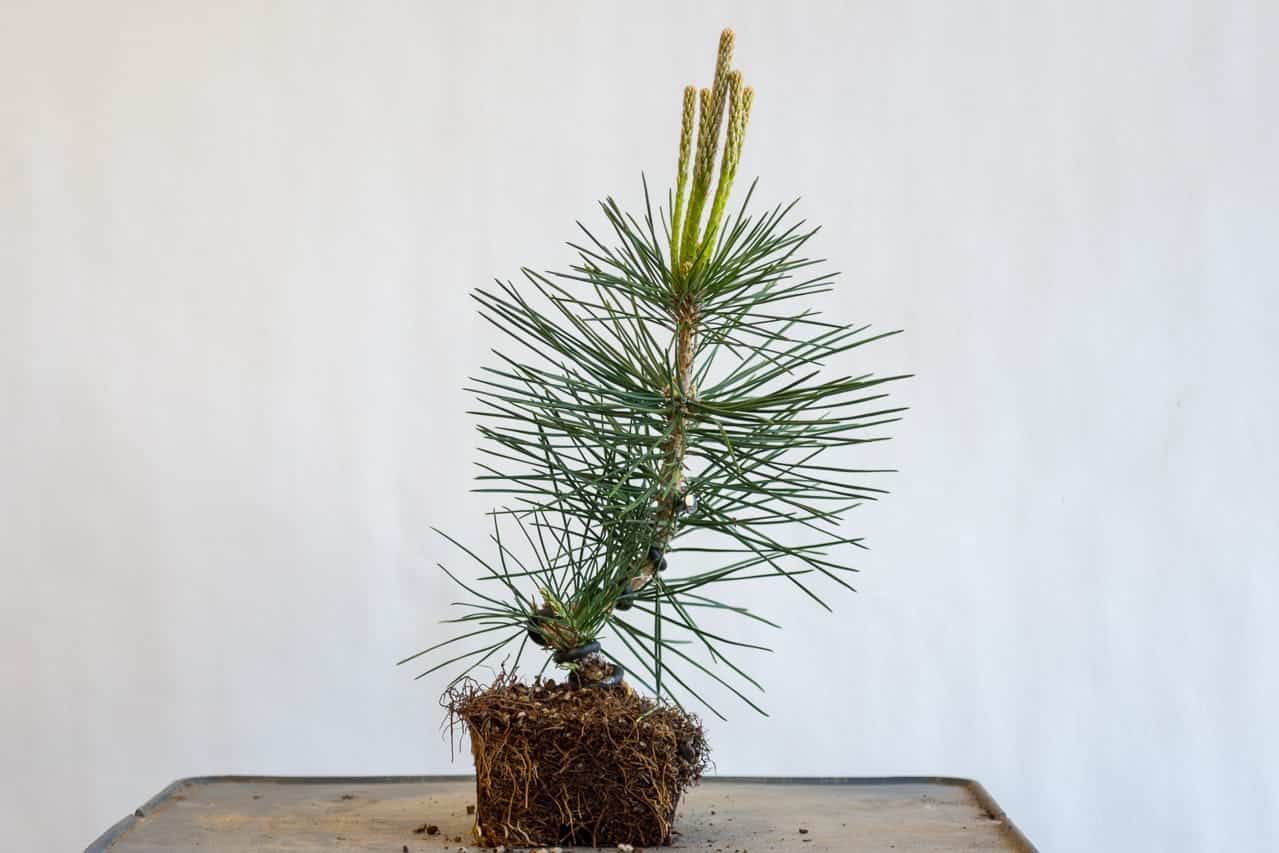
Two-year-old black pine – 14″ from the base of the trunk
I start by inserting a heavy wire (4mm aluminum) near the base of the trunk.

Wire inserted
Instead of wiring the trunk like I would a branch, I circle the trunk two times as low as possible. This will make sure the wire will hold a severe bend low on the trunk.
Two loops of wire low on the trunk
From that point up I wire at a more gentle angle, however, the spirals are still tighter than normal as I want to make relatively sharp bends.
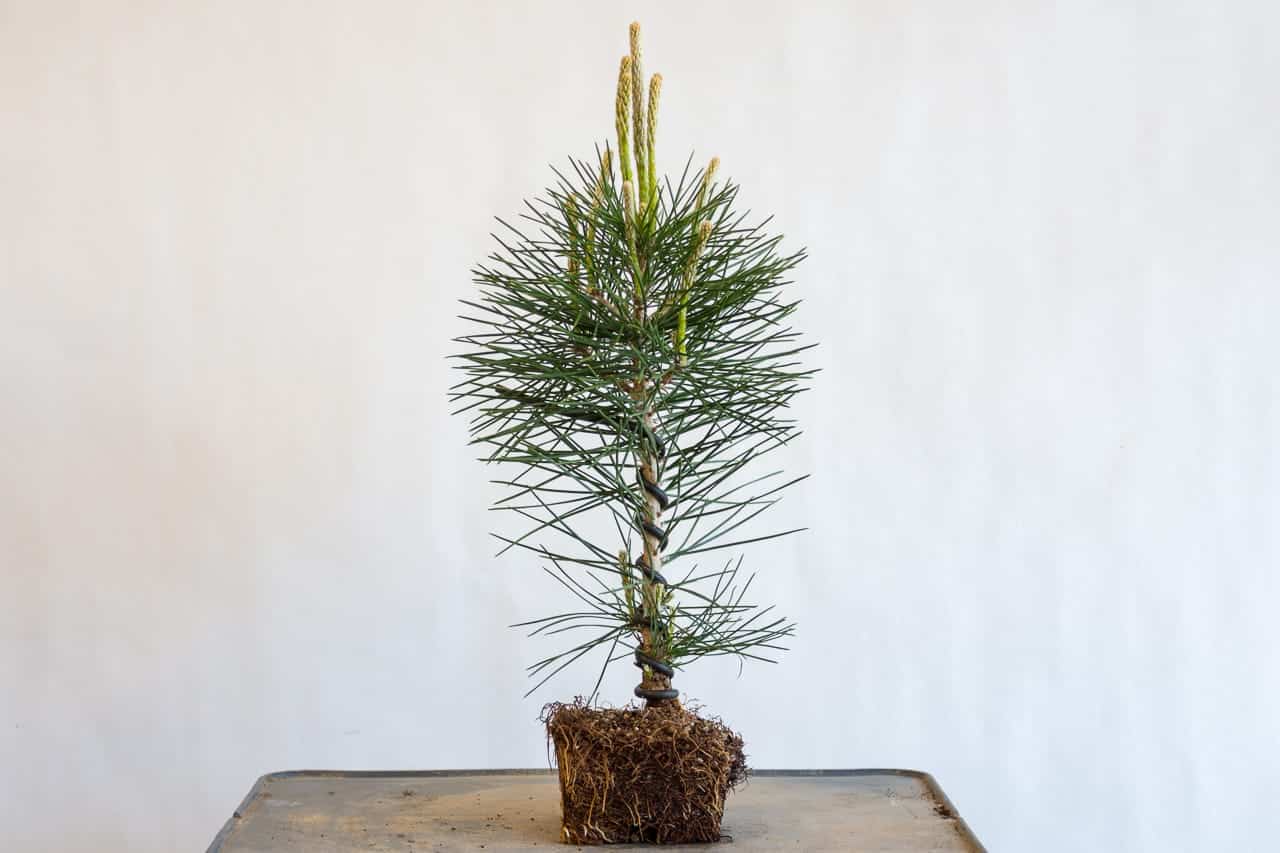
Wiring complete
I usually extend the wire up to the first branch division, but since I’ll be reducing the trunk after a year or two, I don’t need curves above the lower few inches.
Now it’s time for the low bend. The goal is to bend the trunk as low to the roots as possible.
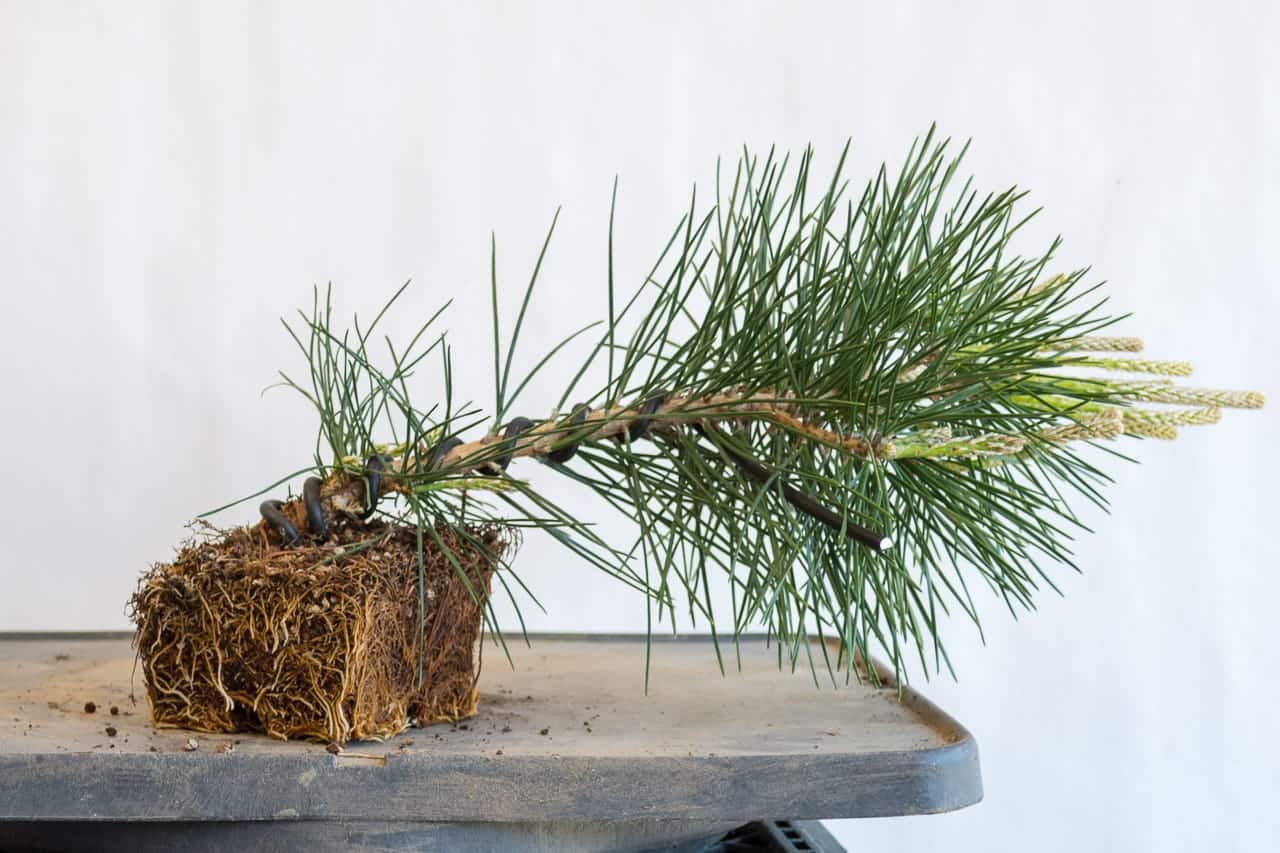
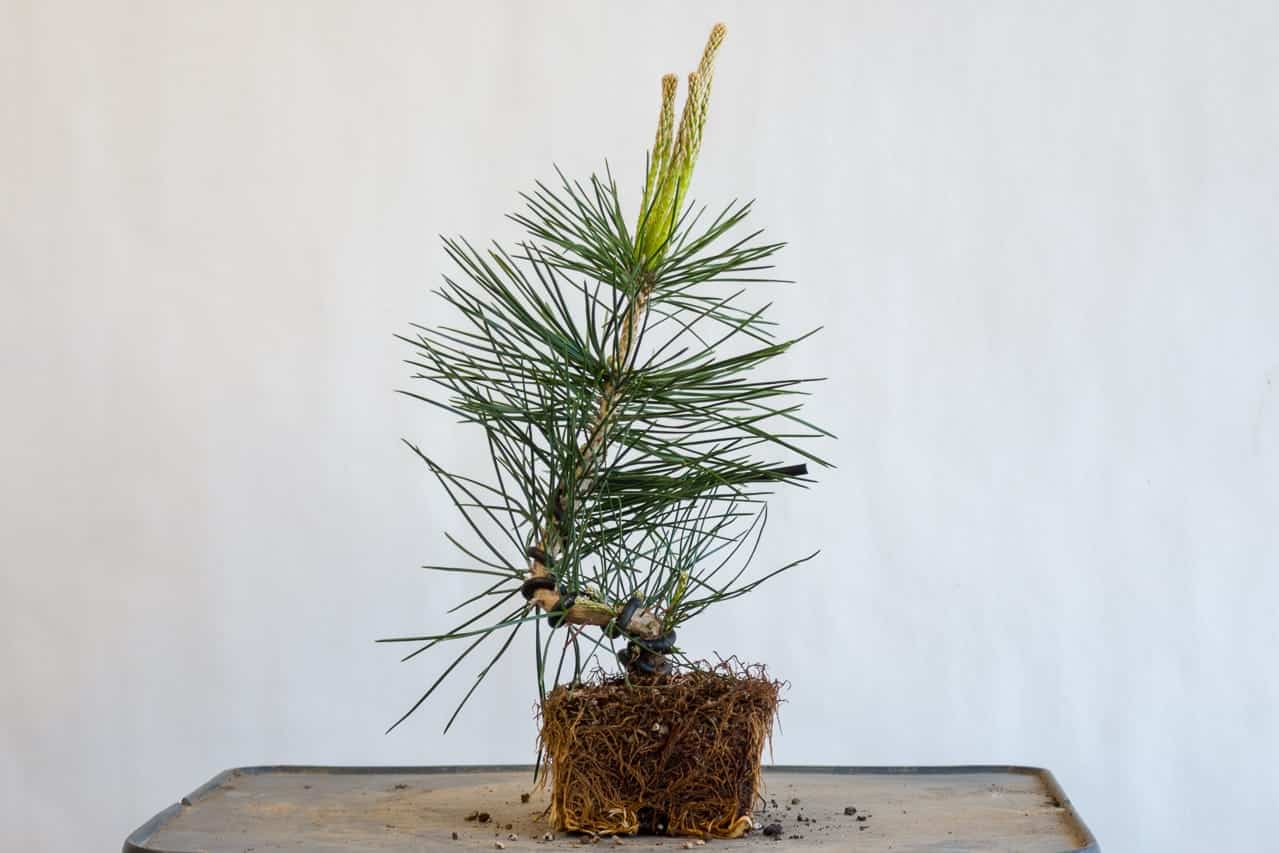
First bend complete
After creating the first bend, I spiral the trunk around and point the apical buds upward.
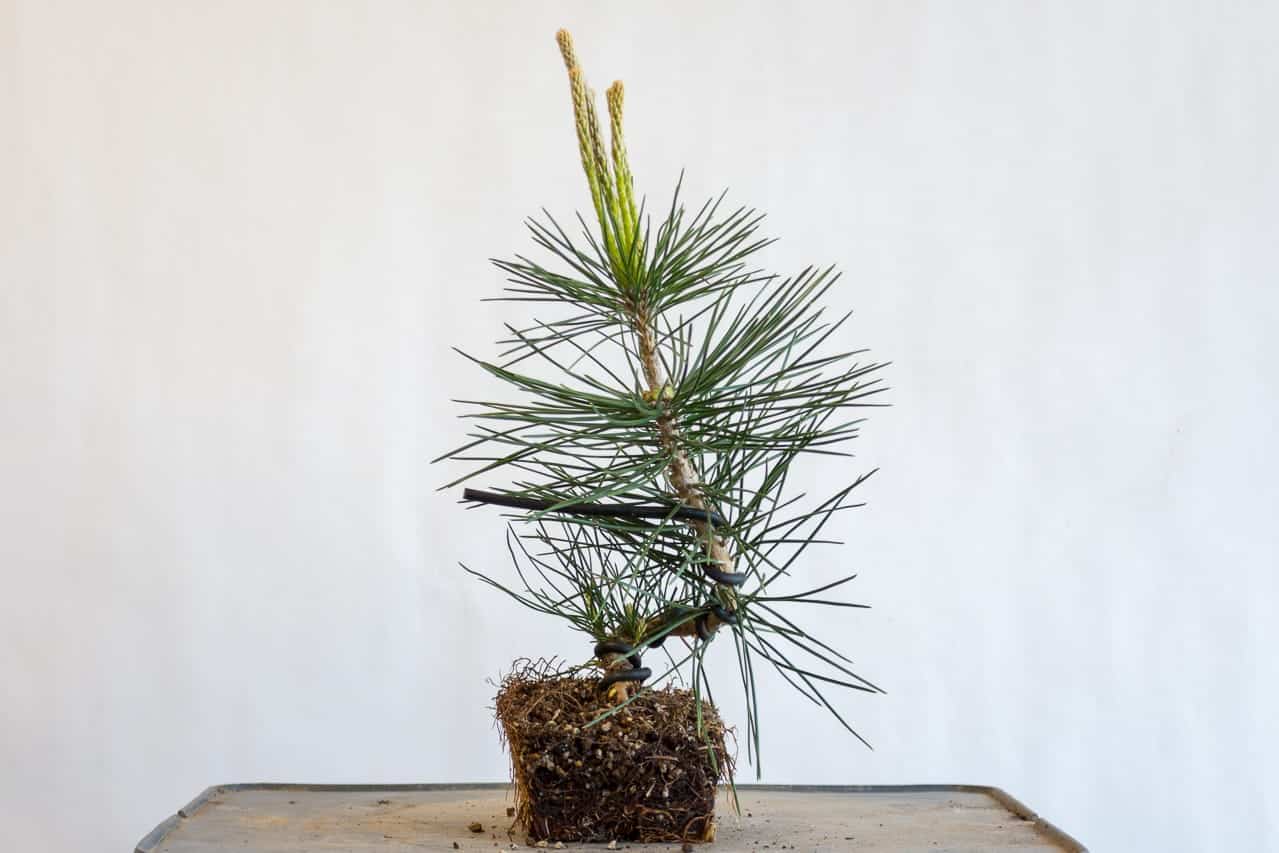
Bending complete – 12″ from the base of the trunk
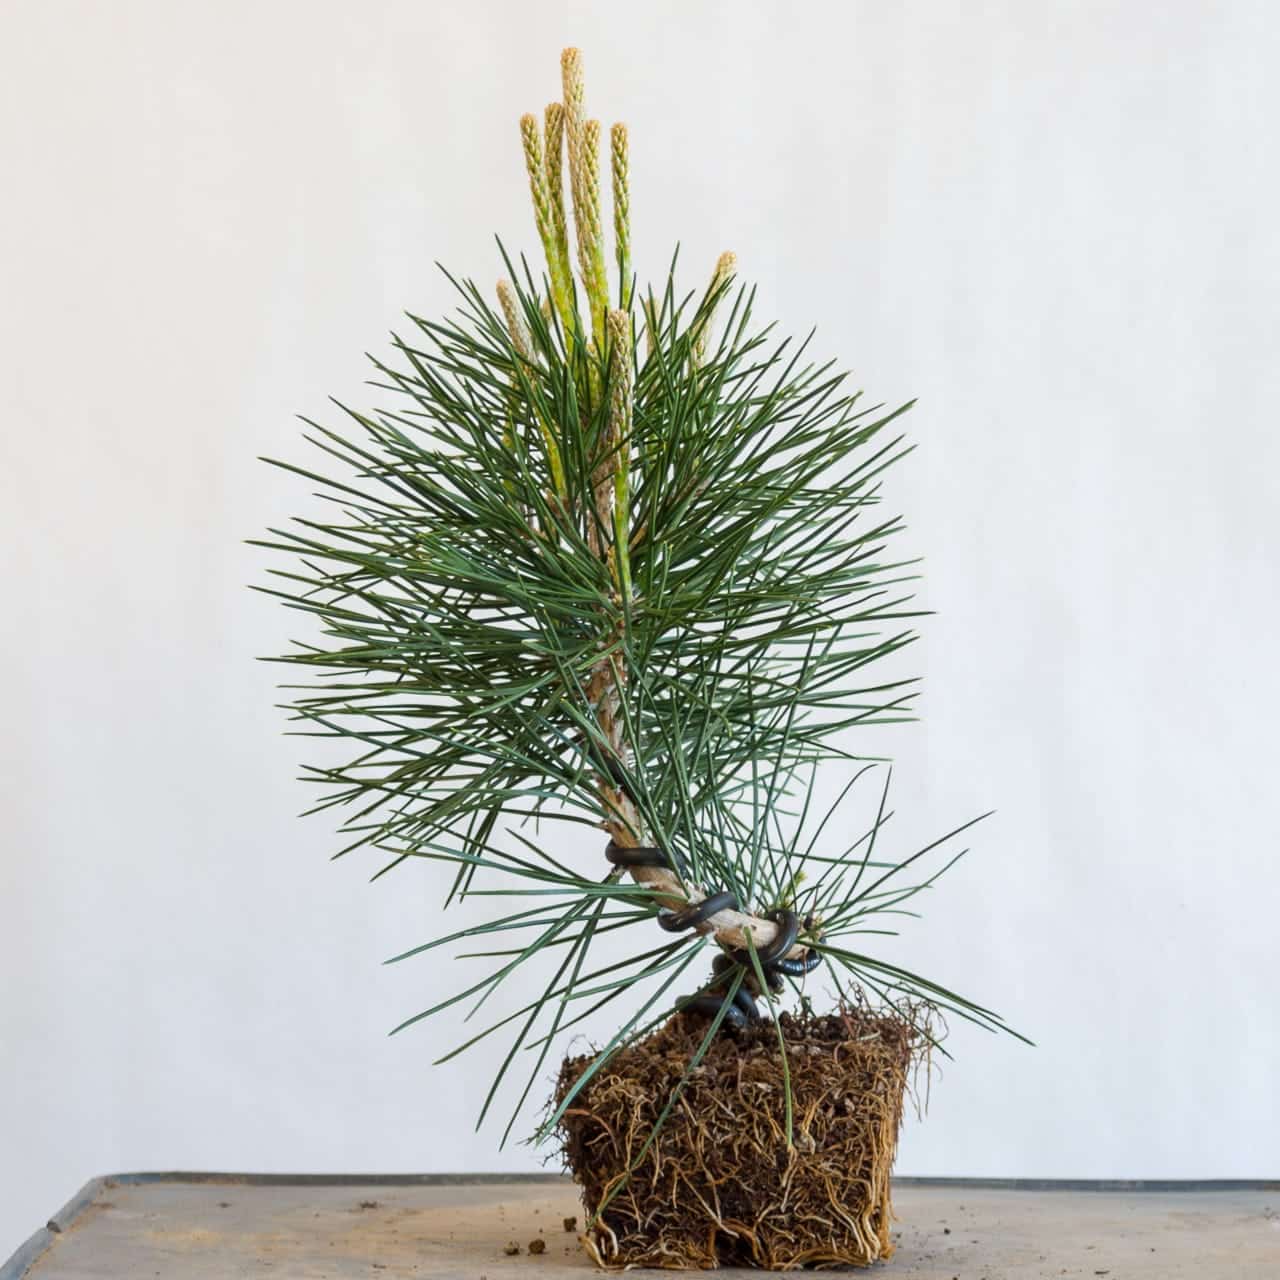
After bending the trunk I removed the side branches near the top of the tree. From this point on I’ll select a single extension of the trunk as an sacrifice branch. Reducing these side branches will slow growth slightly but avoid shading the lower needles – needles that I’ll need one or two years from now when it’s time to shorten the trunk.

After removing the side branches.
Here are a few tips for avoiding common problems with this approach.
- The low curve begins 1″ above the roots. This results from using wire that’s too weak to hold the low bend or using large spirals near the roots. Poor bending technique can also account for this. When my fingers aren’t strong enough to get the bend as low as I want, I use one or two pairs of pliers to help make the bends right above the roots.
- The wire crushes the needles during wiring. This is tricky and requires patience, practice and pliers. It’s another reason I grow trees in batches – so I gets lots of practice each step of the way.
- The trunk breaks during bending. This is best avoided by ensuring that bends are supported by the wire. This too becomes easy to avoid with a little practice.
Here are a few detail shots to show the curve from different angles.
Left side
Back side
Right side
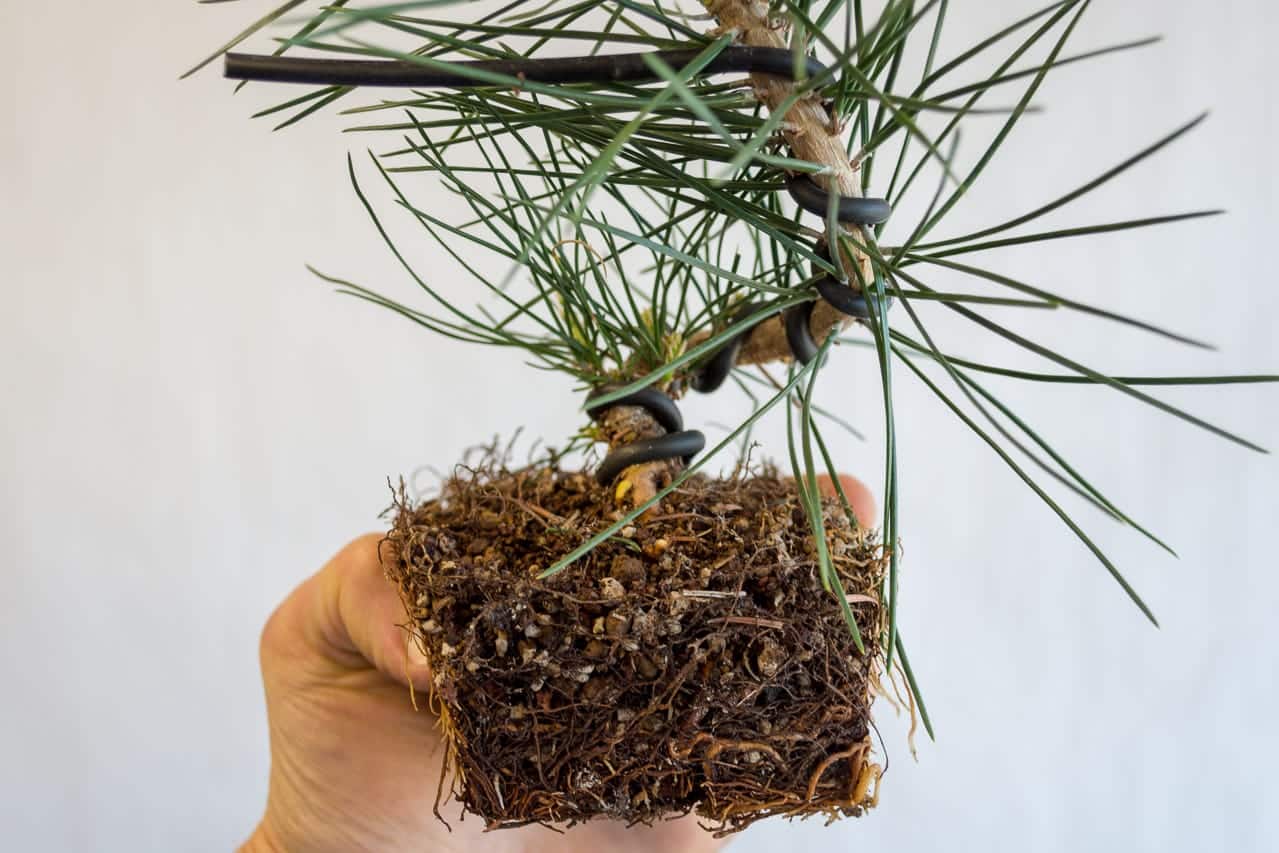
Close-up
I’d removed the tree from it’s pot to get a better angle on the first bend. Now that the bending is complete, I can repot the tree into a bigger container.

After repotting into a 6″ colander
If you looked closely at the pine, you’ll have seen that it’s started to grow. Ideally I’d finish this work before the spring buds begin elongating. Having worked on pines behind schedule before, I can expect the tree to slow down for a while but catch up later.
The post Alternative approach to creating shohin pine bonsai appeared first on Bonsai Tonight.